> ## Documentation Index
> Fetch the complete documentation index at: https://docs.superjoin.ai/llms.txt
> Use this file to discover all available pages before exploring further.
# Connect Intercom to Google Sheets
> Seamlessly sync your Intercom customer engagement data into Google Sheets for comprehensive reporting.
Please note that the Intercom integration is in beta at the moment. If you face any issues, please reach out to us at
[support@superjoin.ai](mailto:support@superjoin.ai) and we will help you asap!
### Why use Superjoin’s Google Sheets-Intercom Integration?
We've meticulously organized the data points to ensure easy accessibility in a format you're already familiar with.
Get a sneak peek of your data. Select columns, apply filters & limits as per your need before importing.
Enjoy one-click refreshes or schedule regular updates to ensure your sheets are always up to date.
Benefit from Google Sheets' collaborative data analysis & other powerful capabilities.
## Step-by-step walkthrough: How to get Intercom API token
Log in to your Intercom account and navigate to the Developer Hub.
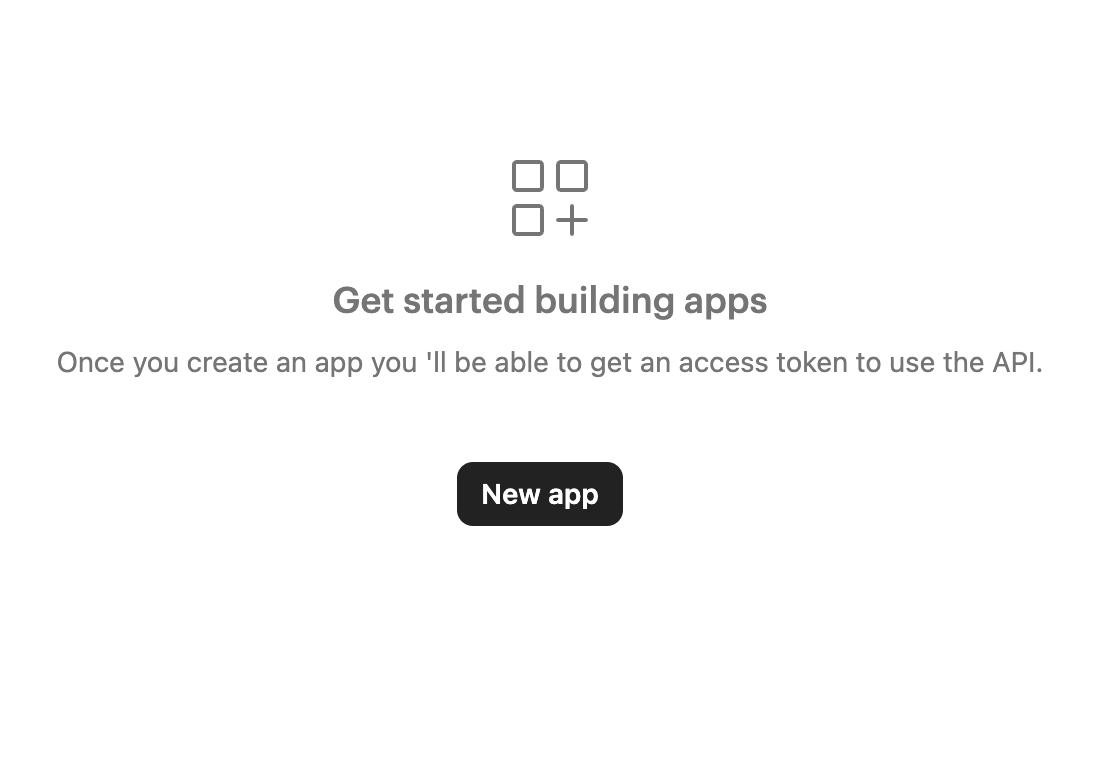
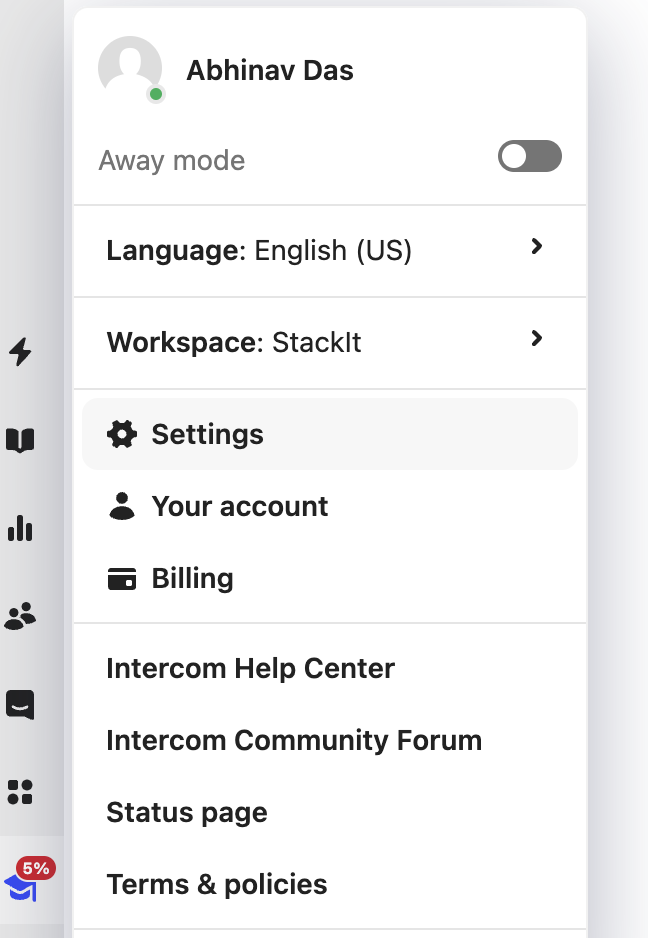 Click Your apps in the top-right corner, then click New app.
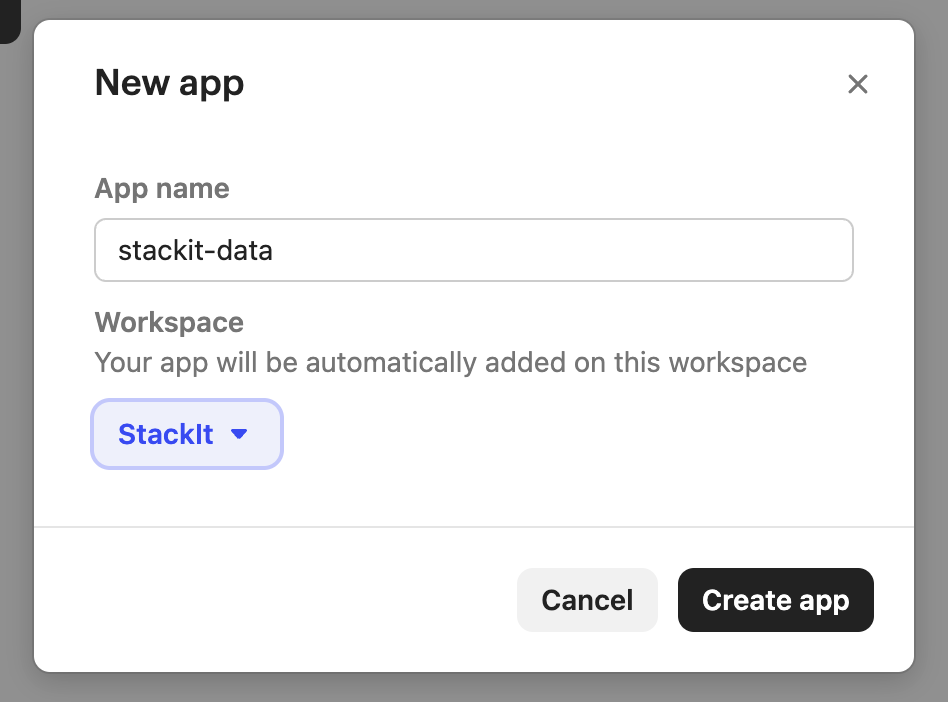
 Choose an App name, select your Workspace from the dropdown, and click Create app.
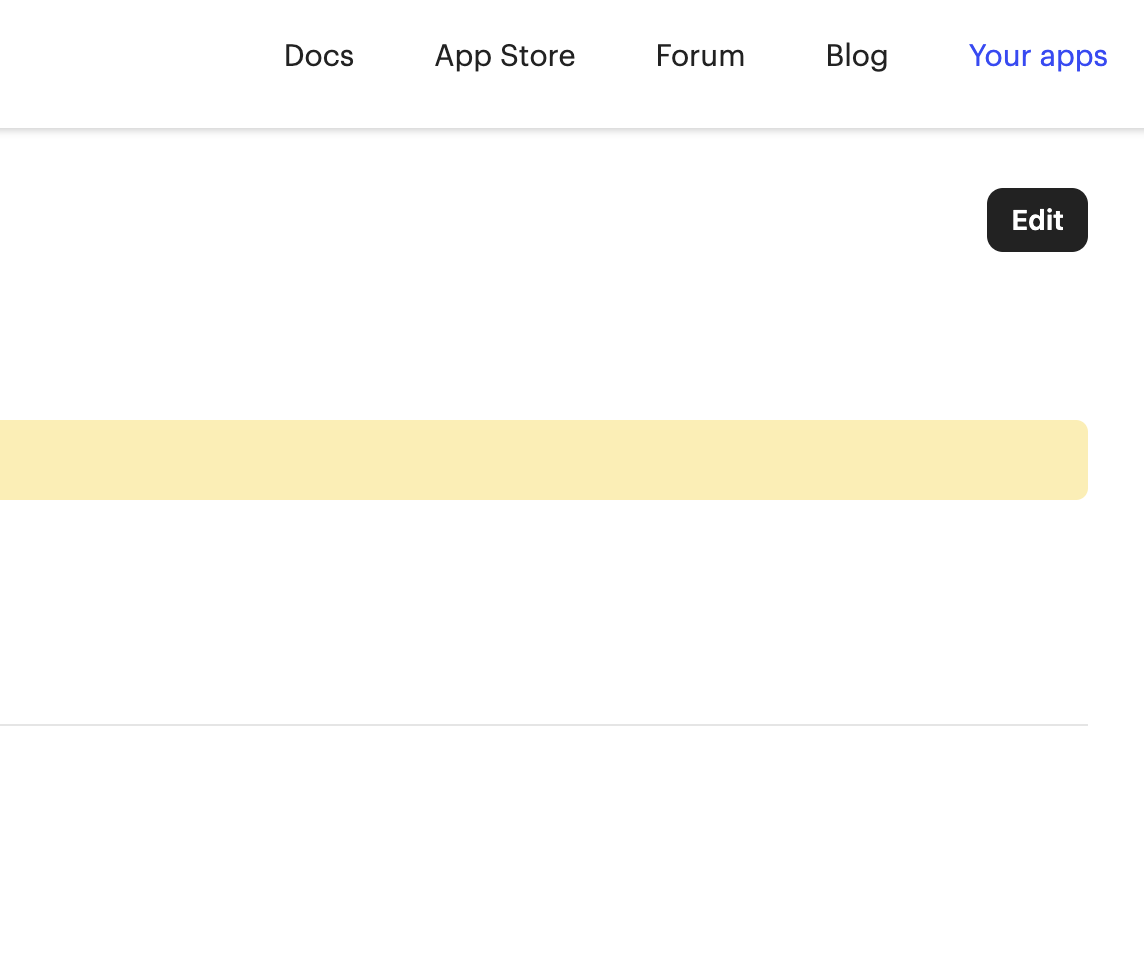
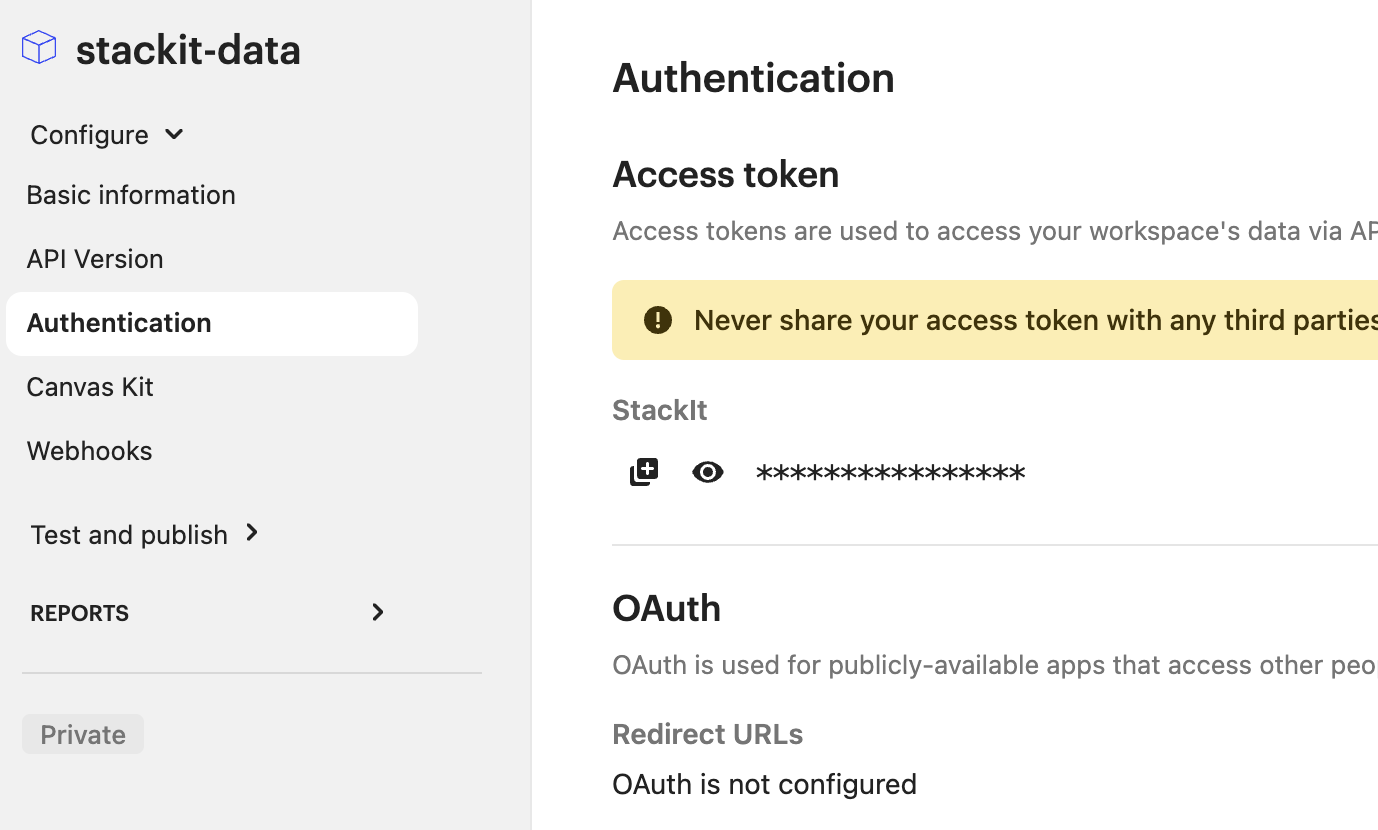
 To set the appropriate permissions, from the Authentication tab, click Edit in the top right corner and check the permissions you want to grant to the app. We recommend only granting read permissions (not write). Click Save when you are finished.
 Under the Access token header, you will be prompted to regenerate your access token. Follow the instructions to do so, and copy the new token.
 For more details, use Intercom Documentation:
[https://developers.intercom.com/docs/build-an-integration/learn-more/authentication/#access-tokens](https://developers.intercom.com/docs/build-an-integration/learn-more/authentication/#access-tokens)
For more details, use Intercom Documentation:
[https://developers.intercom.com/docs/build-an-integration/learn-more/authentication/#access-tokens](https://developers.intercom.com/docs/build-an-integration/learn-more/authentication/#access-tokens)