> ## Documentation Index
> Fetch the complete documentation index at: https://docs.superjoin.ai/llms.txt
> Use this file to discover all available pages before exploring further.
# Automate Google Sheets Using Workflows
> Learn how to automate your workflows in Google Sheets with Superjoin. Follow this step-by-step guide to create, configure, and manage workflows effortlessly, allowing you to streamline data processes and automate actions based on specified triggers.
Only available on Google Sheets
## Follow the quickstart guide to get started with Superjoin 🚀
Install Superjoin in under a minute and start pulling your data instantly.
We've listed down common issues that you might face & how to fix it.
## Steps to get up and running with Workflows ✨
Ensure Superjoin is installed and working before following the rest of the guide. Link to quick start guide is shared above.
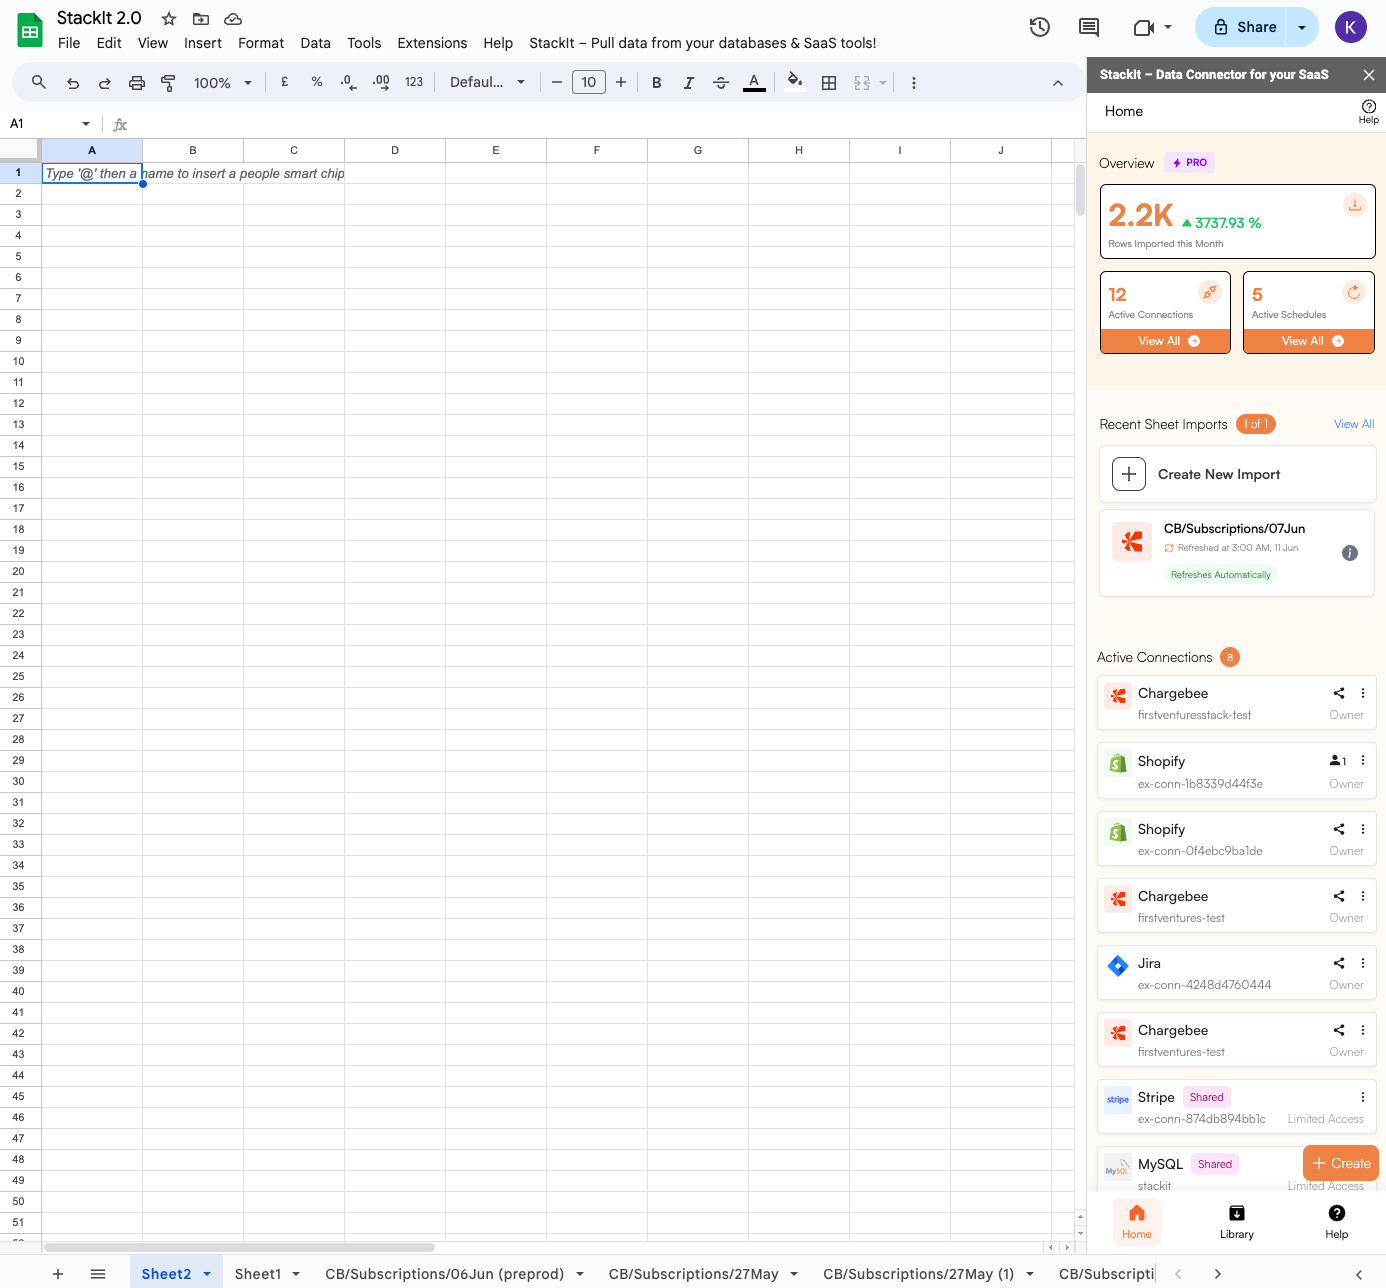
Click on the `+ Create` button. This will open the create drawer at the bottom of the side-panel screen.
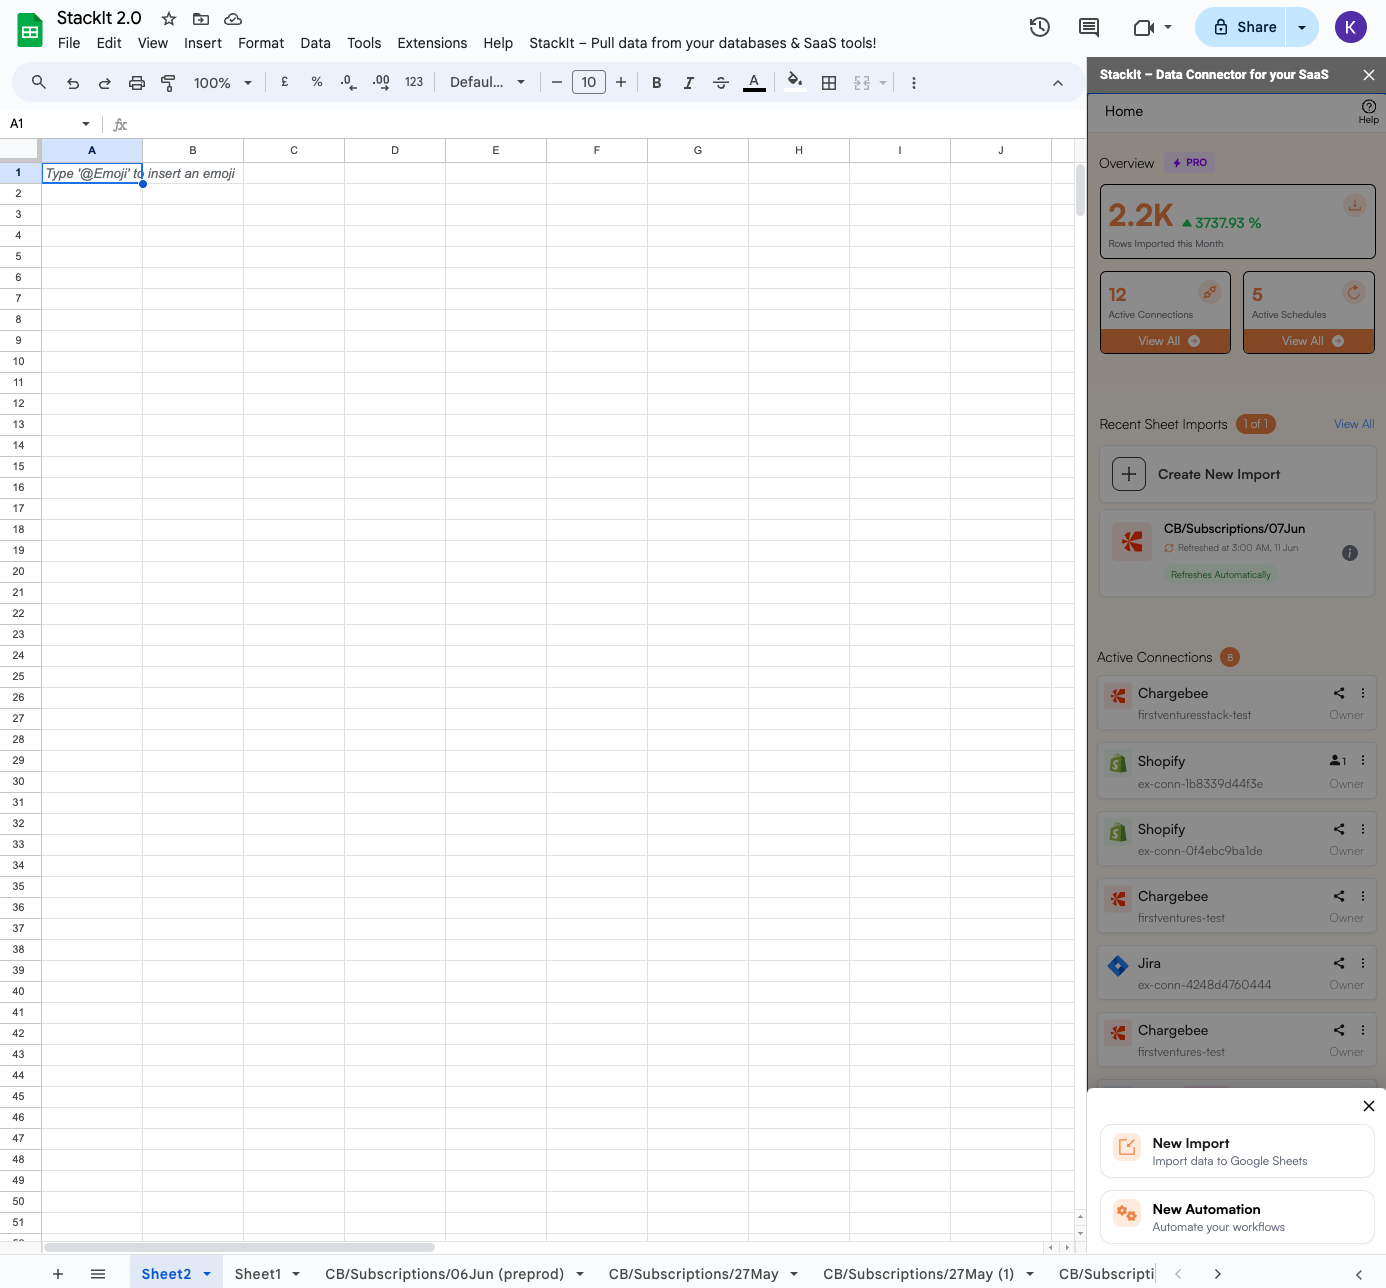
 Click on `New Workflow`. This will take you to the worklow creation page.
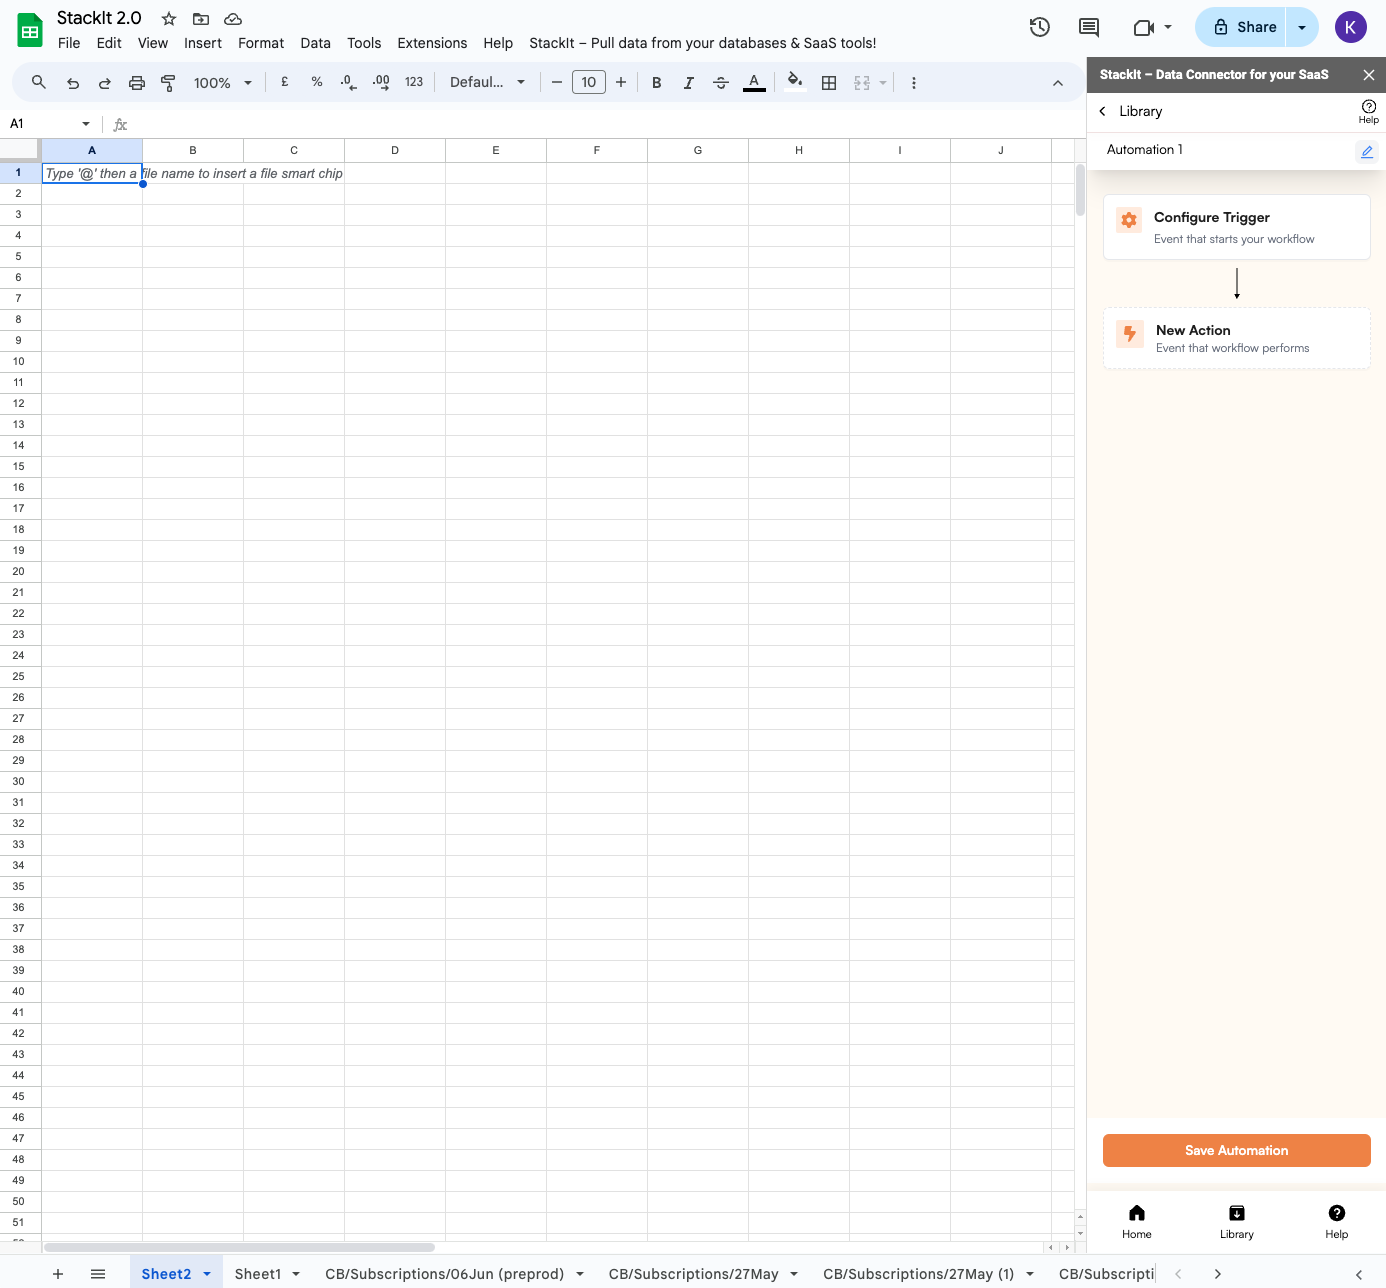
 Click on the pencil icon near `Workflow 1`. This will let you edit the workflow name.
You can't edit this later! Once created, a workflow can't be edited.
We will cover how to duplicate a workflow later in this guide.
Click on the pencil icon near `Workflow 1`. This will let you edit the workflow name.
You can't edit this later! Once created, a workflow can't be edited.
We will cover how to duplicate a workflow later in this guide.
 Click on the tick (✔️) icon to cofirm the name. This will update the workflow's name.
Next, click on the `Configre Trigger` button to select the trigger for our workflow.
Click on the tick (✔️) icon to cofirm the name. This will update the workflow's name.
Next, click on the `Configre Trigger` button to select the trigger for our workflow.
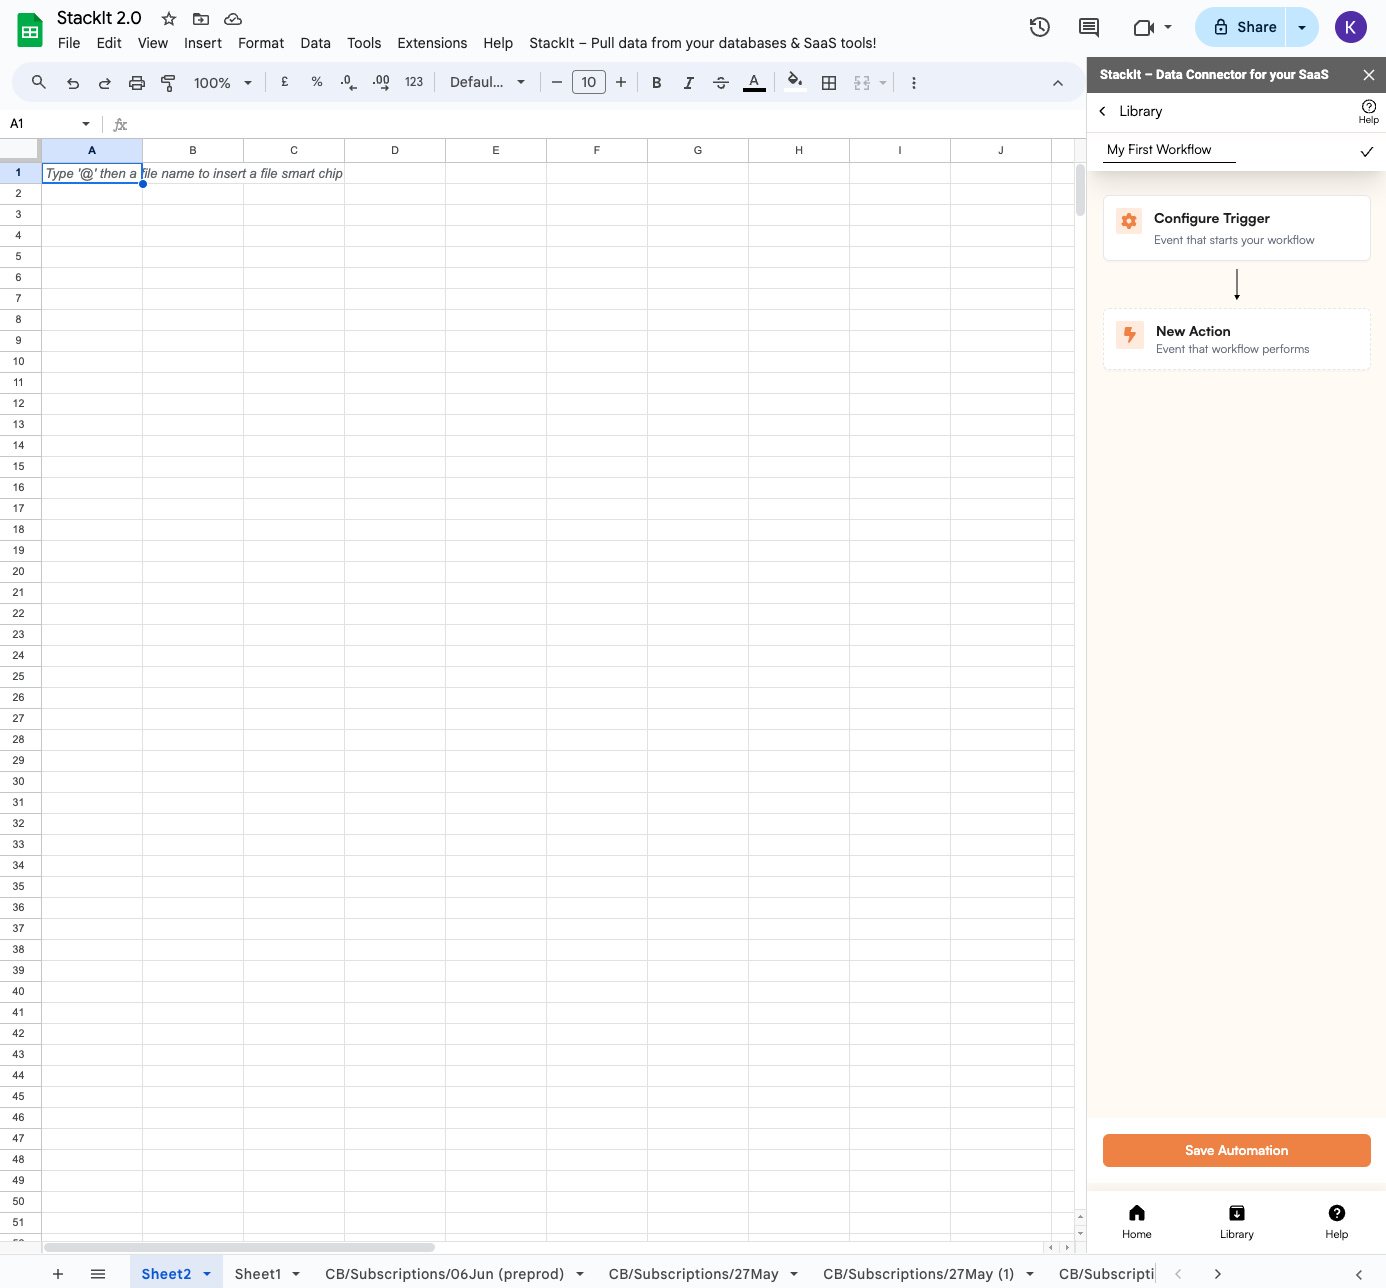 Click on the `Trigger Type` dropdown to select a trigger for our workflow.
A trigger is an event which, when fired, will run the associated workflow.
Let's start by selecting `At Scheduled Time`
to run our workflow at a specified interval.
Click on the `Trigger Type` dropdown to select a trigger for our workflow.
A trigger is an event which, when fired, will run the associated workflow.
Let's start by selecting `At Scheduled Time`
to run our workflow at a specified interval.
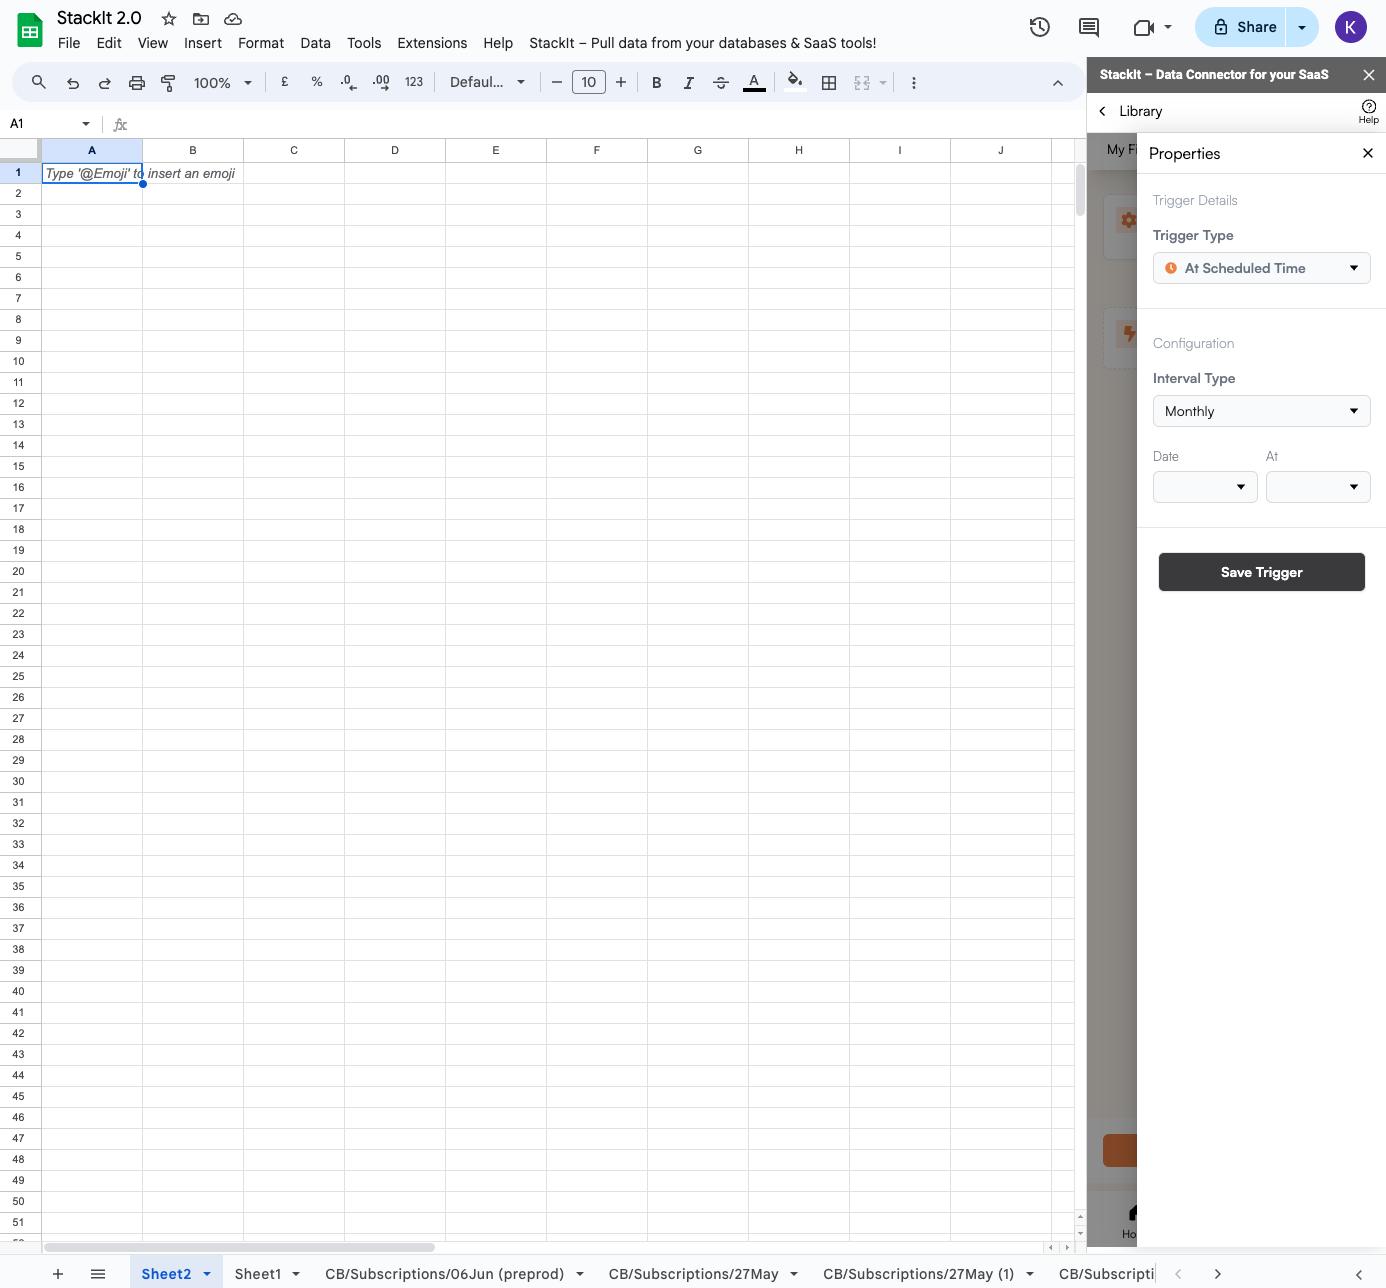 Click on the `Interval Type` dropdown to select the interval at which to run this workflow.
Select `Monthly` to run the workflow on a particular date every month at the selected time.
You can also use other intervals like `Hourly`, `Daily` and `Weekly`
Click on the `Interval Type` dropdown to select the interval at which to run this workflow.
Select `Monthly` to run the workflow on a particular date every month at the selected time.
You can also use other intervals like `Hourly`, `Daily` and `Weekly`
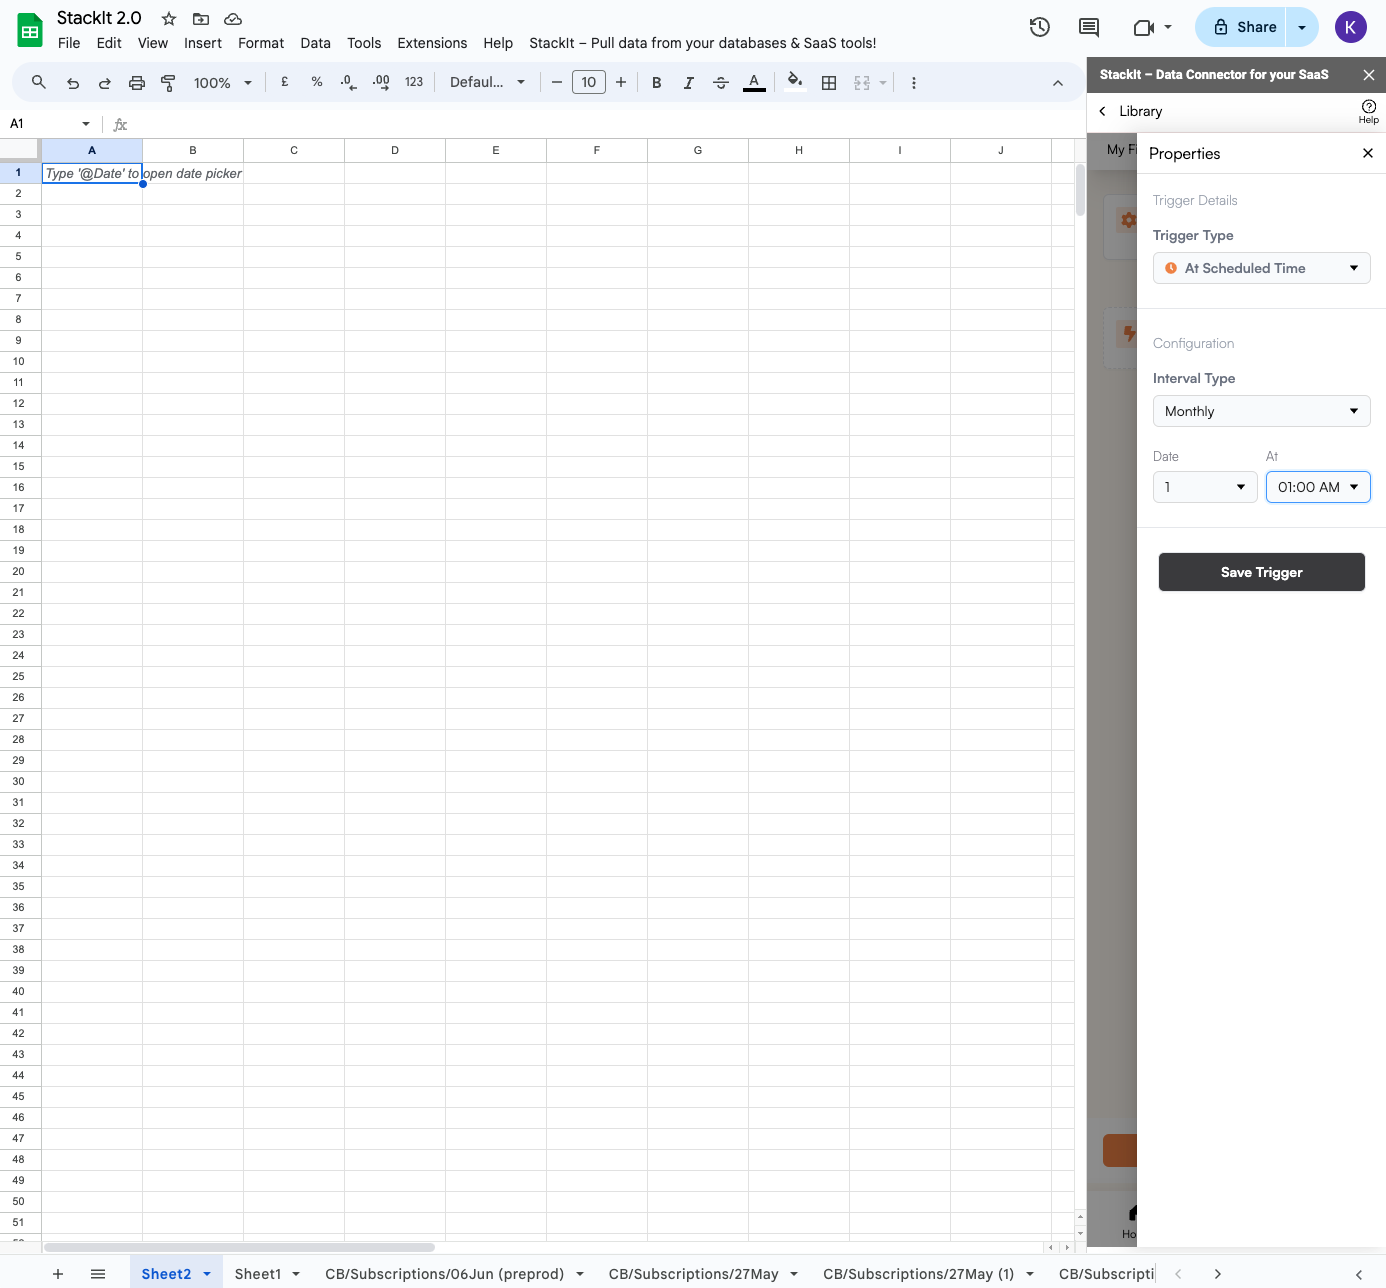 We also have another trigger called `Import Refresh` which fires whenever the data
of the selected sheet refreshes (either manually or through a schedule).
It does not trigger when changing a sheet's data by hand.
We also have another trigger called `Import Refresh` which fires whenever the data
of the selected sheet refreshes (either manually or through a schedule).
It does not trigger when changing a sheet's data by hand.
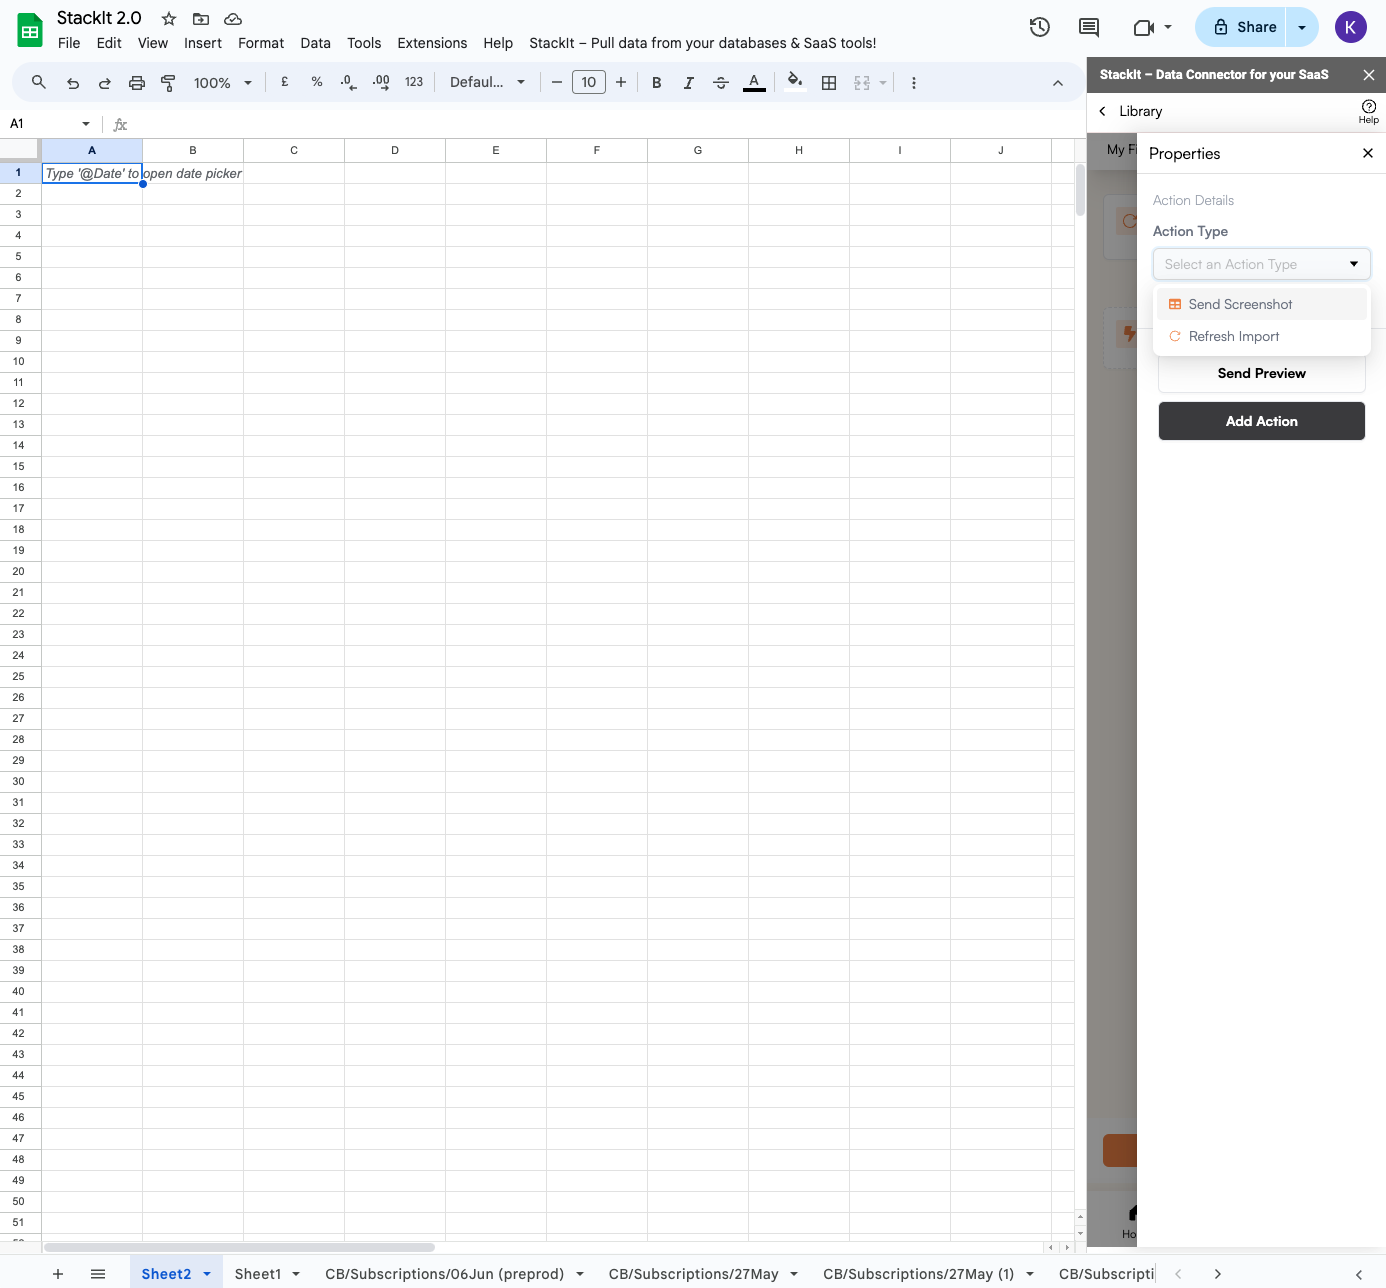
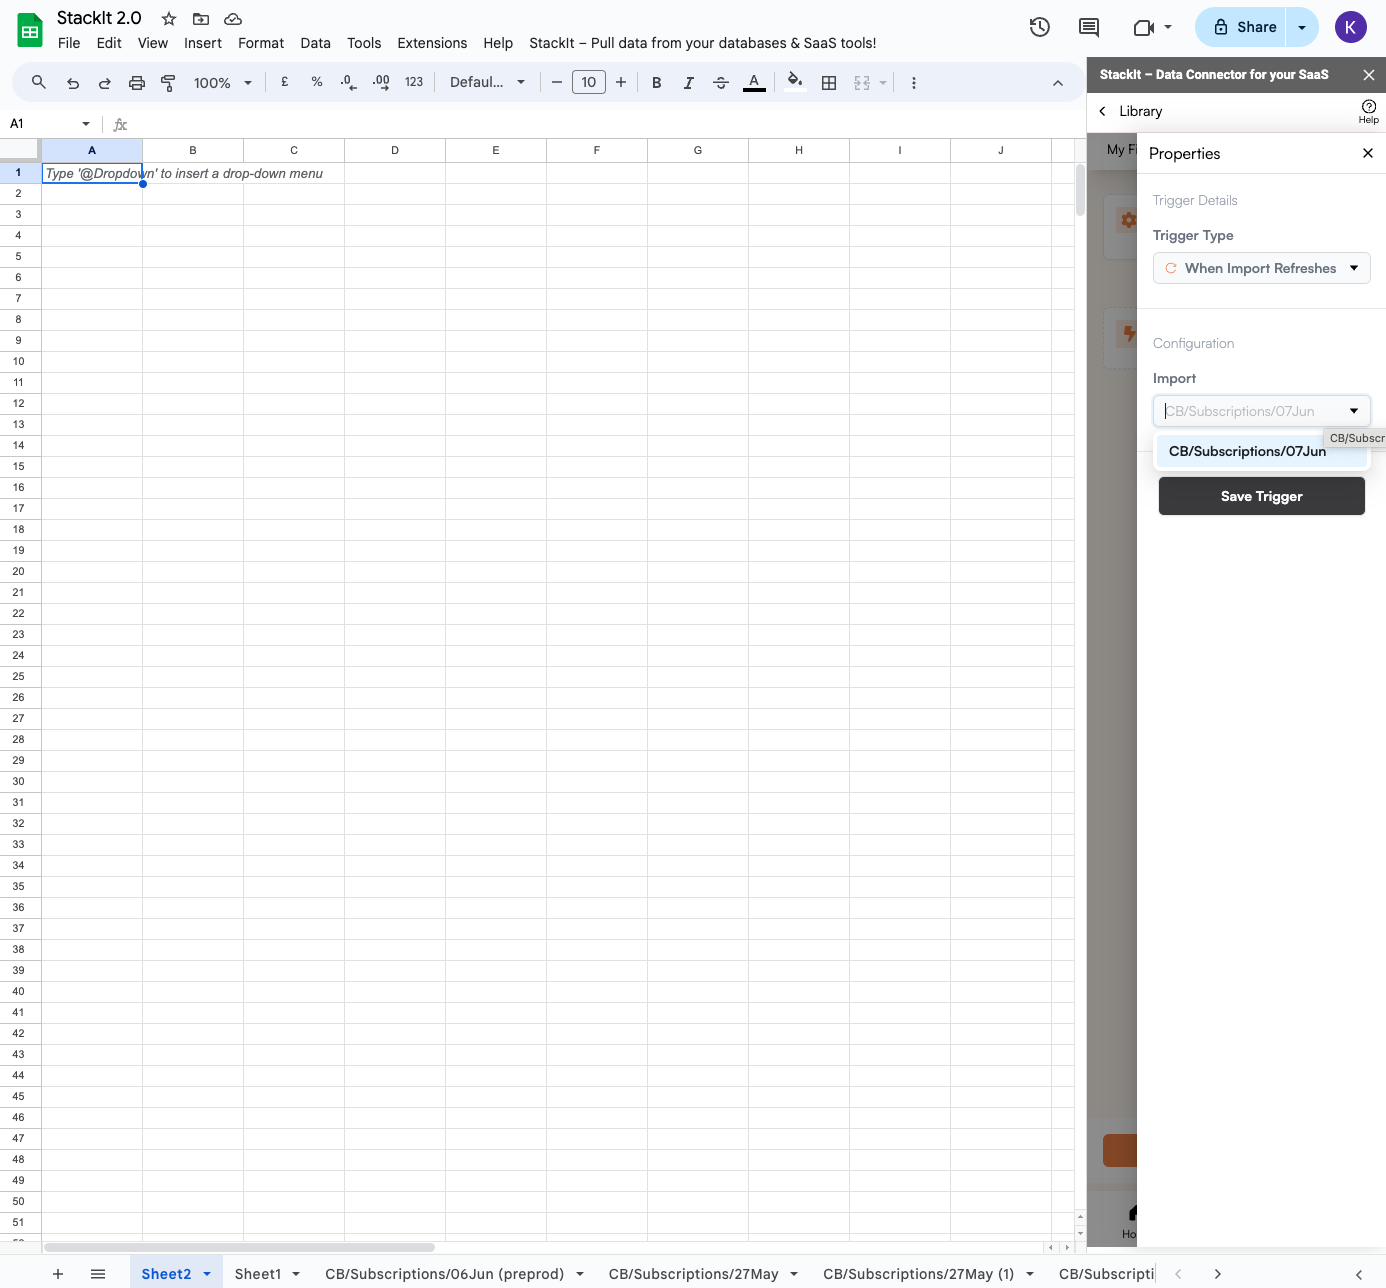 Click on `New Action` to open the new action side drawer. Here, you can select between
two actions, `Send Screenshot` and `Refresh Import`. Select the screenshot action.
If the trigger for your workflow is an import refresh then that sheet cannot be an import refresh action.
Click on `New Action` to open the new action side drawer. Here, you can select between
two actions, `Send Screenshot` and `Refresh Import`. Select the screenshot action.
If the trigger for your workflow is an import refresh then that sheet cannot be an import refresh action.
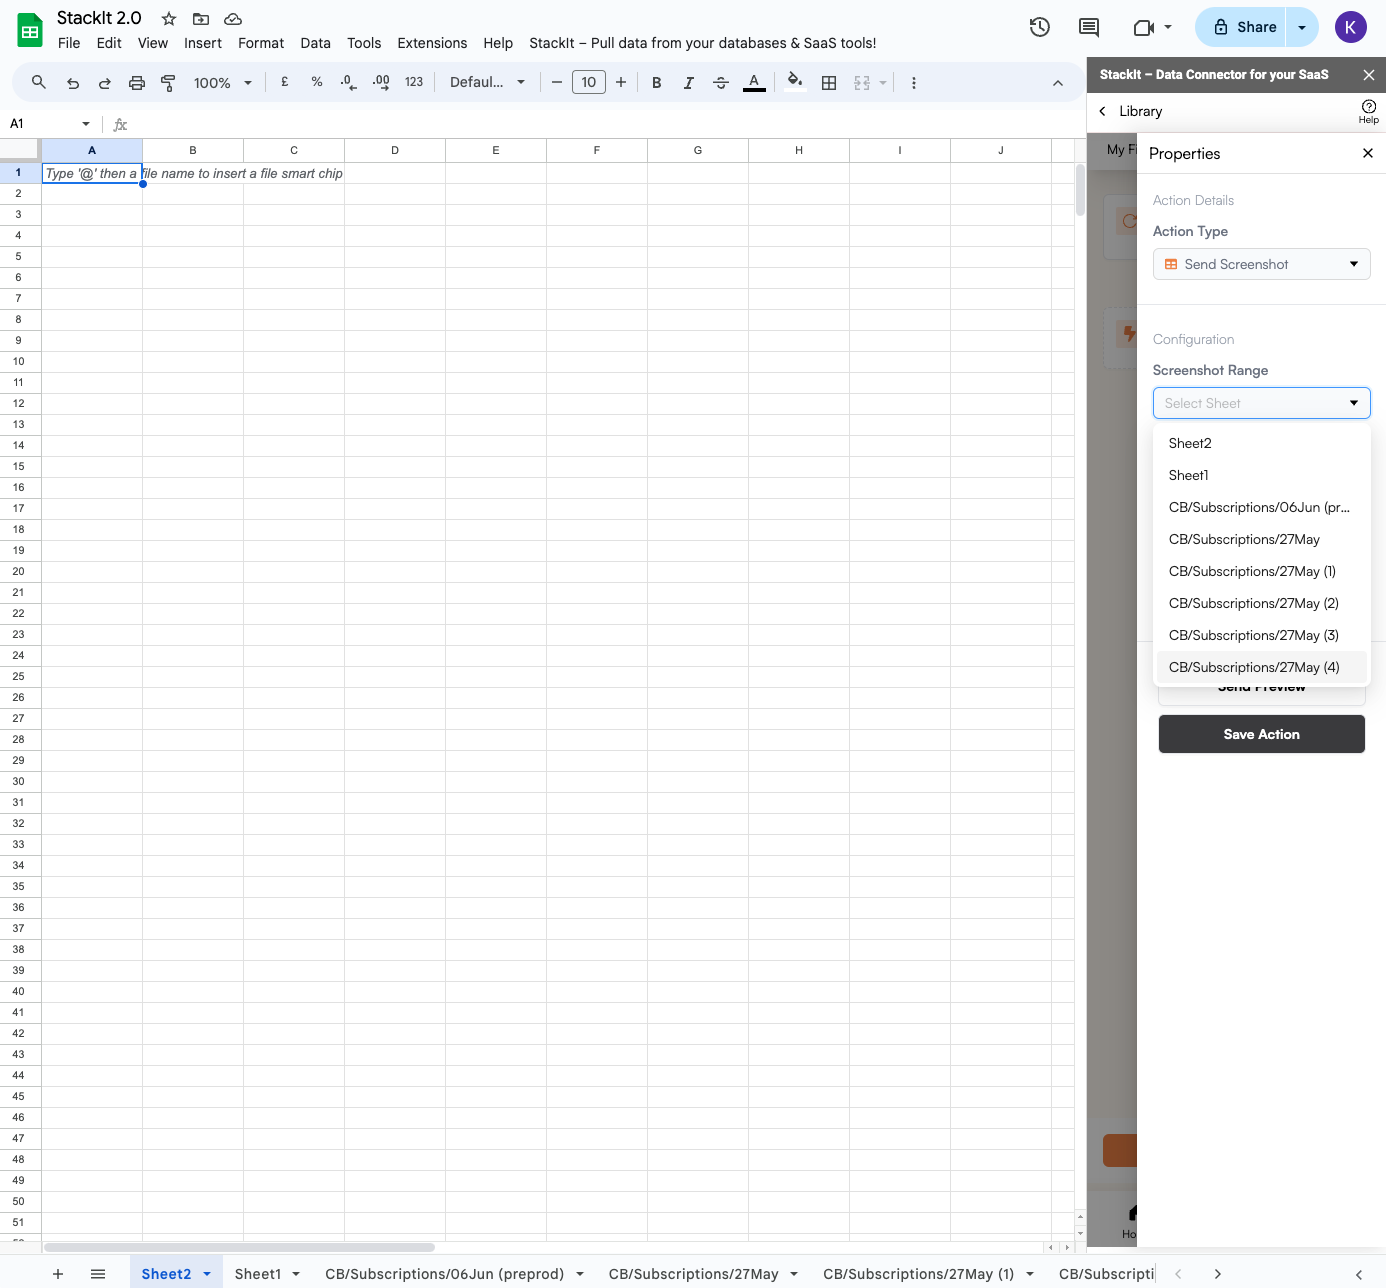
 After selecting the send screenshot action, pick the sheet that you want screenshotted.
You can type the name of the sheet and search in the dropdown.
After selecting the send screenshot action, pick the sheet that you want screenshotted.
You can type the name of the sheet and search in the dropdown.
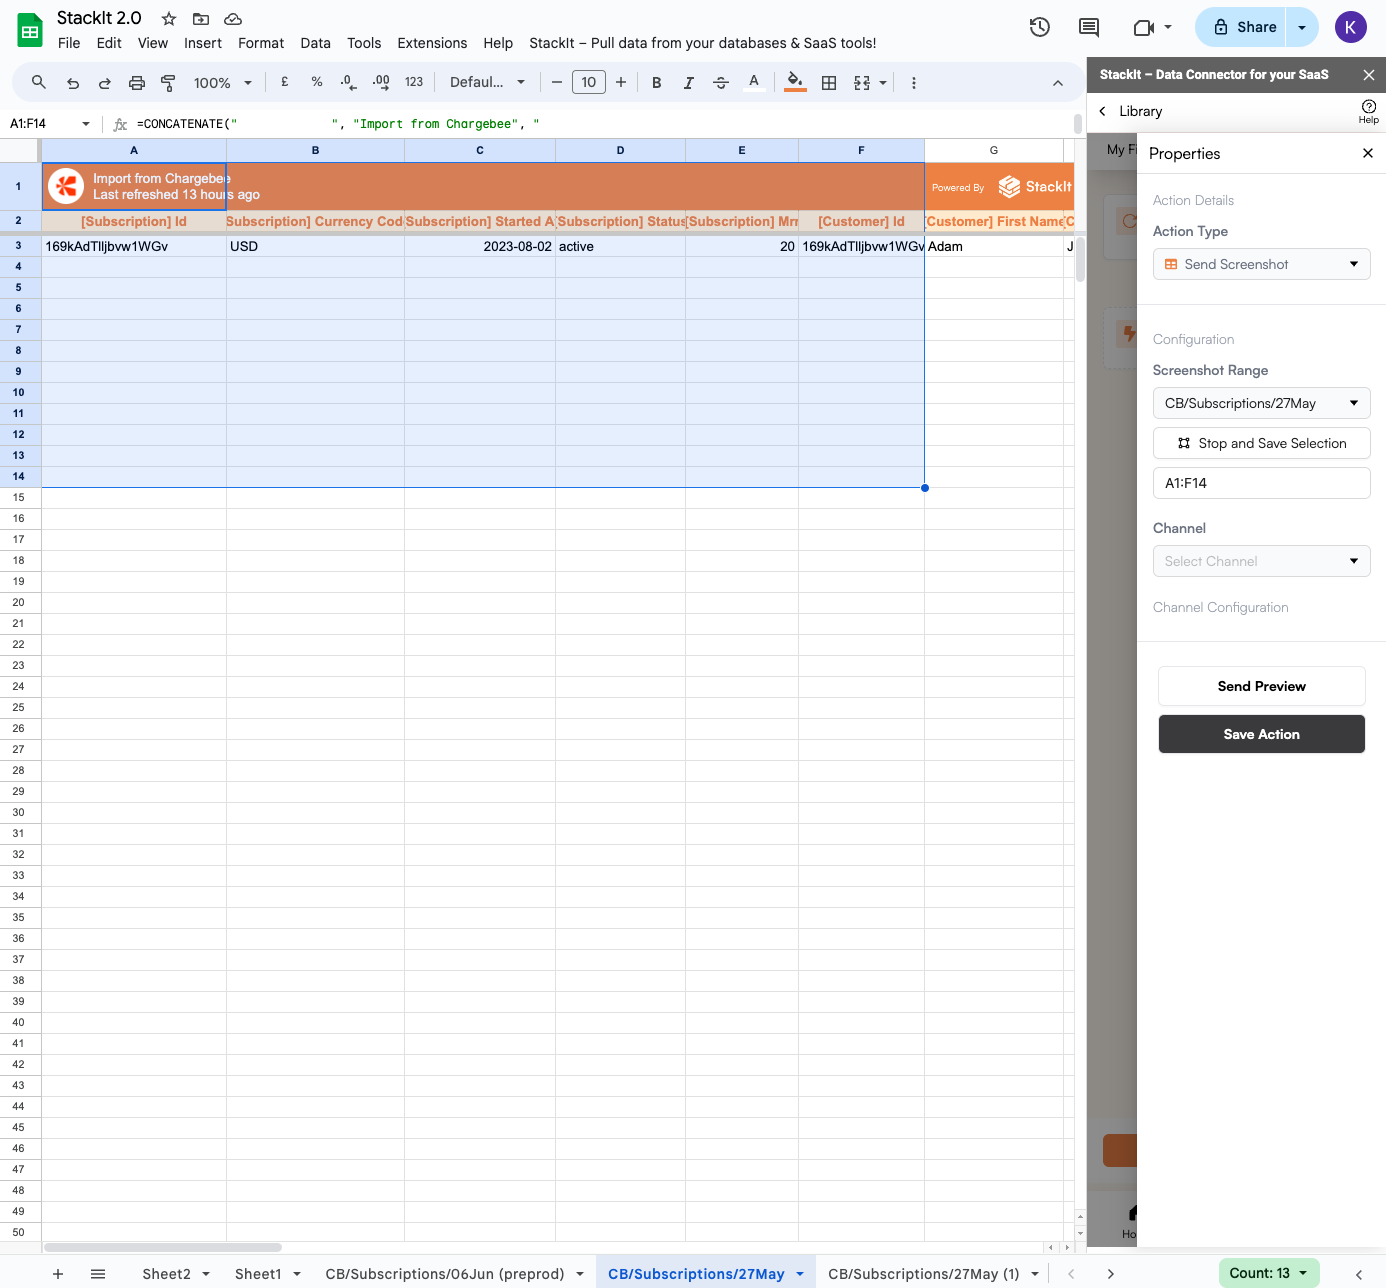
 Click on start selection and wait for the sheet to open. Then start selecting the range
and click on stop selection when you're done.
Click on start selection and wait for the sheet to open. Then start selecting the range
and click on stop selection when you're done.
 If you wish to send the screenshot to a slack channel, follow
[this](slack)
guide to connect your slack account.
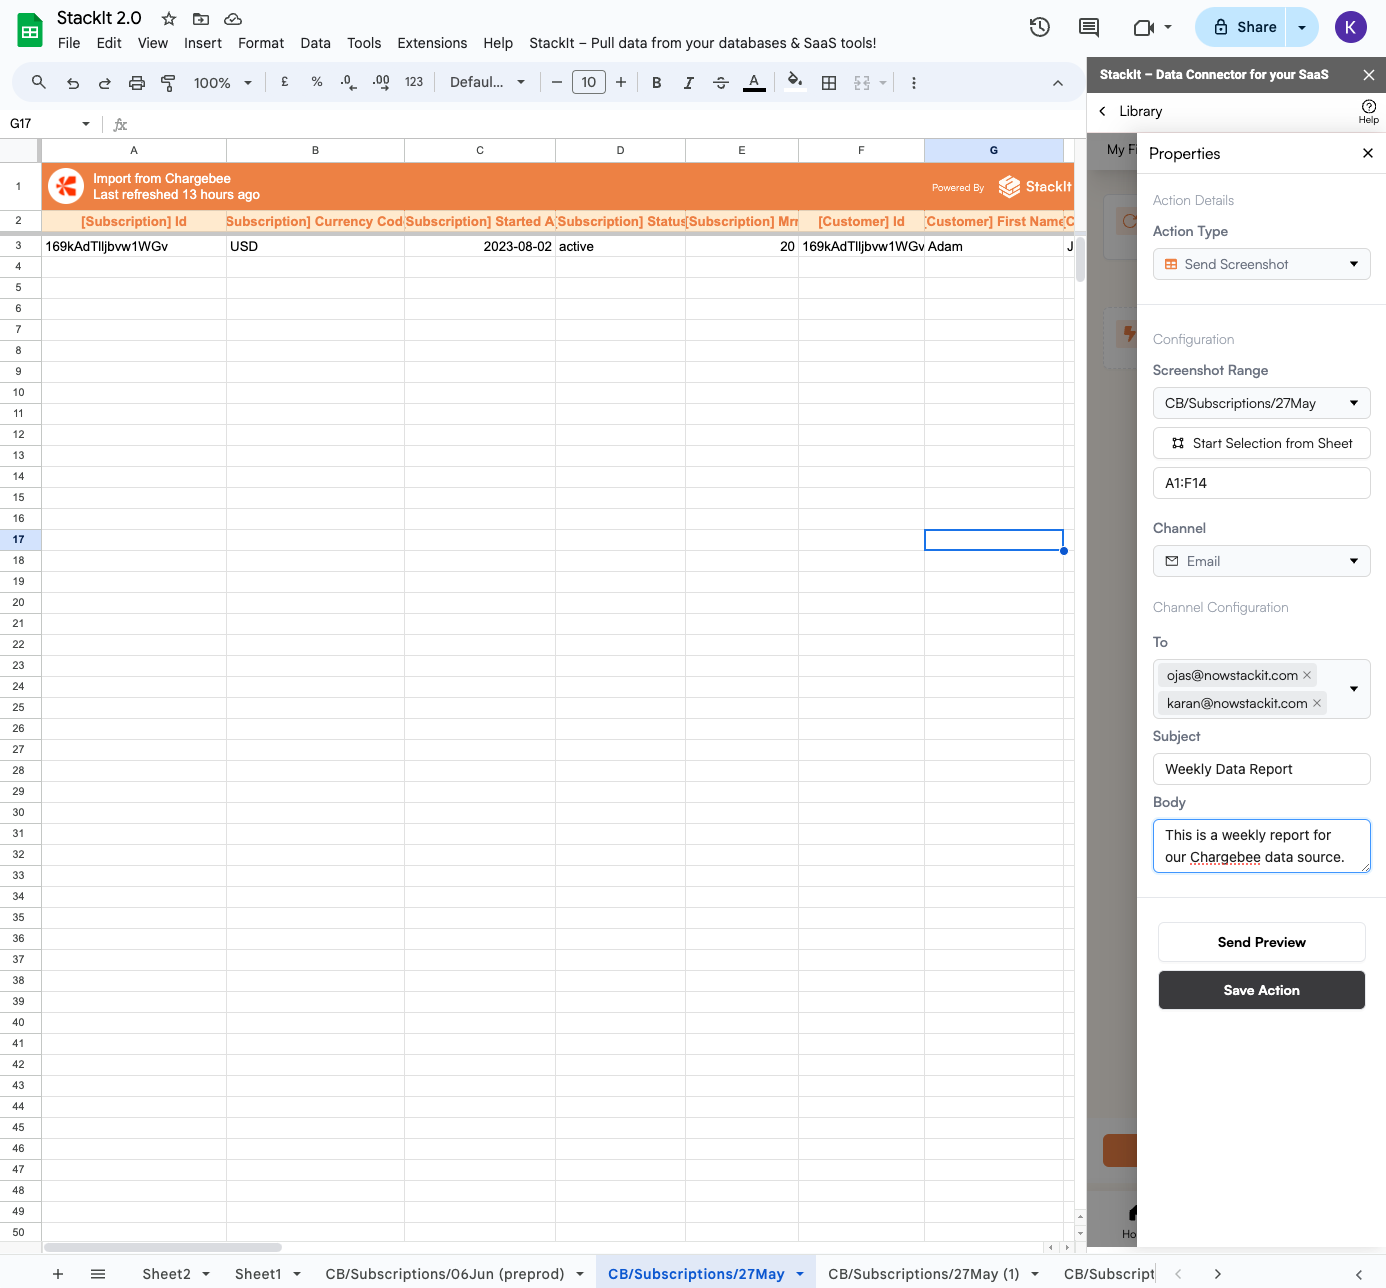
We discussed how to select Slack as a channel for sending a screenshot in the previous step.
For sending a screenshot via email, we just have to write the emails in the `to` field, which is auto-populated
with the emails of other users in your workspace for your convenience.
You can write the `subject` and `body` in the provided fields.
If you wish to send the screenshot to a slack channel, follow
[this](slack)
guide to connect your slack account.
We discussed how to select Slack as a channel for sending a screenshot in the previous step.
For sending a screenshot via email, we just have to write the emails in the `to` field, which is auto-populated
with the emails of other users in your workspace for your convenience.
You can write the `subject` and `body` in the provided fields.
 You can test your action by clicking the send preview button and verify if everything is
connected correctly.
You can test your action by clicking the send preview button and verify if everything is
connected correctly.
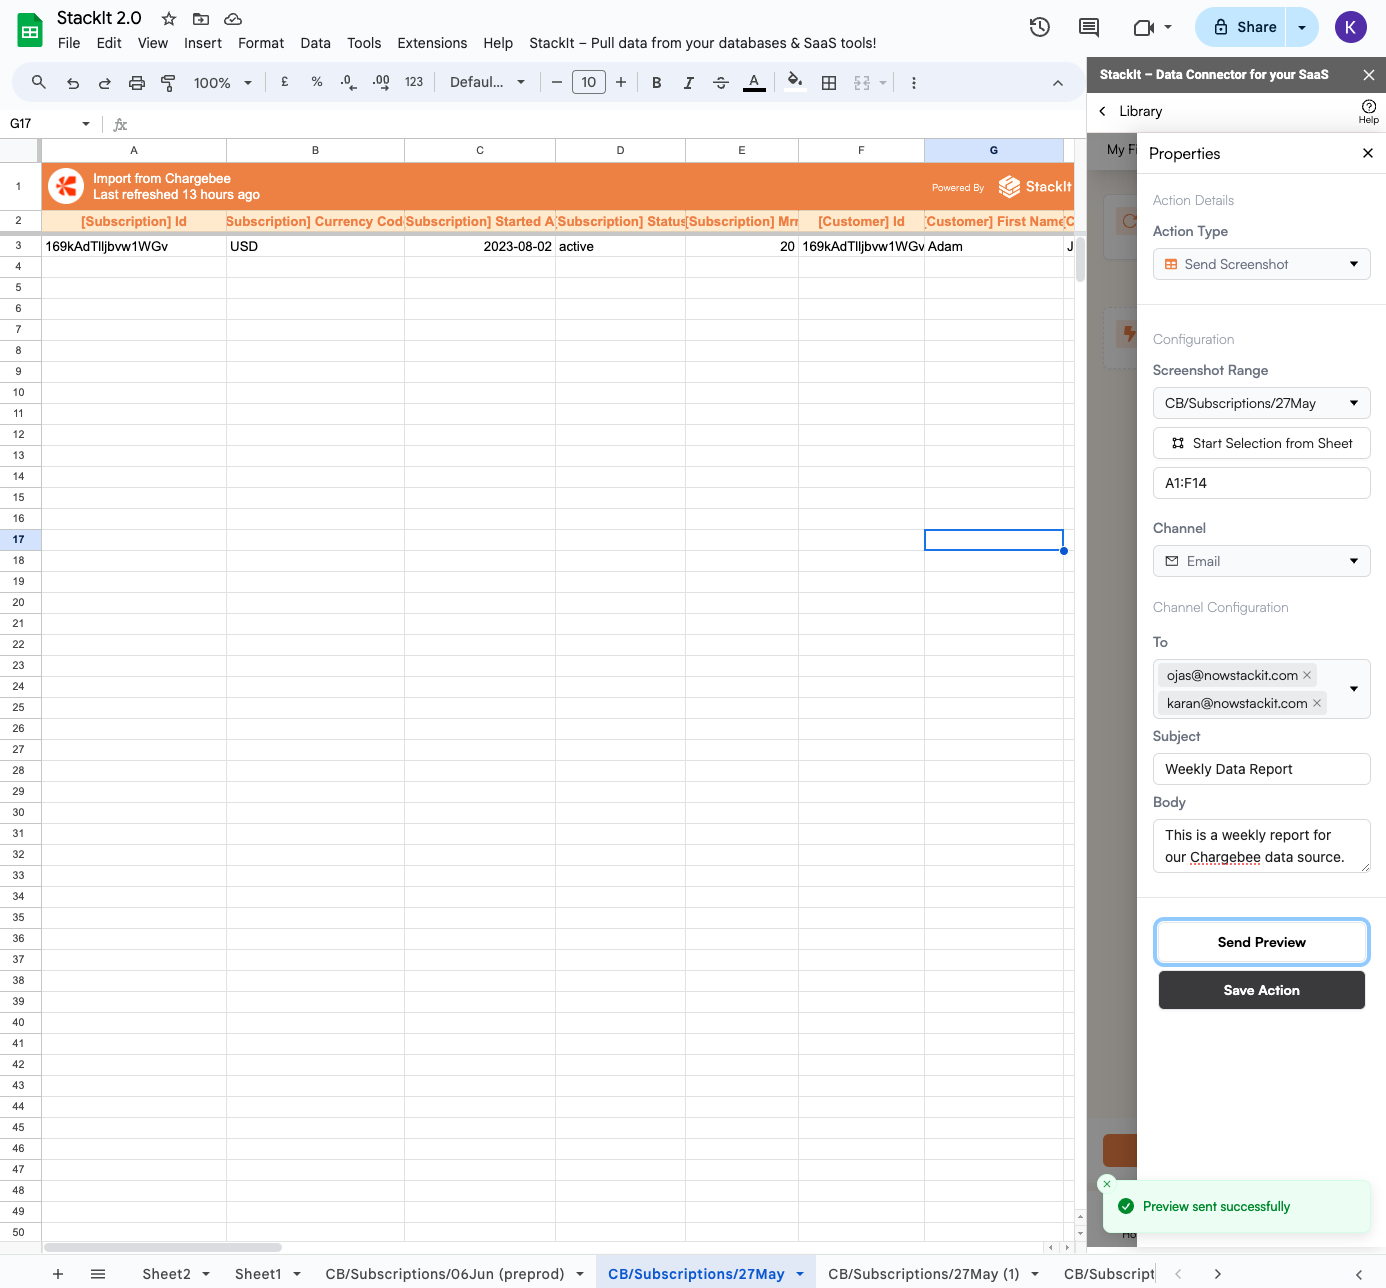
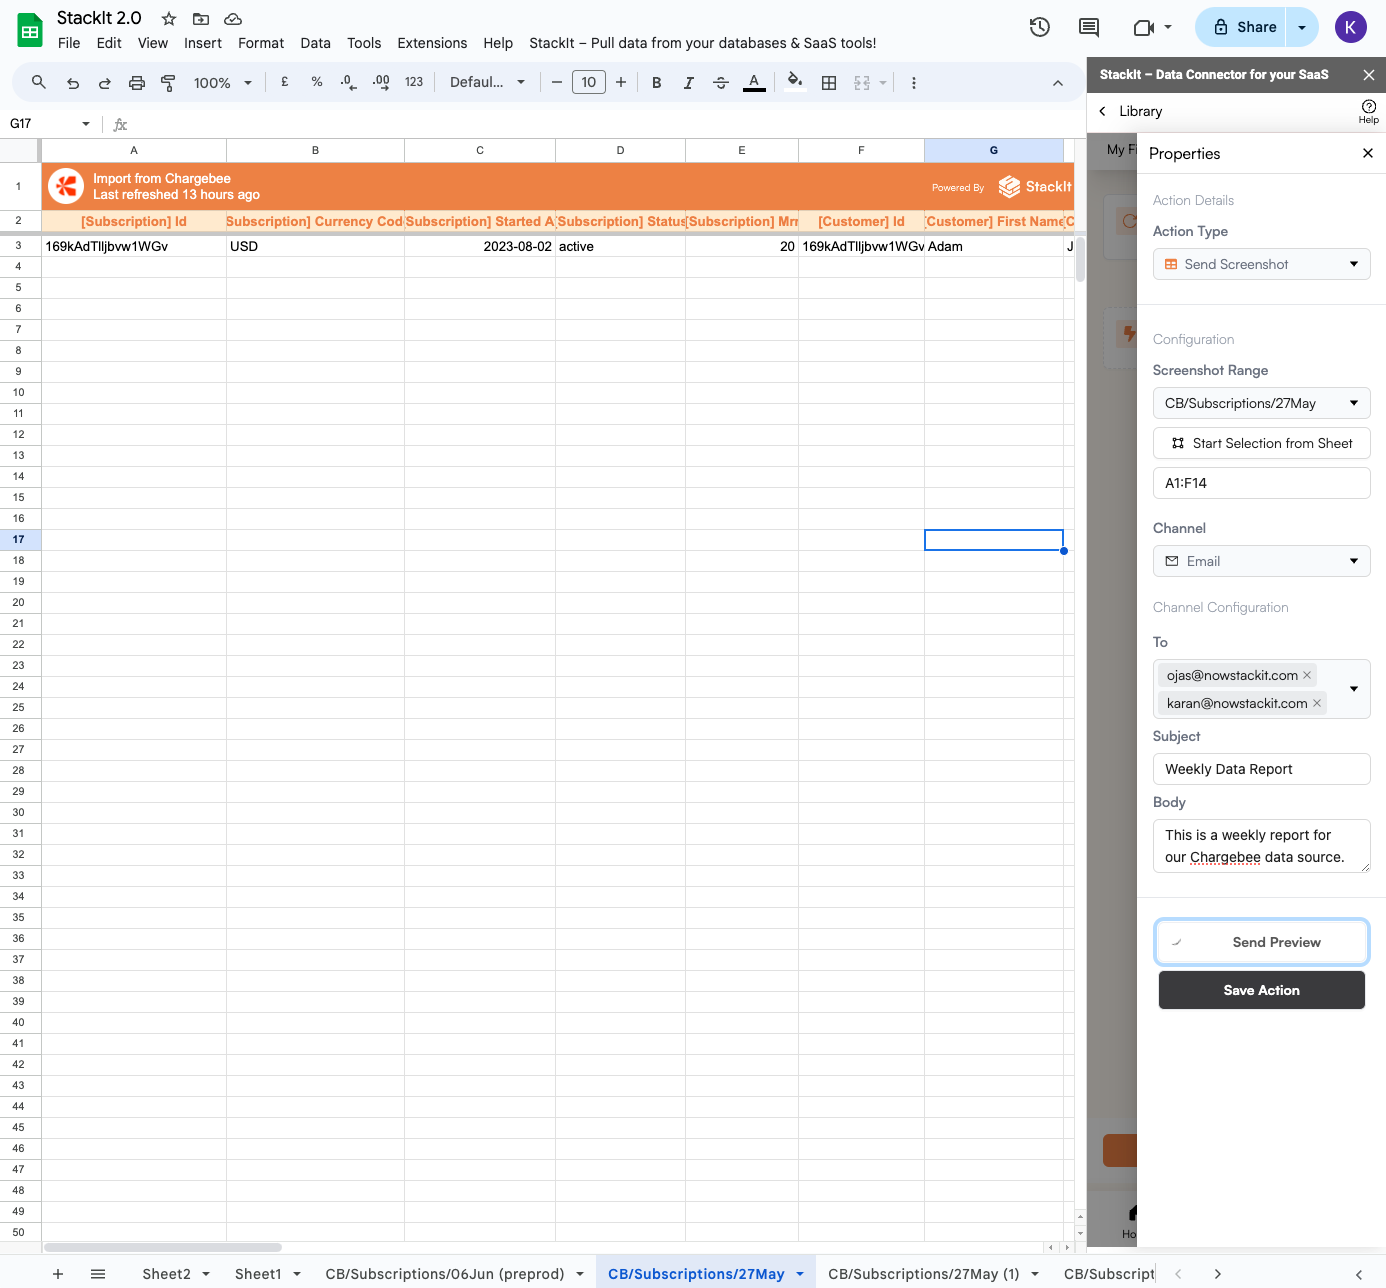 After the preview has been sent successfully, you can save the action and continue adding more actions to your
workflow.
Saving an action does not save the workflow and if you go back to the home screen, you will lose your current work.
After the preview has been sent successfully, you can save the action and continue adding more actions to your
workflow.
Saving an action does not save the workflow and if you go back to the home screen, you will lose your current work.
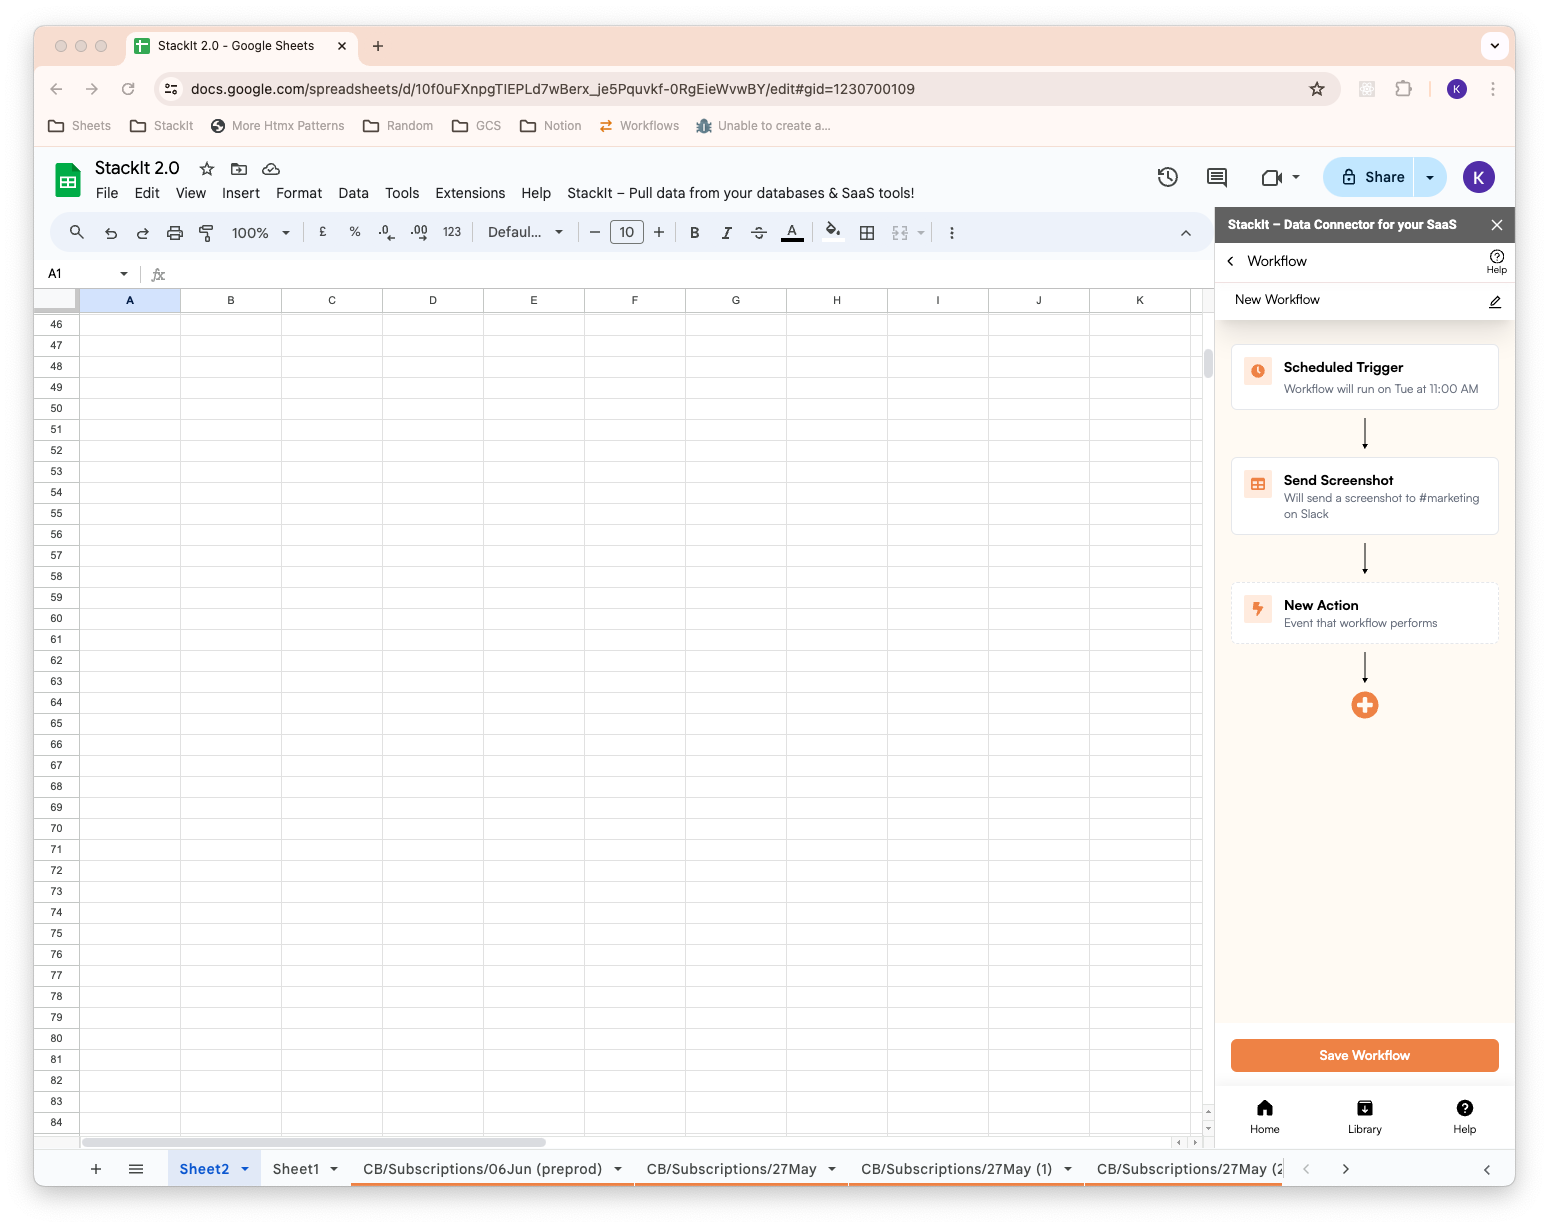
 Click on save workflow to save your workflow. It will now start executing whenever
the associated trigger is fired (for import refresh based trigger) or repeat at the scheduled frequency.
Click on save workflow to save your workflow. It will now start executing whenever
the associated trigger is fired (for import refresh based trigger) or repeat at the scheduled frequency.
 Use the toggle to pause or unpause your workflow.
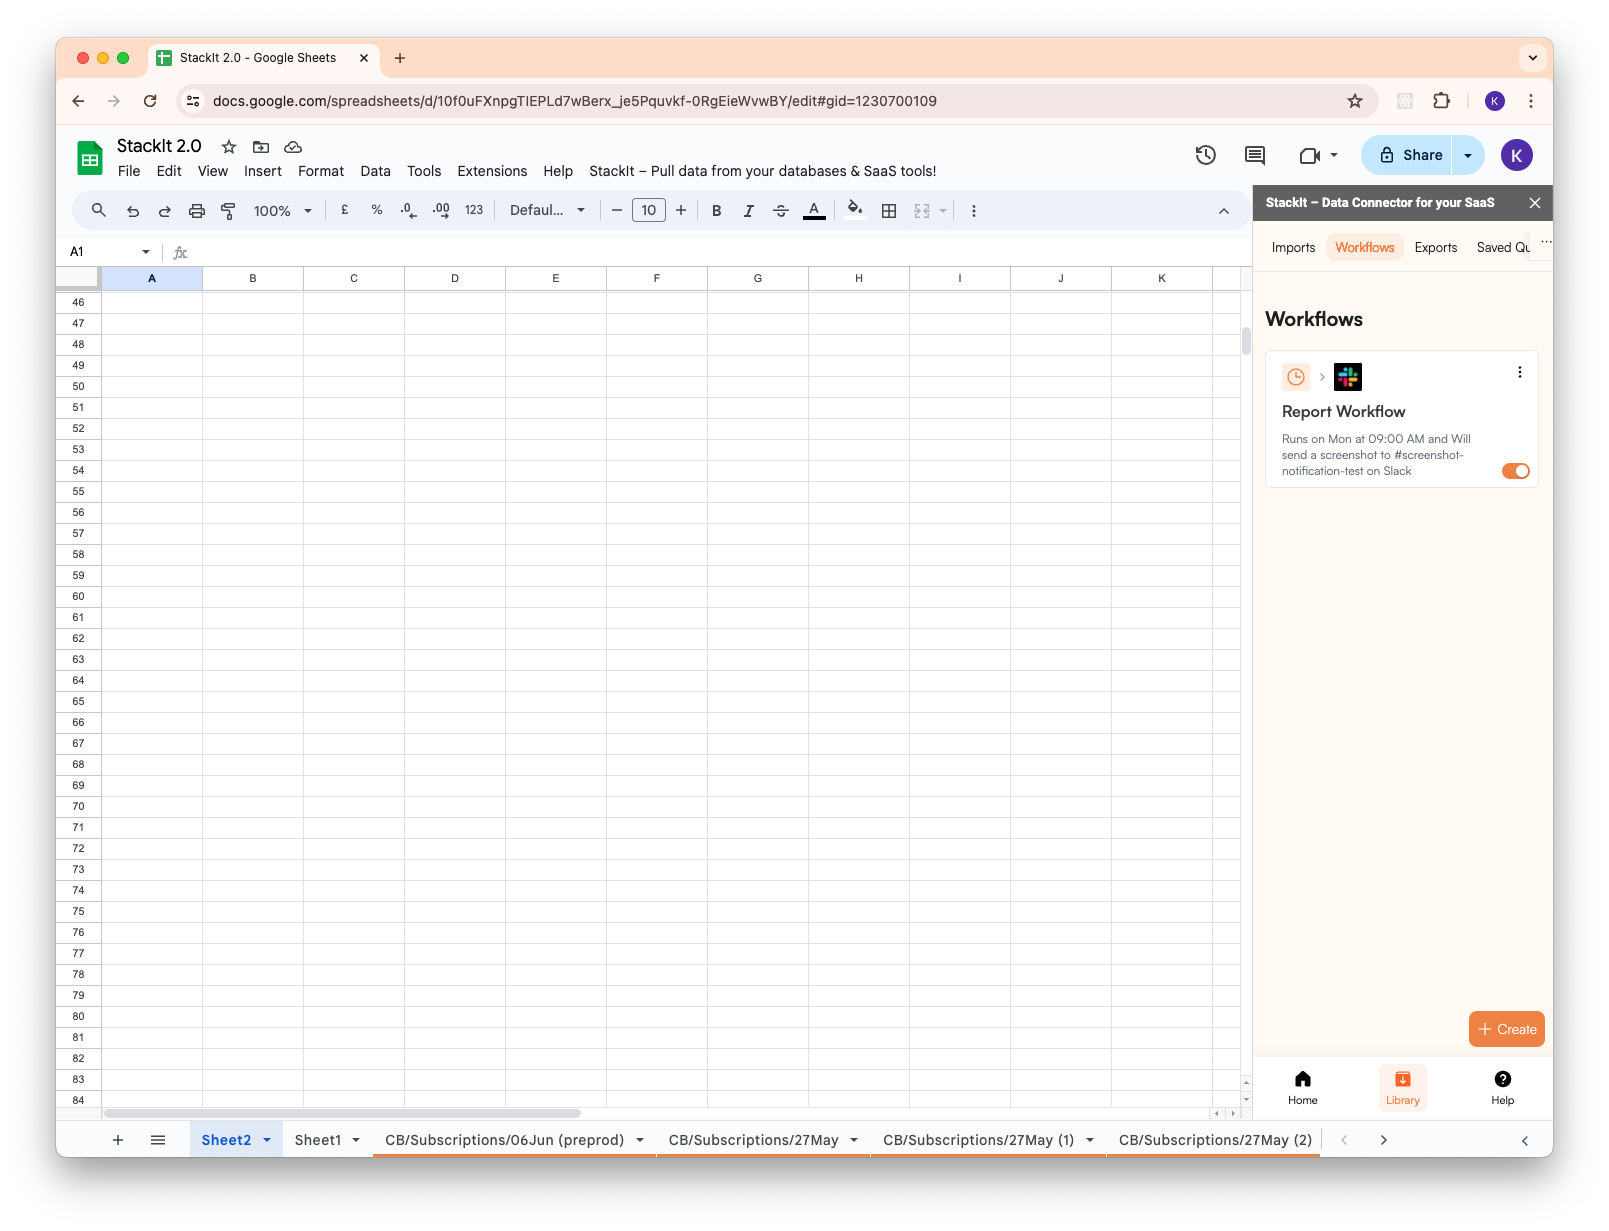 Click the three dots to view more options like delete, duplicate and workflow execution history.
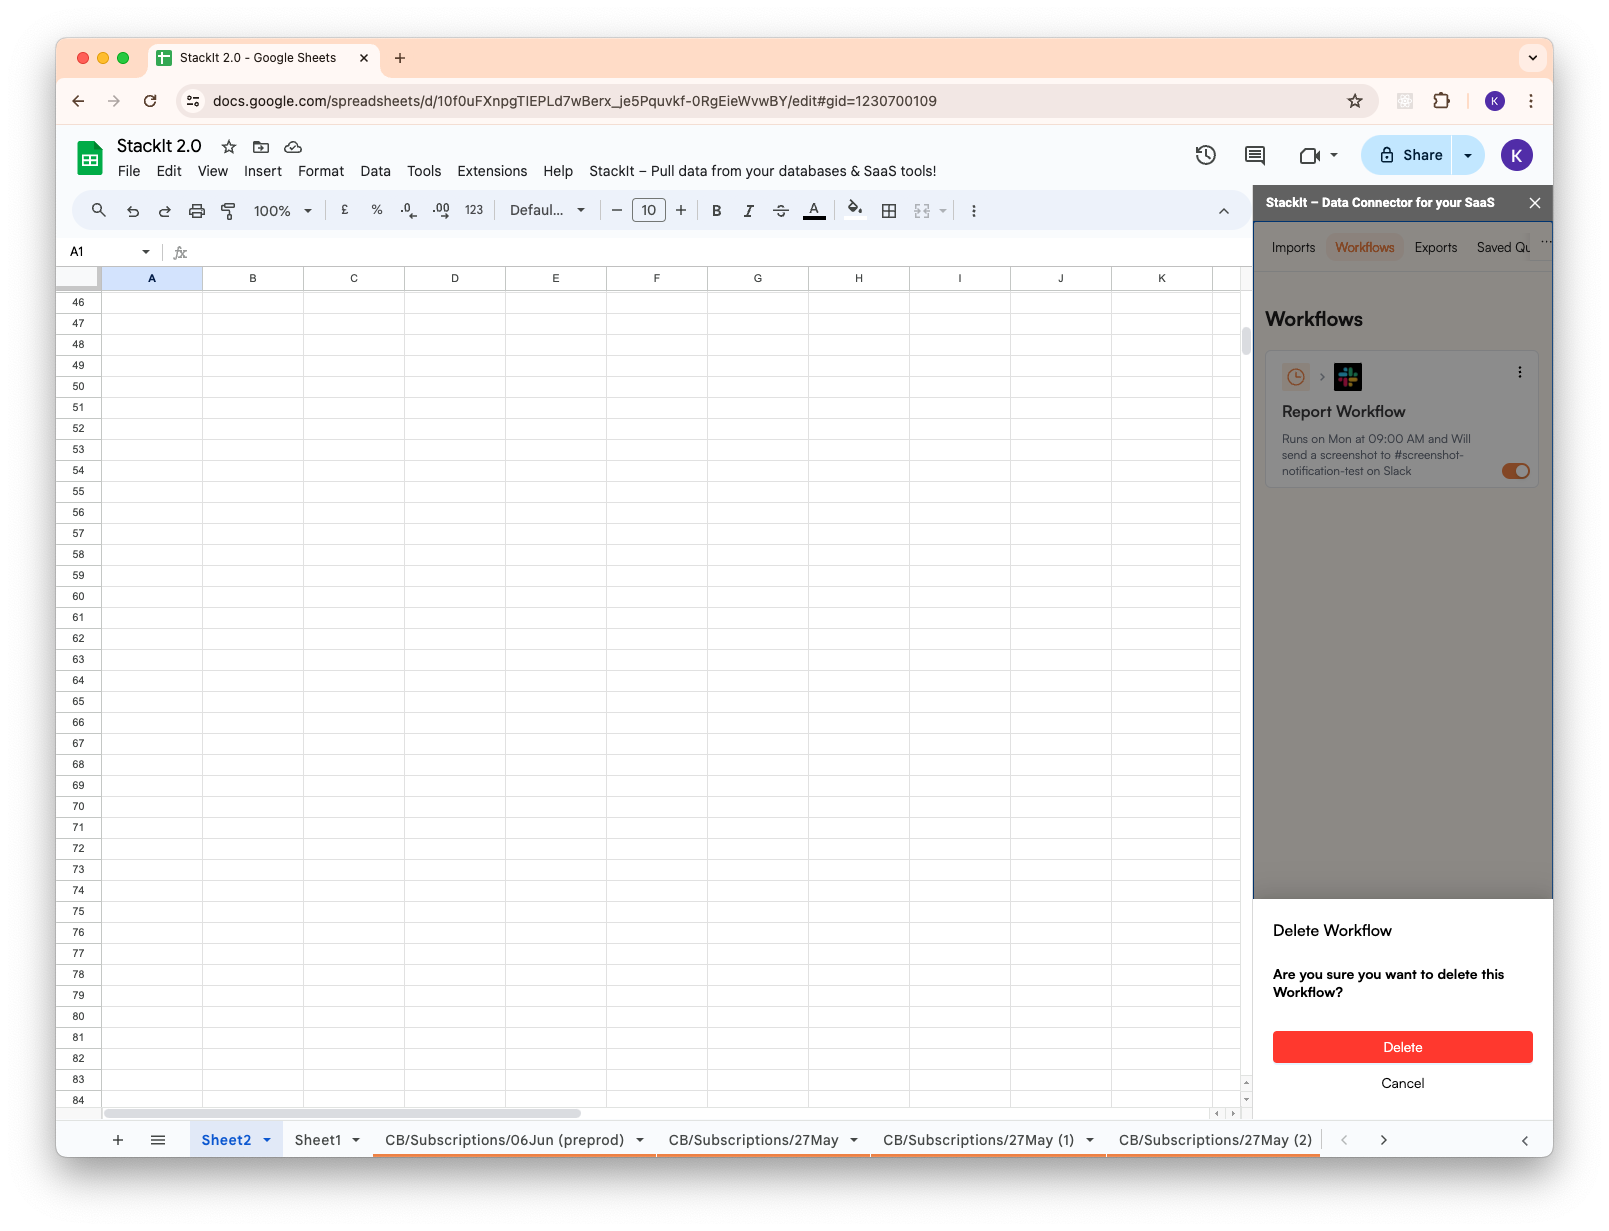
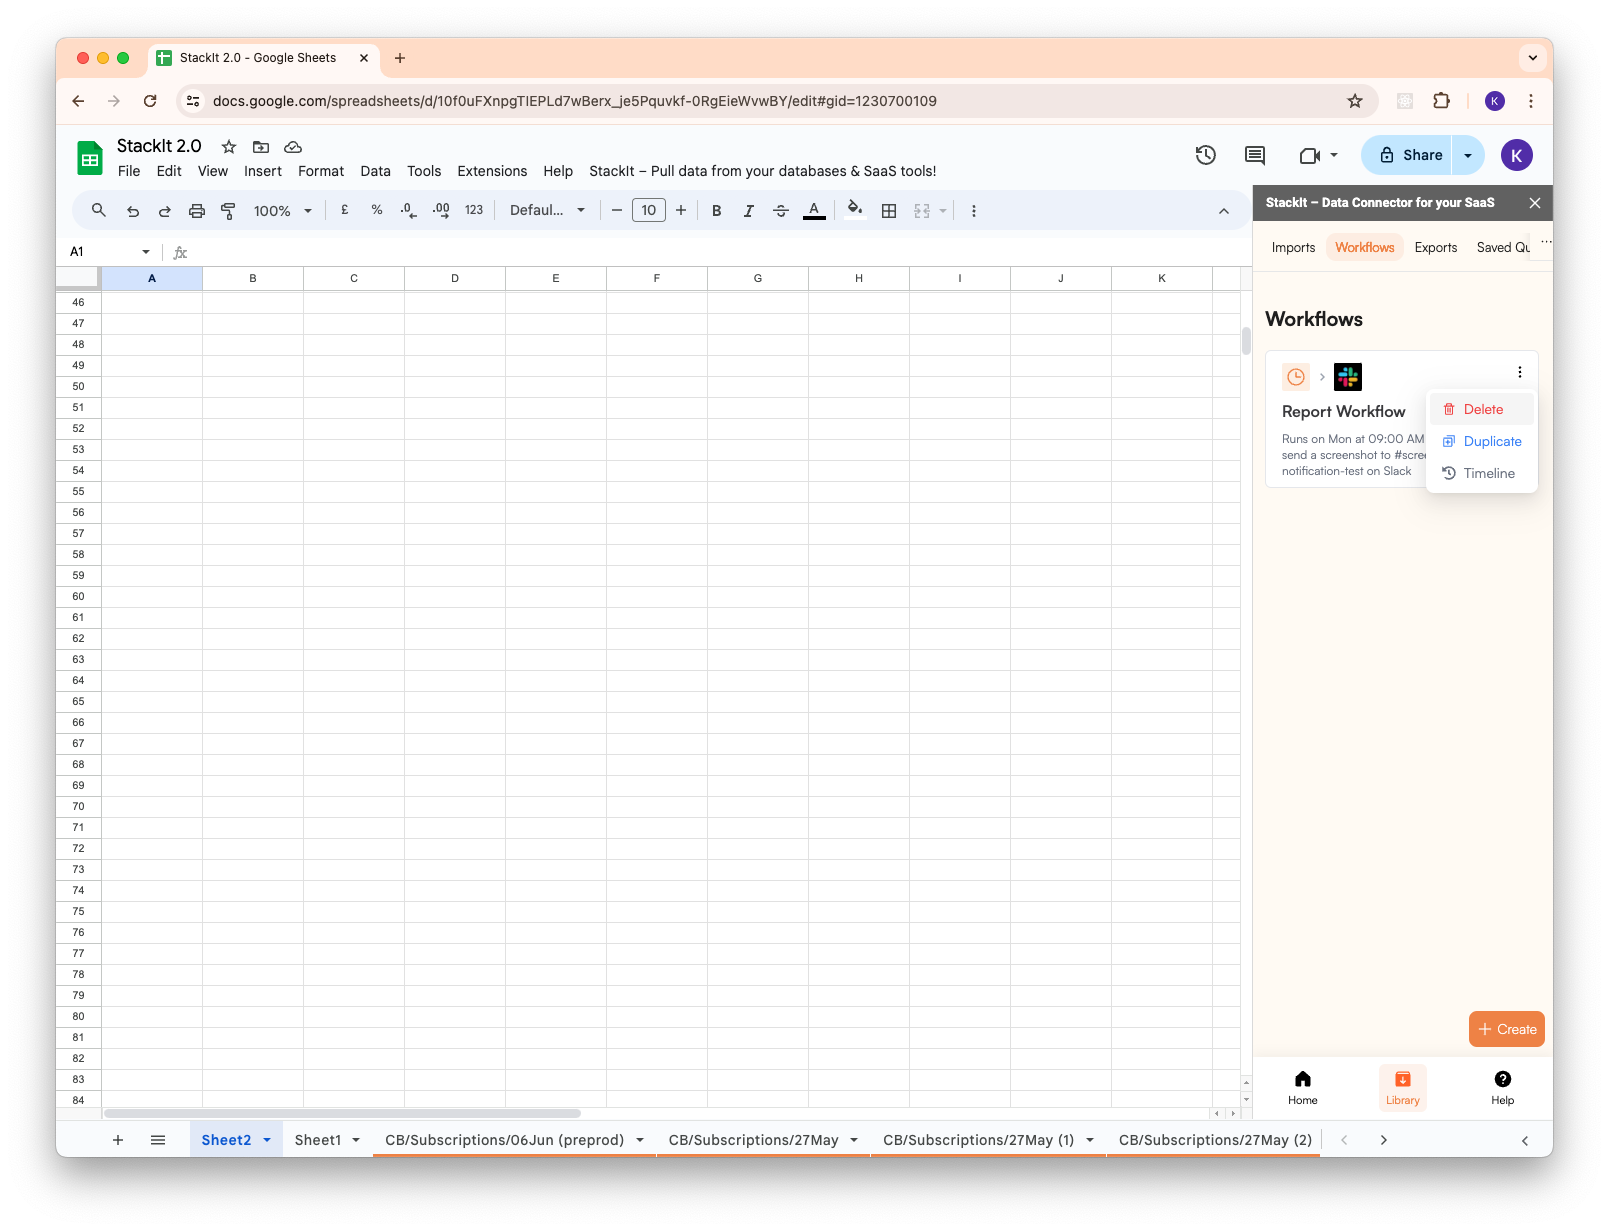 Click the trash icon in the more options menu and then click the `Delete` button.