> ## Documentation Index
> Fetch the complete documentation index at: https://docs.superjoin.ai/llms.txt
> Use this file to discover all available pages before exploring further.
# Send Google Sheet snapshots to Slack automatically
> Connect Slack to Google Sheets in a few clicks
Only available on Google Sheets
### What is Superjoin’s Google Sheet-Slack Integration?
The Slack integration allows you to connect your team's Slack to Superjoin
and send automated notifications to any public channel through our bot `Updates by Superjoin`.
Follow this guide to setup a workflow
**(steps 1-10)**.
Select Slack from the notification channel dropdown.
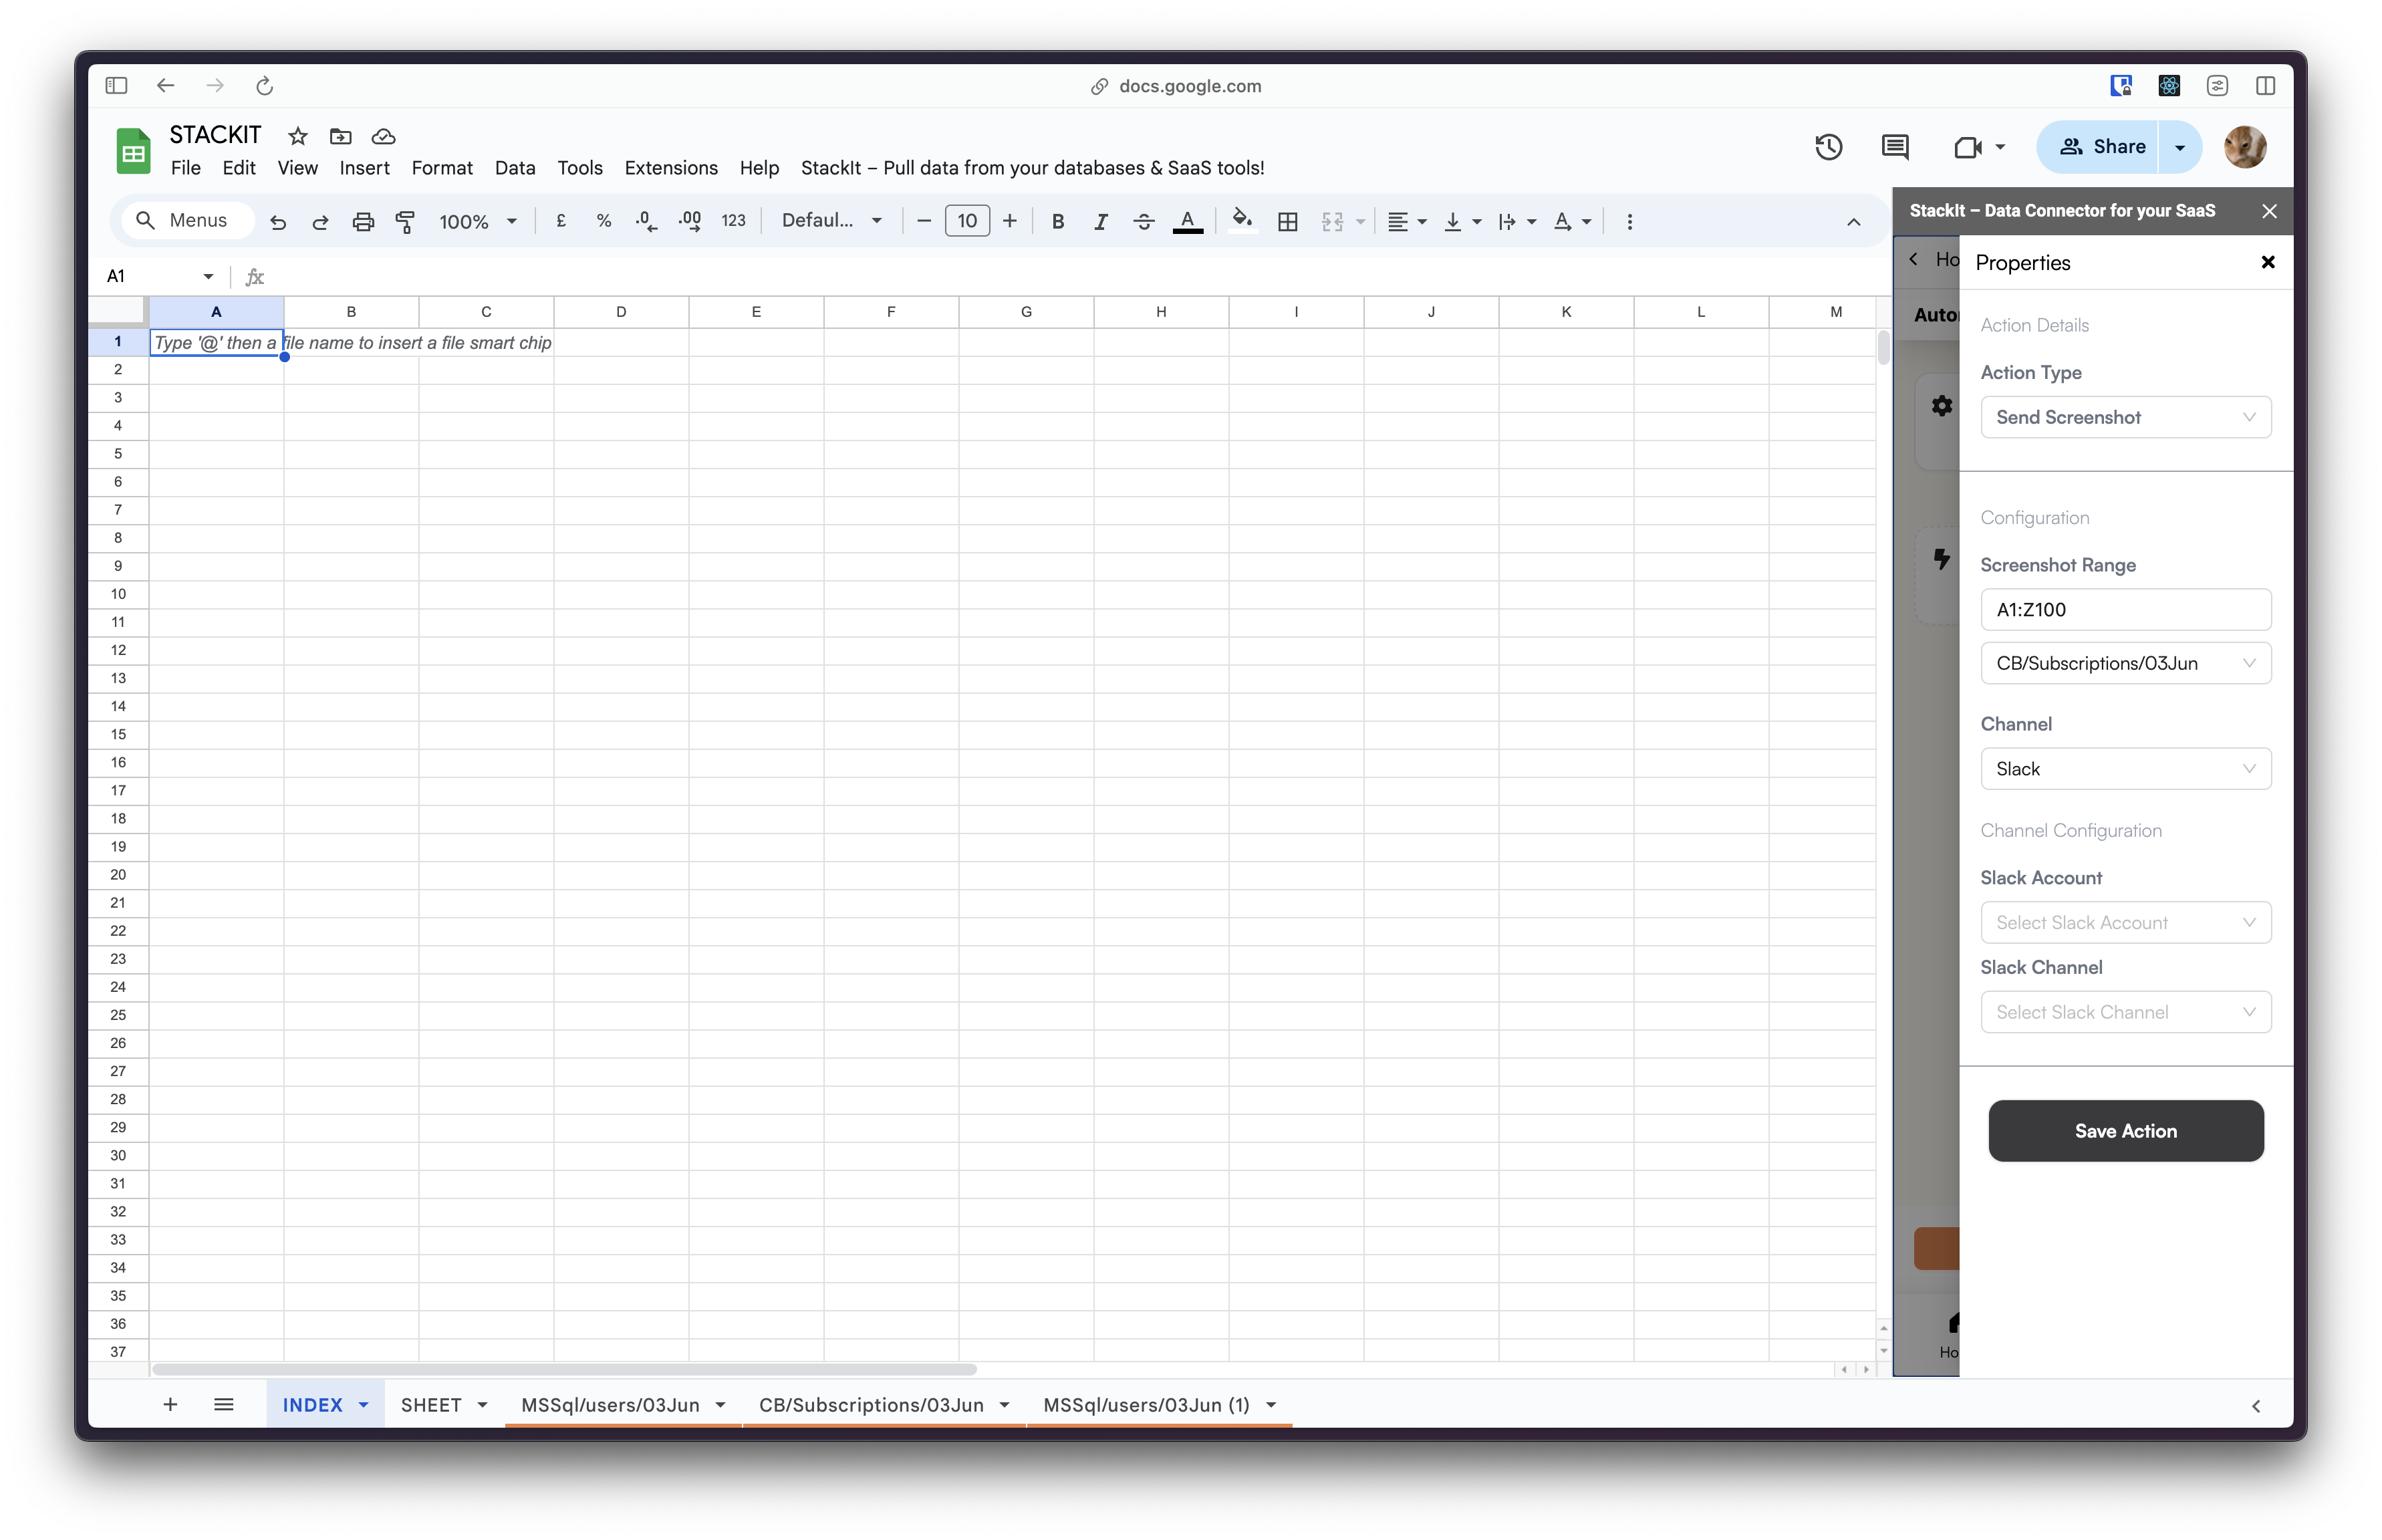 Click on connect to connect to your team's Slack and give Superjoin access
to public channels.
We can only send notifications to public channels and cannot read any
messages.
Click on connect to connect to your team's Slack and give Superjoin access
to public channels.
We can only send notifications to public channels and cannot read any
messages.
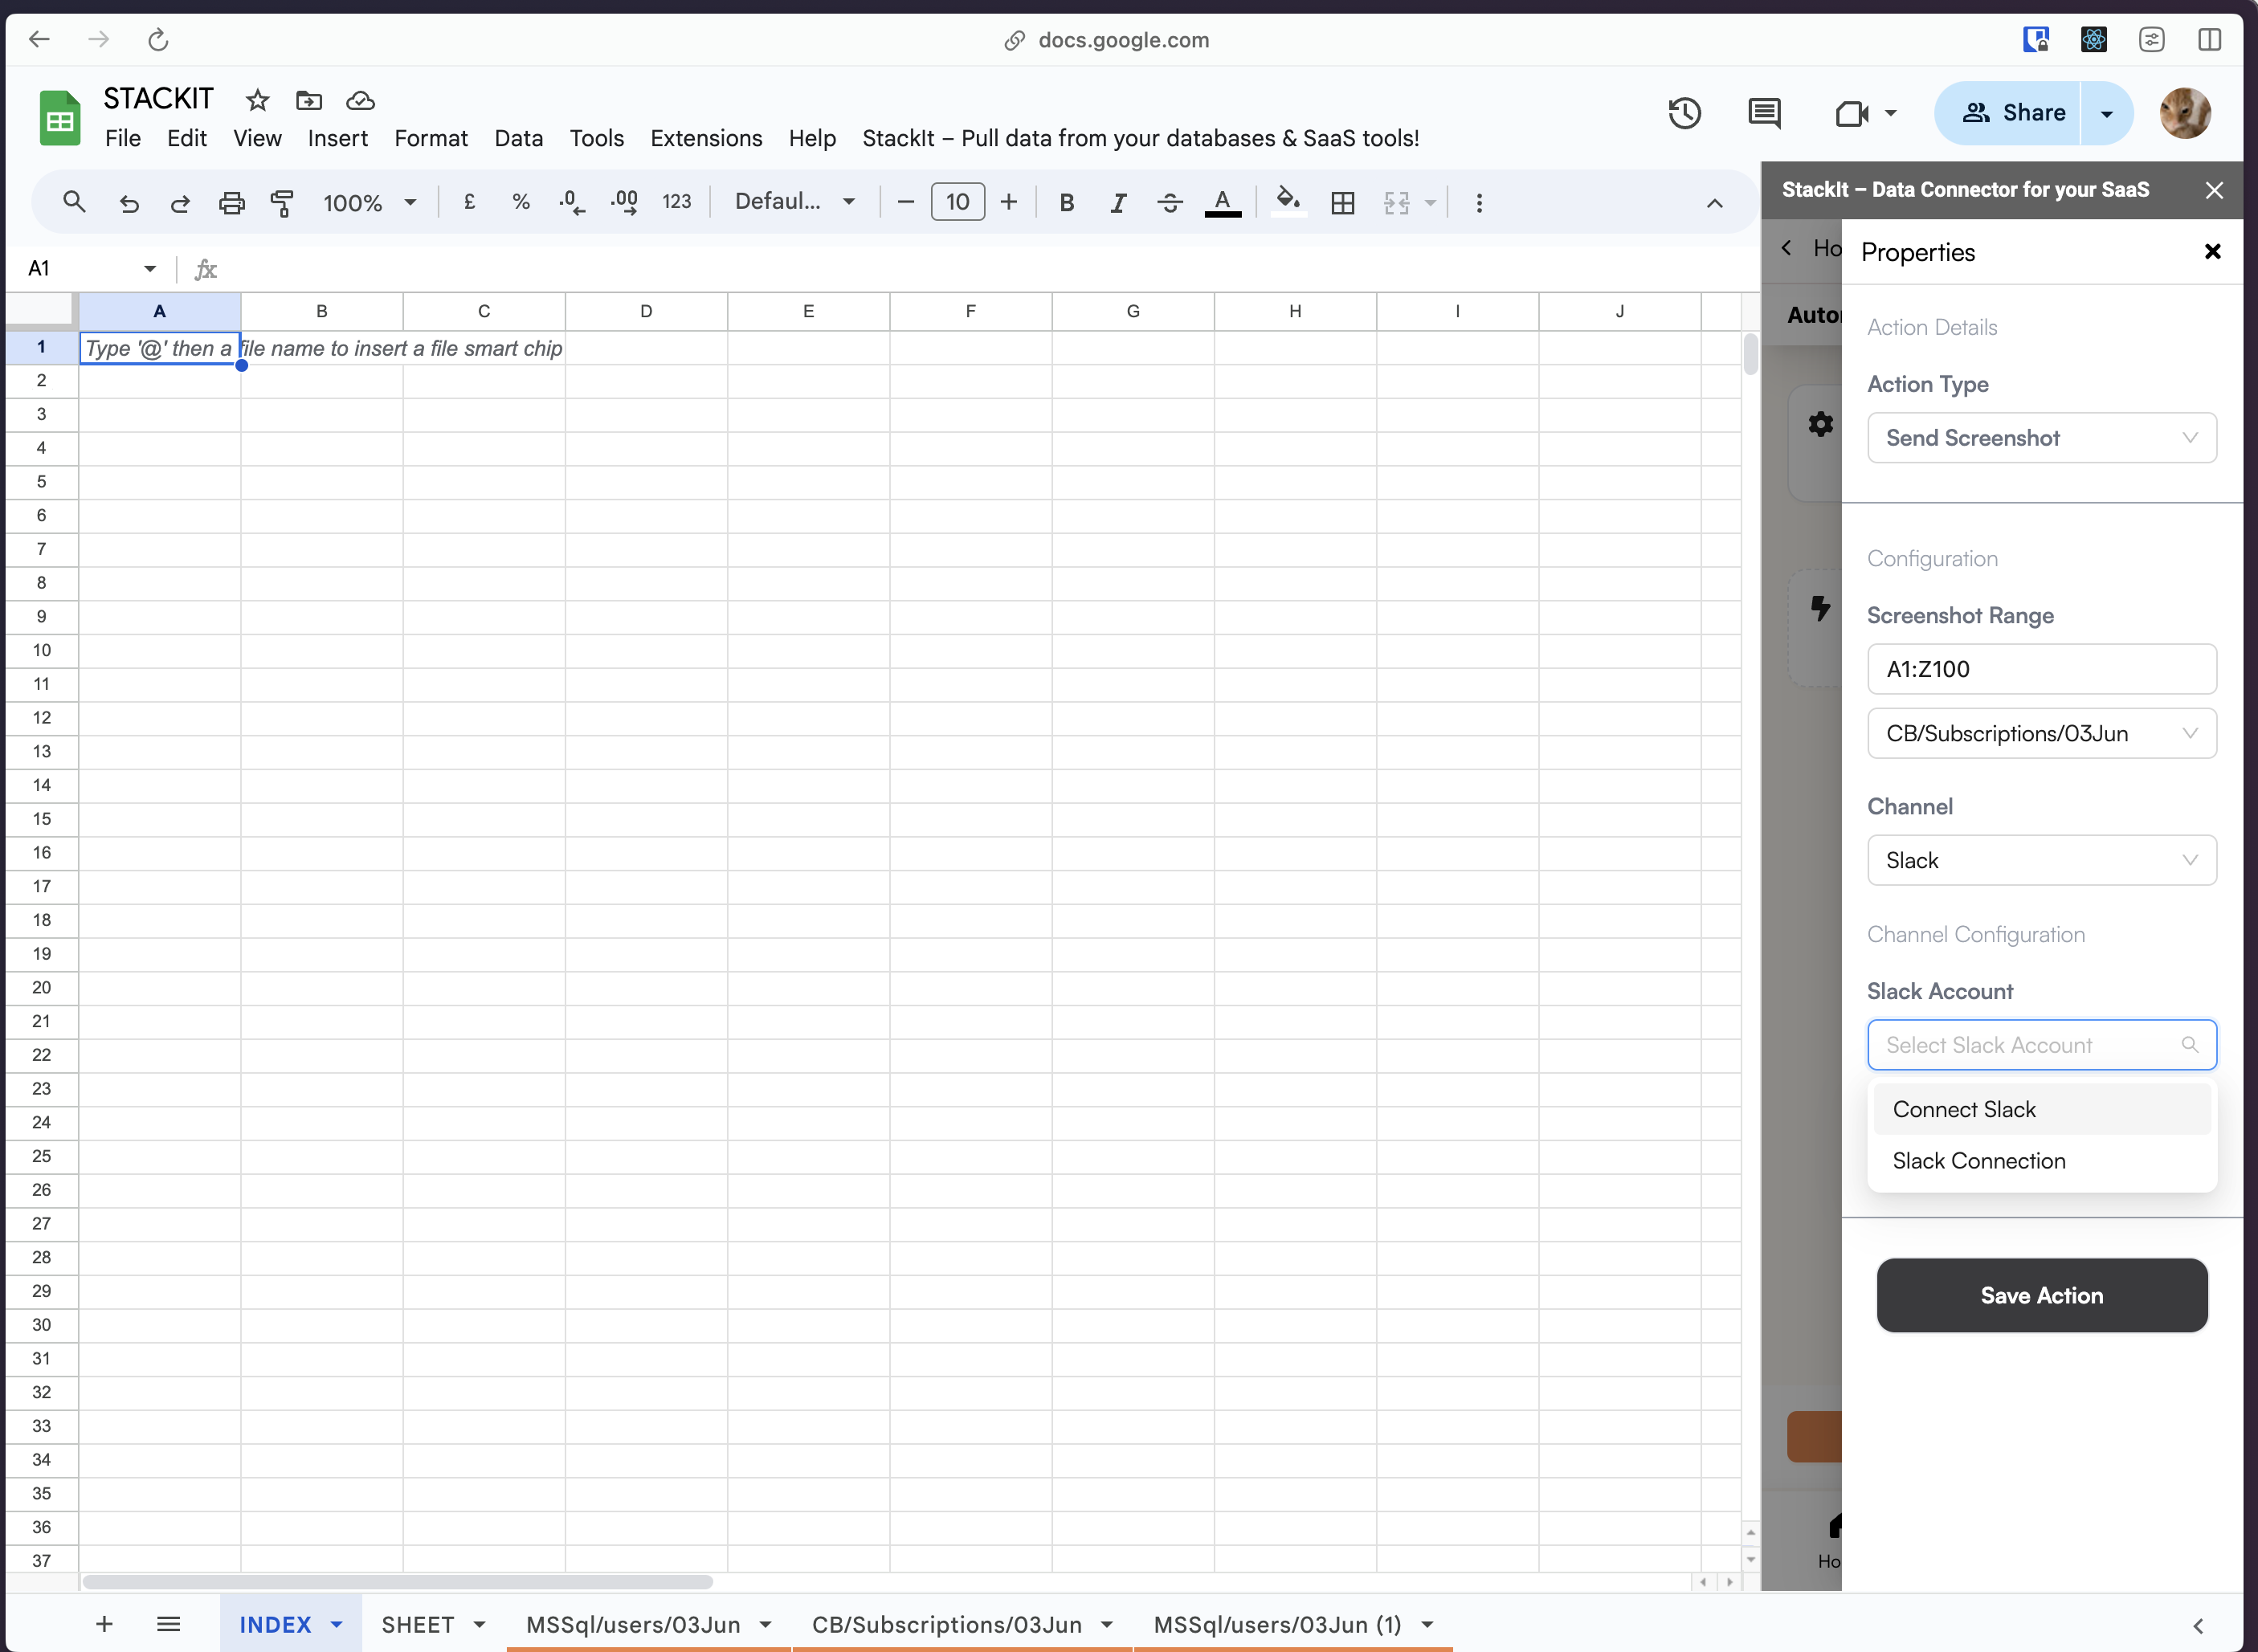 Click allow to install Superjoin's bot to your team's Slack. After
successful authentication, this window will close automatically.
Click allow to install Superjoin's bot to your team's Slack. After
successful authentication, this window will close automatically.
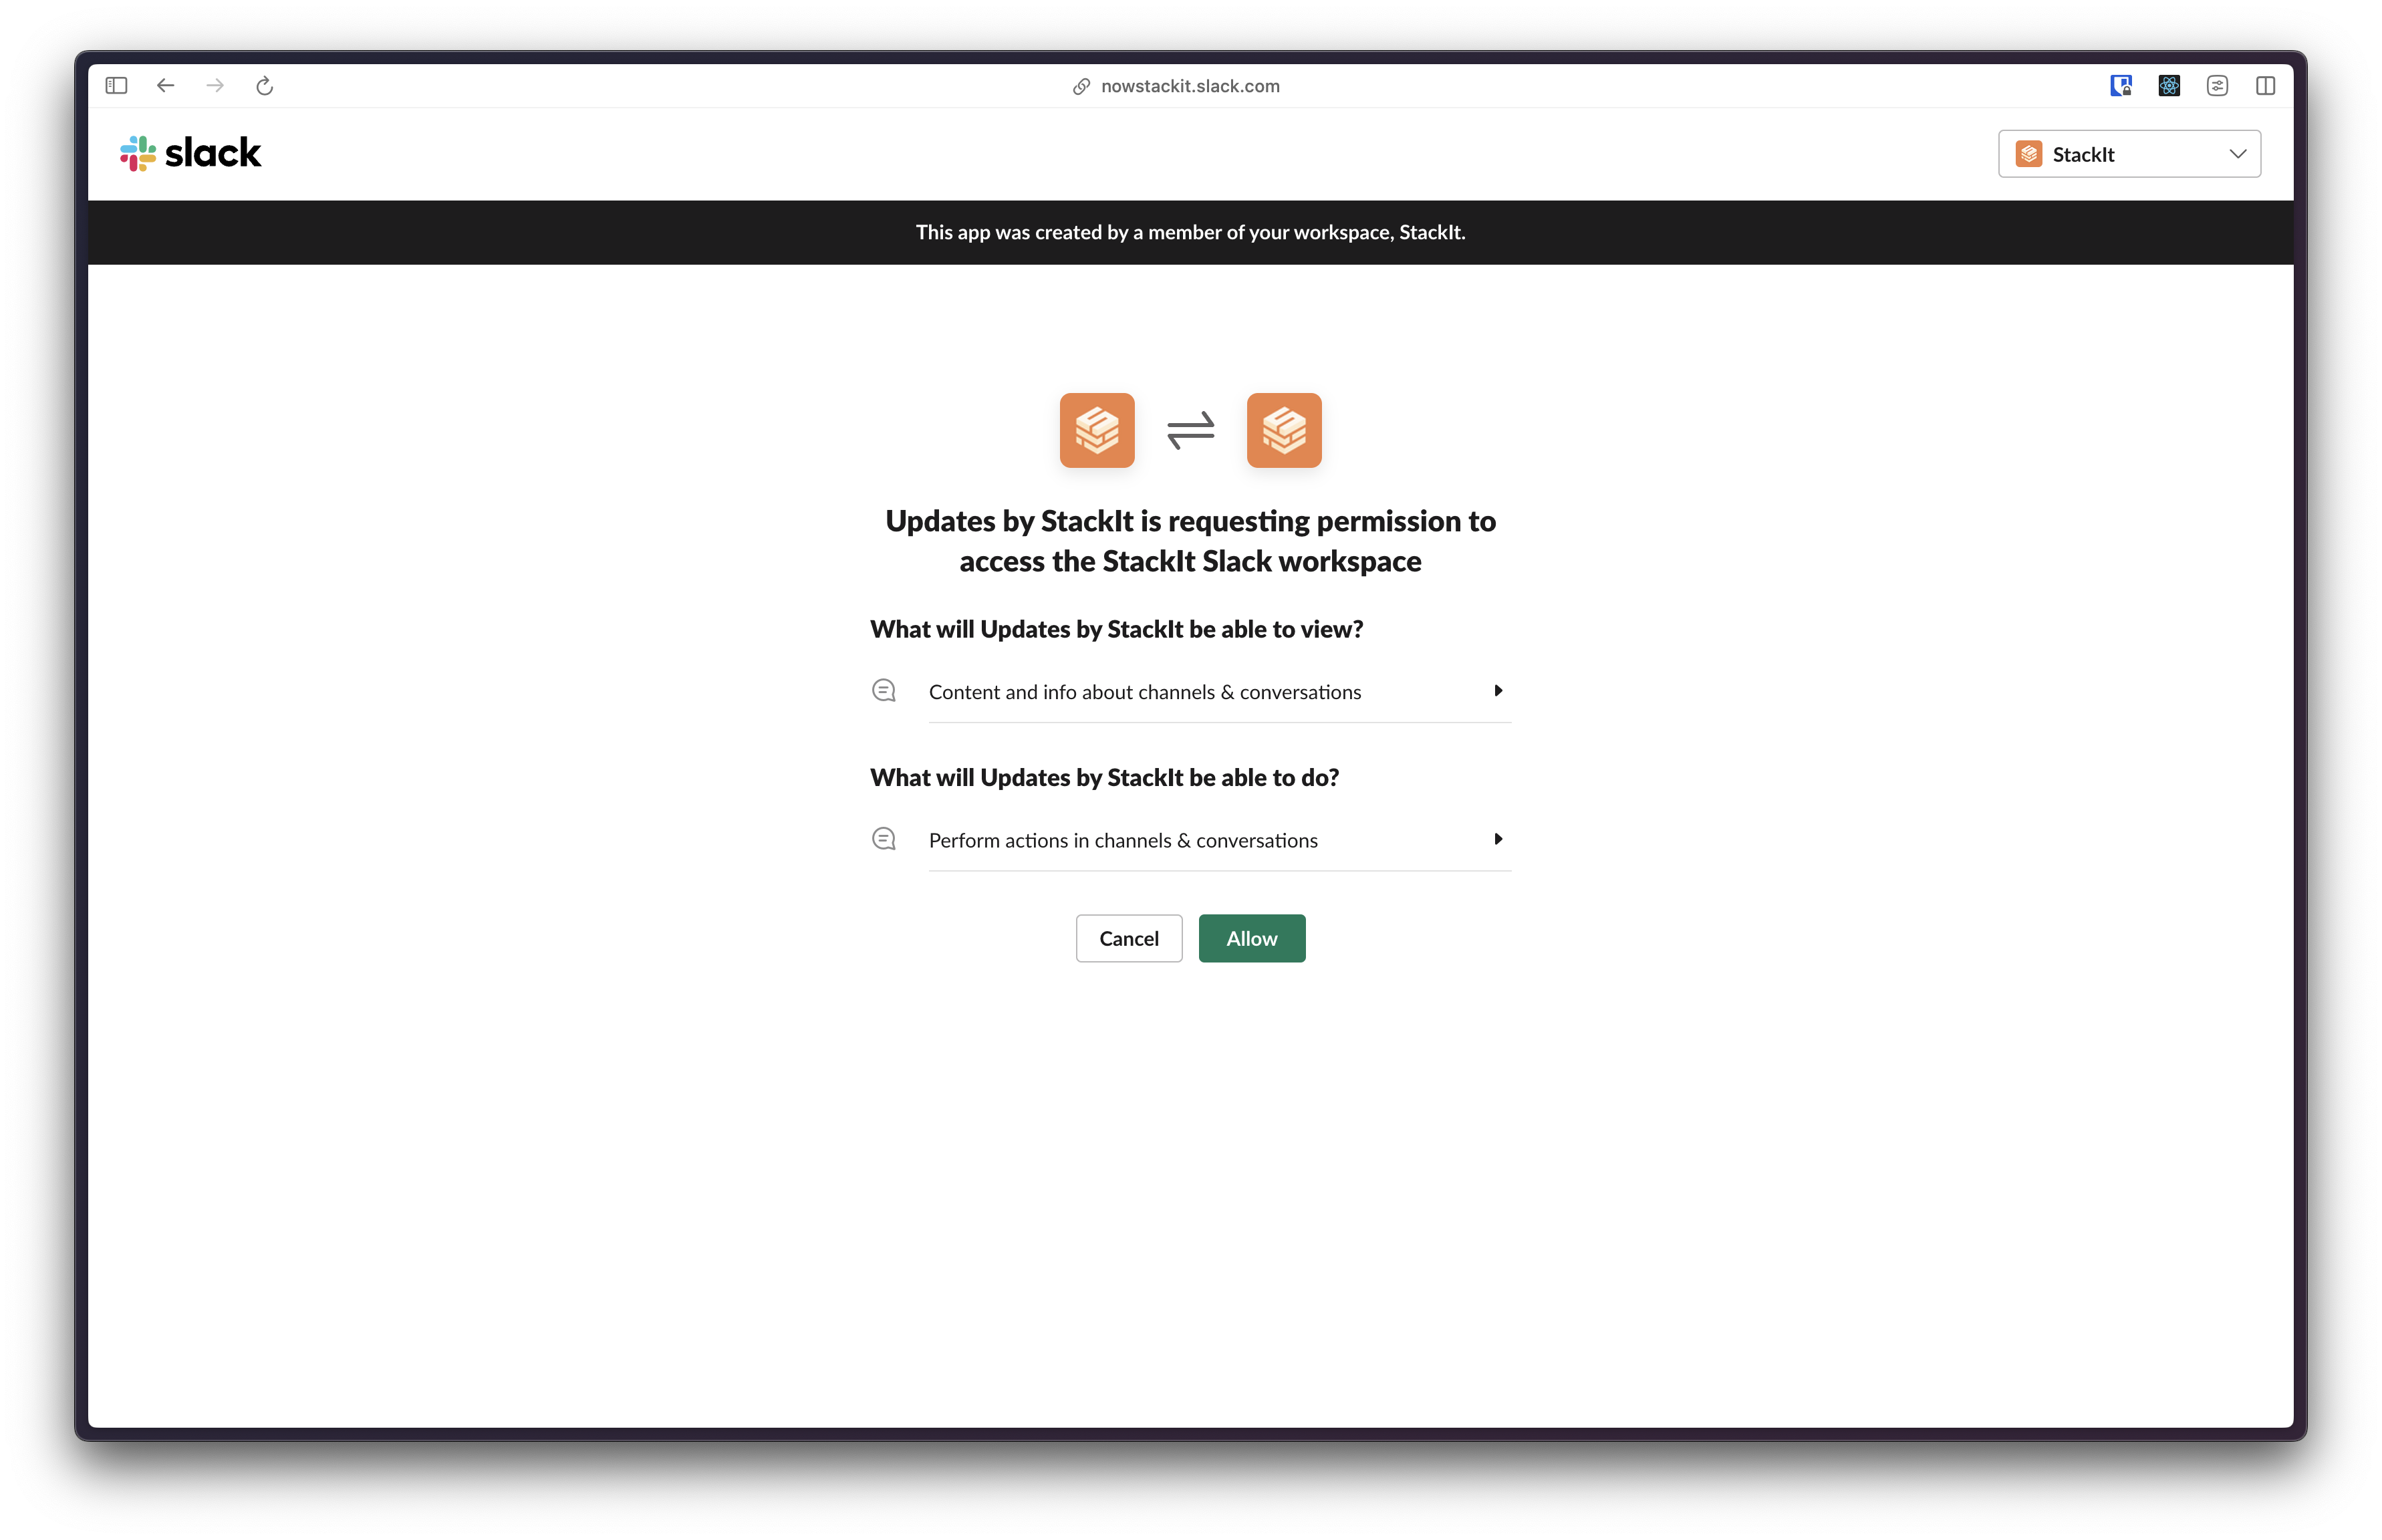 You should see this message on your screen after successful connection. This
tab will close automatically or you can close it manually.
You should see this message on your screen after successful connection. This
tab will close automatically or you can close it manually.
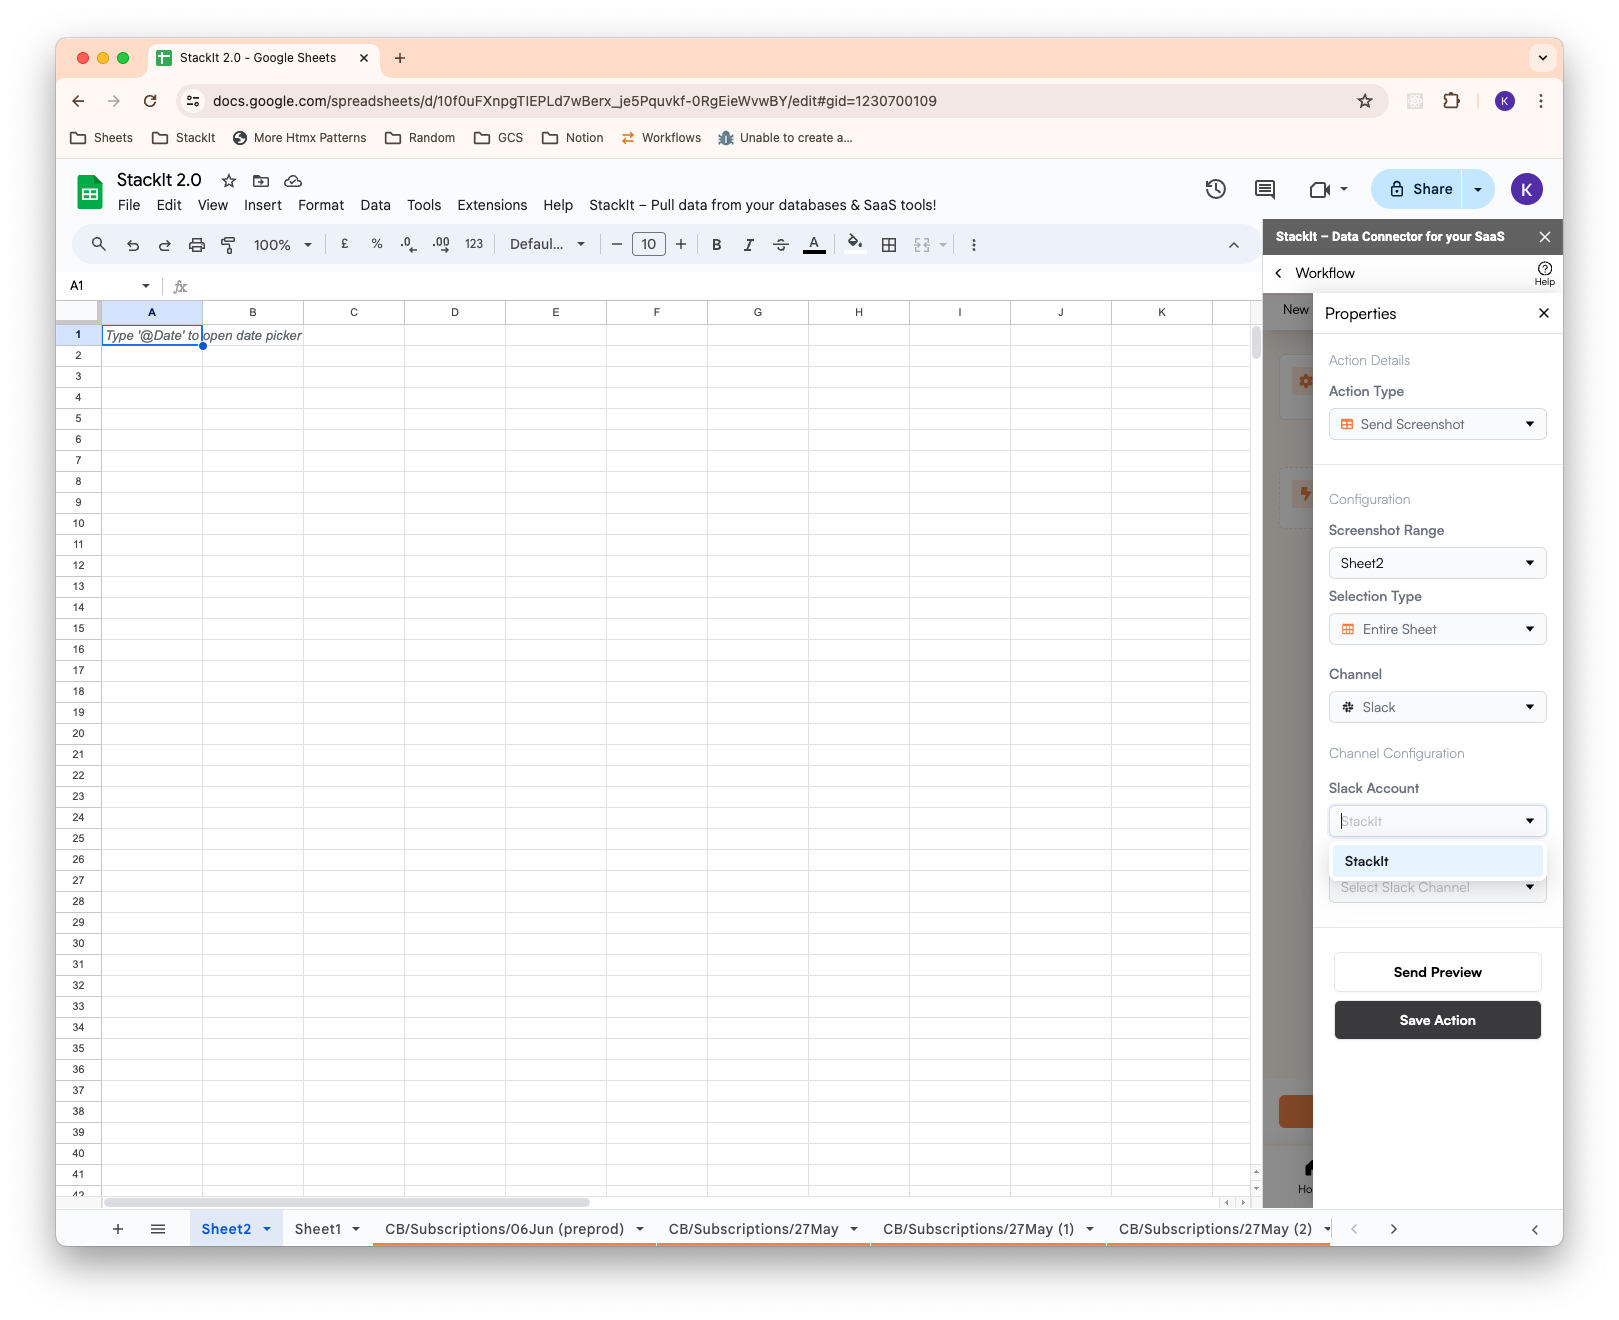
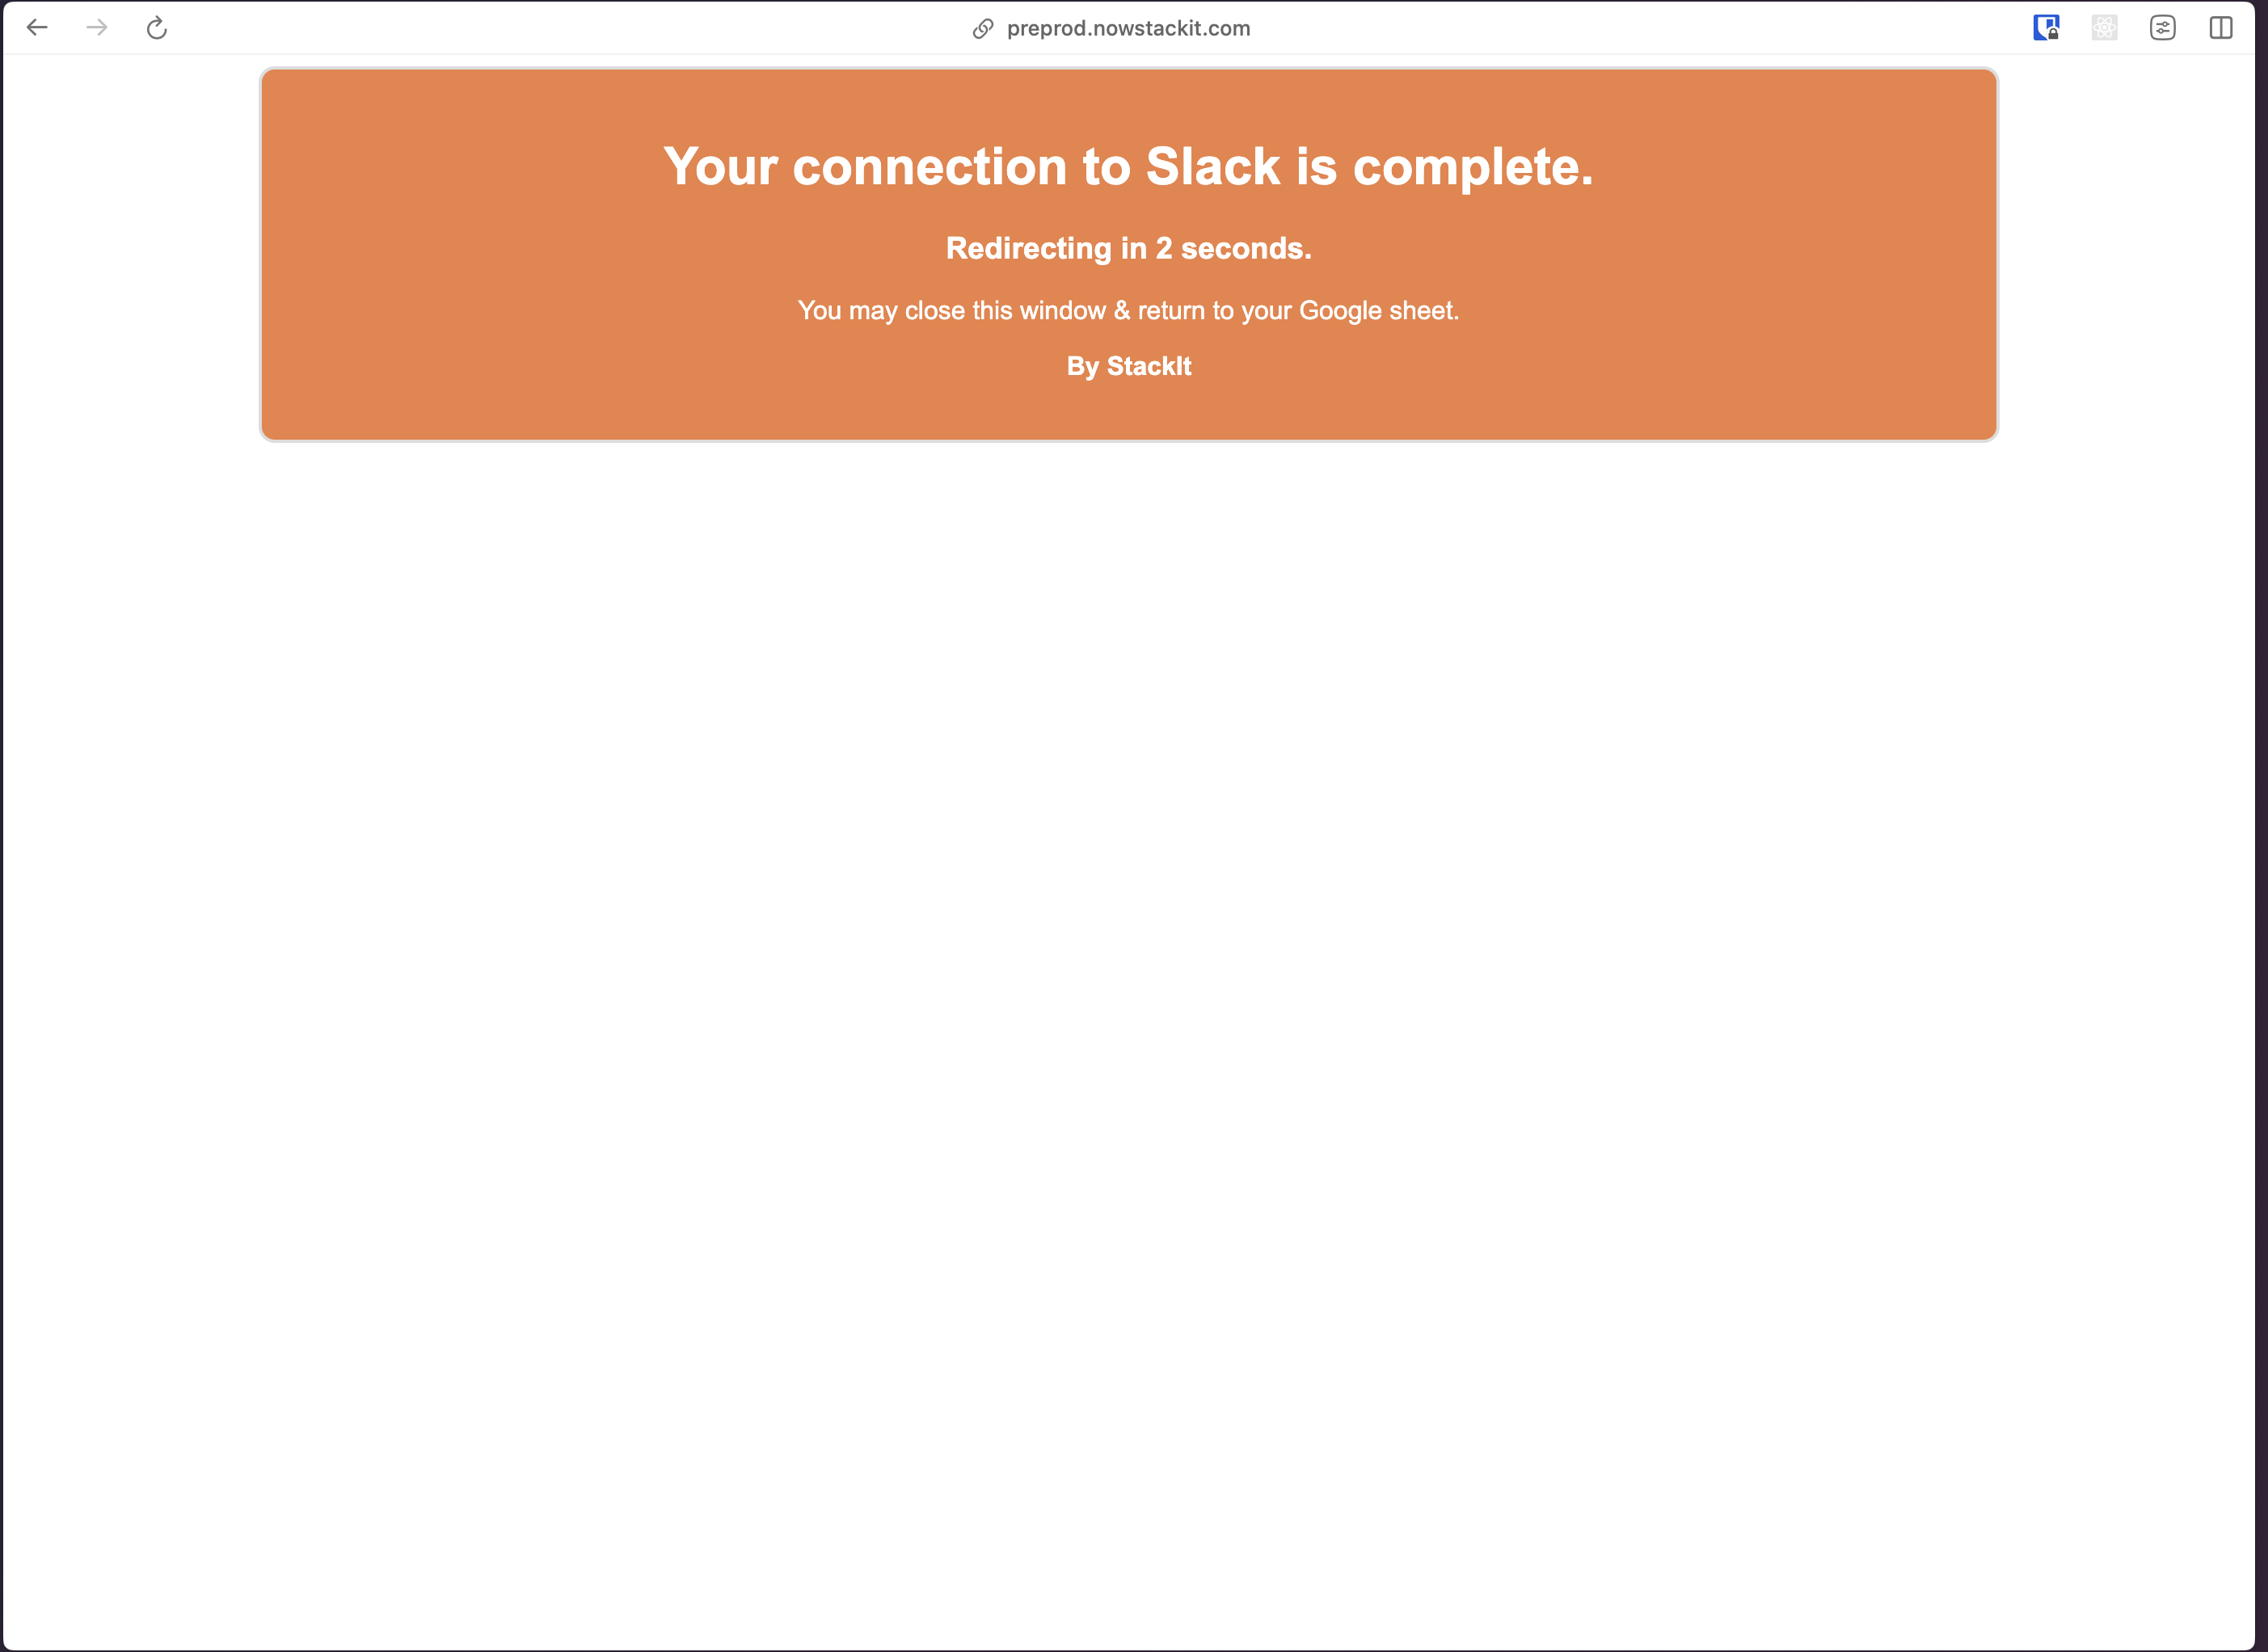 You can now select your Slack account. Each new account that you
authenticate will show up here under the name of your Slack team.
You can now select your Slack account. Each new account that you
authenticate will show up here under the name of your Slack team.
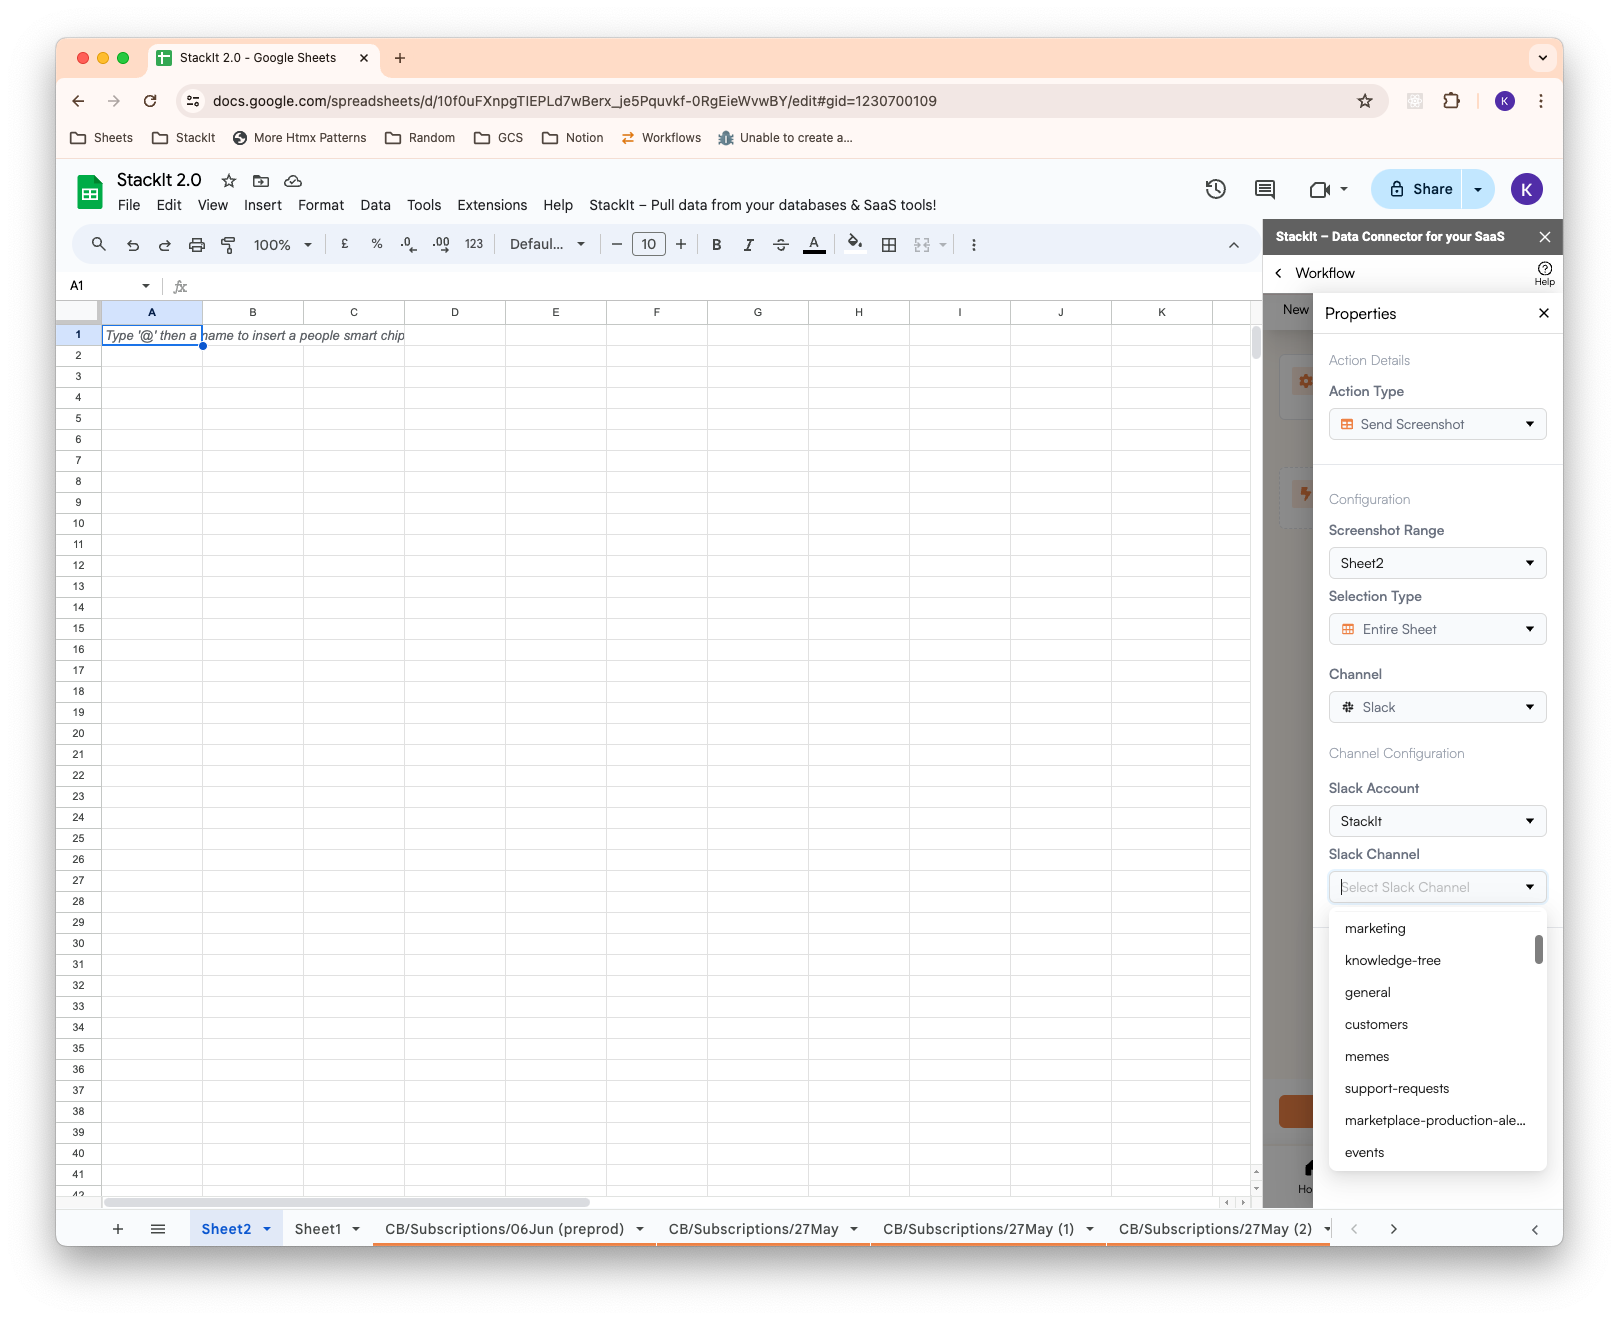
 Finally, you can now select (or type) the public channel where you wish to
send your automated notifications. We recommend creating a dedicated public
channel for our bot so you can have a clean message history.
Finally, you can now select (or type) the public channel where you wish to
send your automated notifications. We recommend creating a dedicated public
channel for our bot so you can have a clean message history.
 You should now have a Slack account connected and a channel selected for
sending notifications.
You should now have a Slack account connected and a channel selected for
sending notifications.