- Google Sheets
- Microsoft Excel
Why use Superjoin’s Google Sheets-Mailchimp Integration?
Quick and Easy Integration
We’ve meticulously organized the data points to ensure easy accessibility in a format you’re already familiar with.
Preview your imports visually
Get a sneak peek of your data. Select columns, apply filters & limits as per your need before importing.
Automatic Refreshes
Enjoy one-click refreshes or schedule regular updates to ensure your sheets are always up to date.
Power of Google Sheets
Benefit from Google Sheets’ collaborative data analysis & other powerful capabilities.
Step-by-step walkthrough: How to connect Mailchimp to Google Sheets.
1
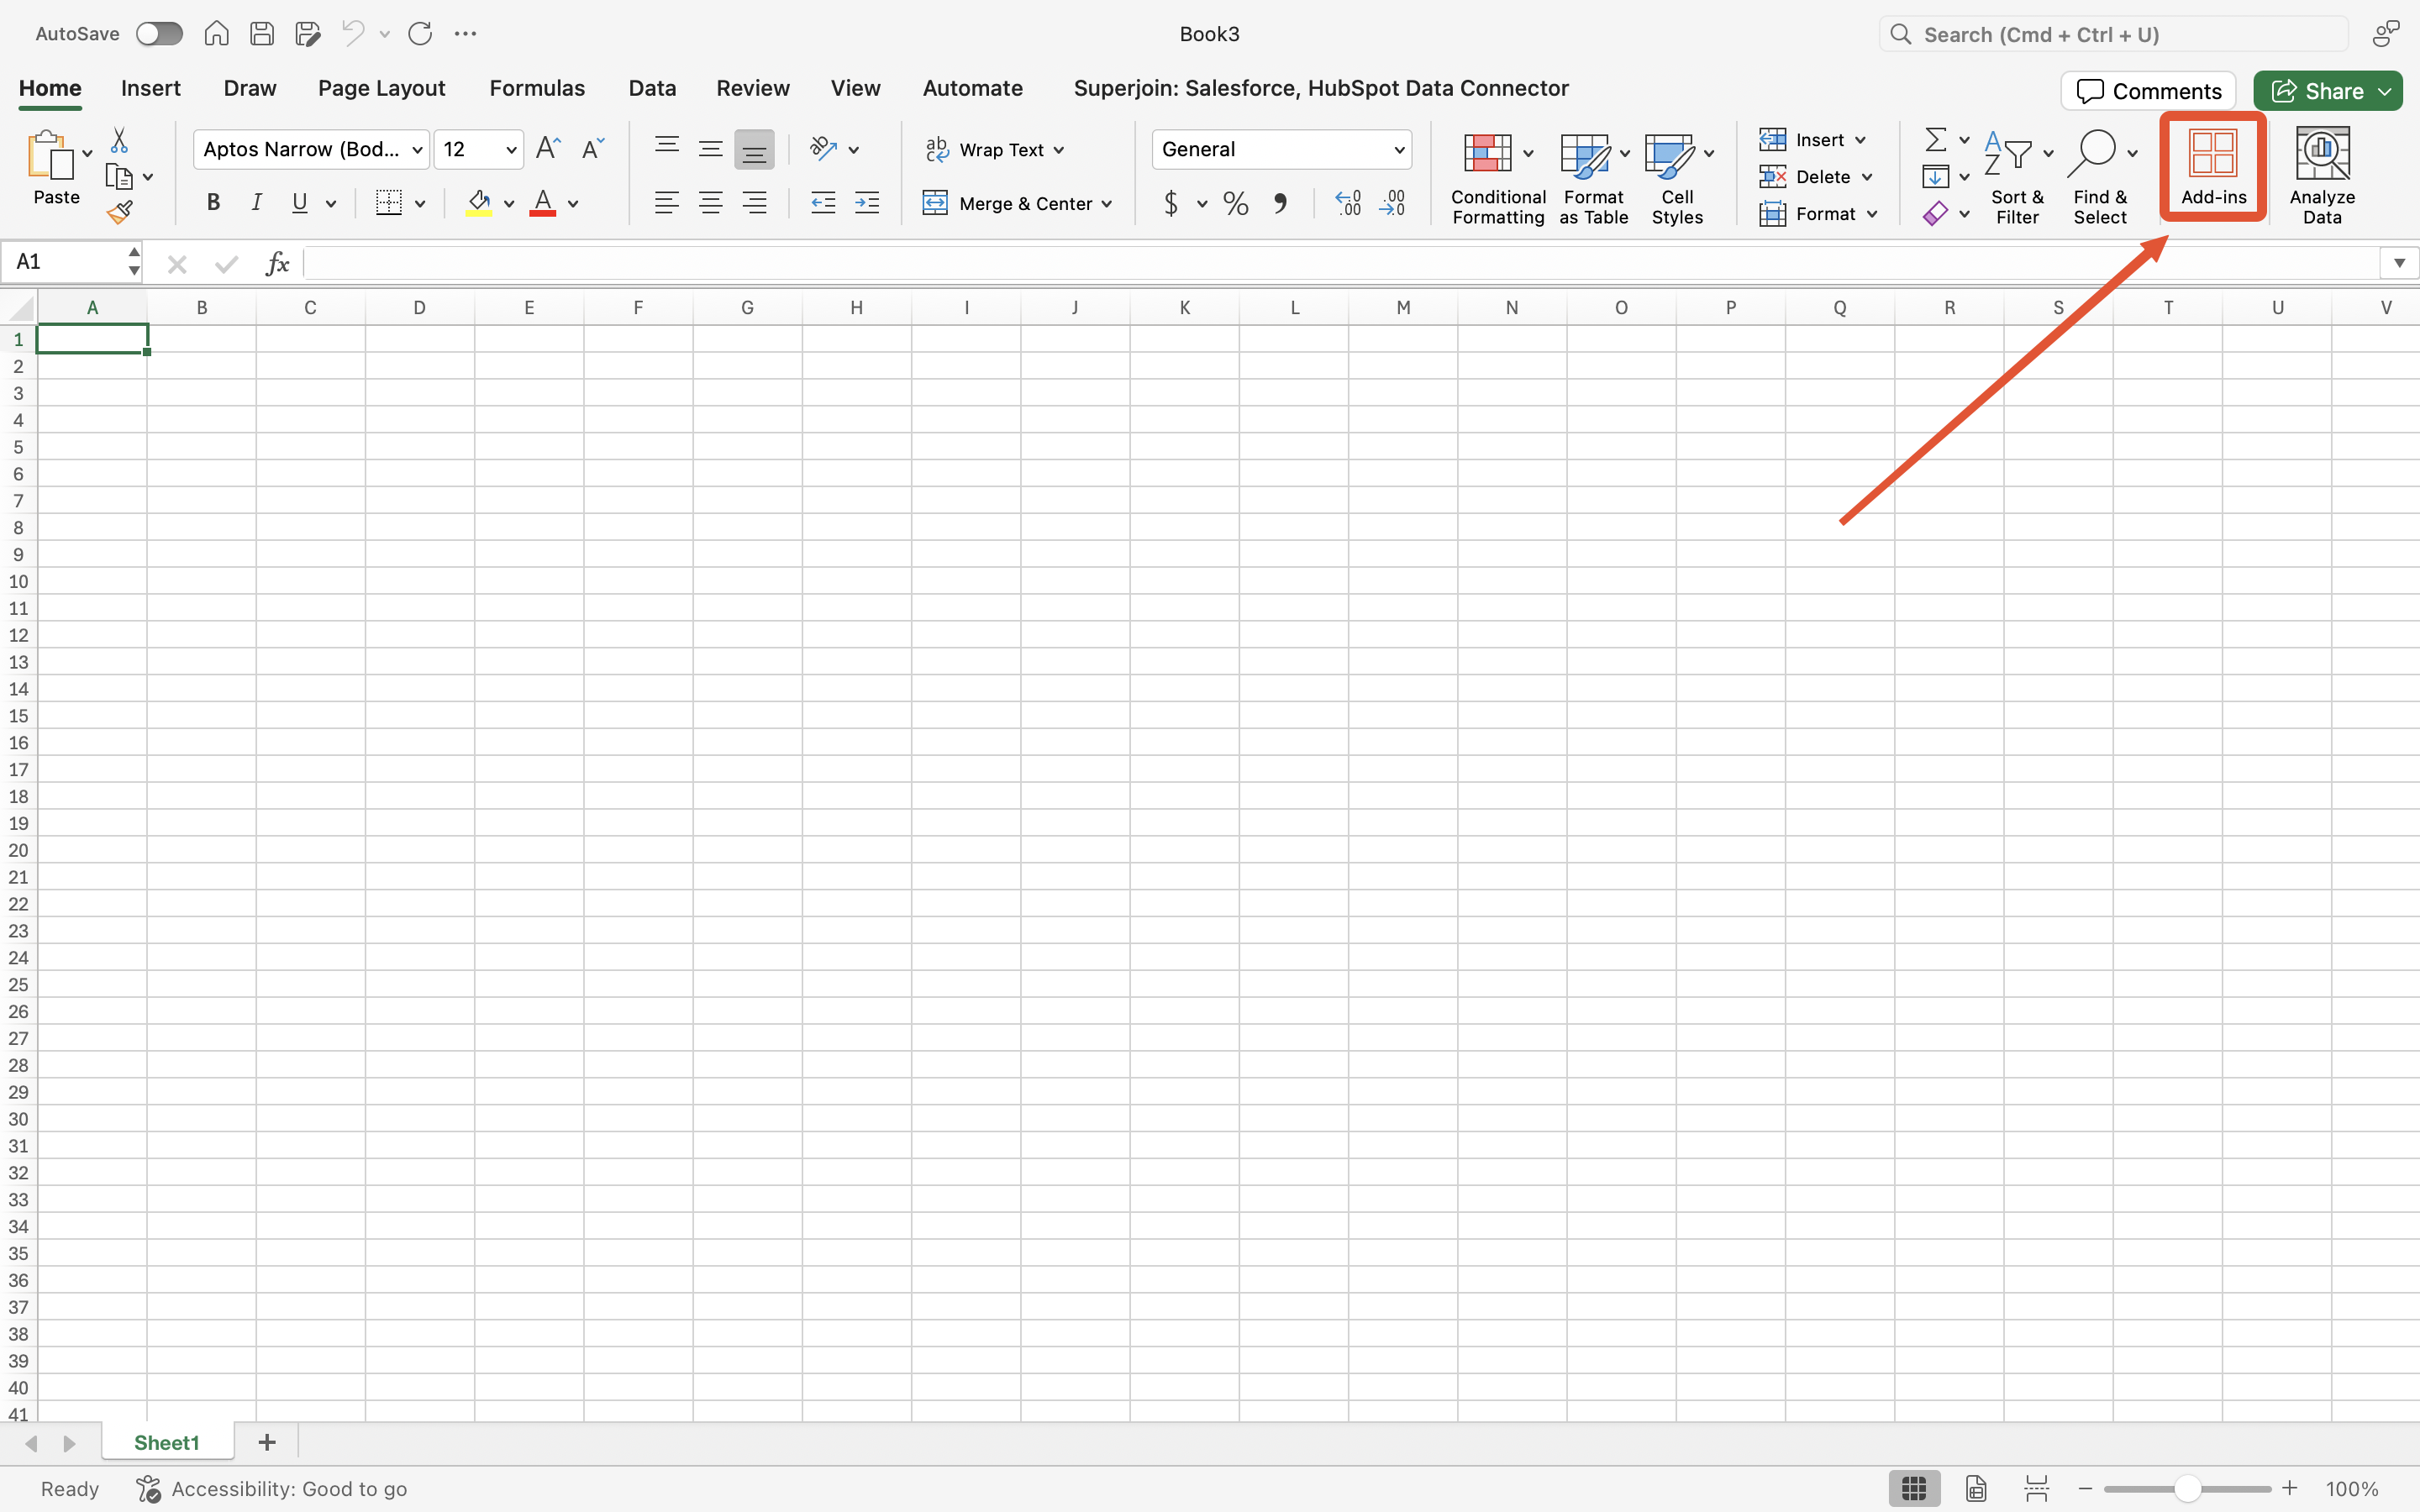
Get Add-ons
Select 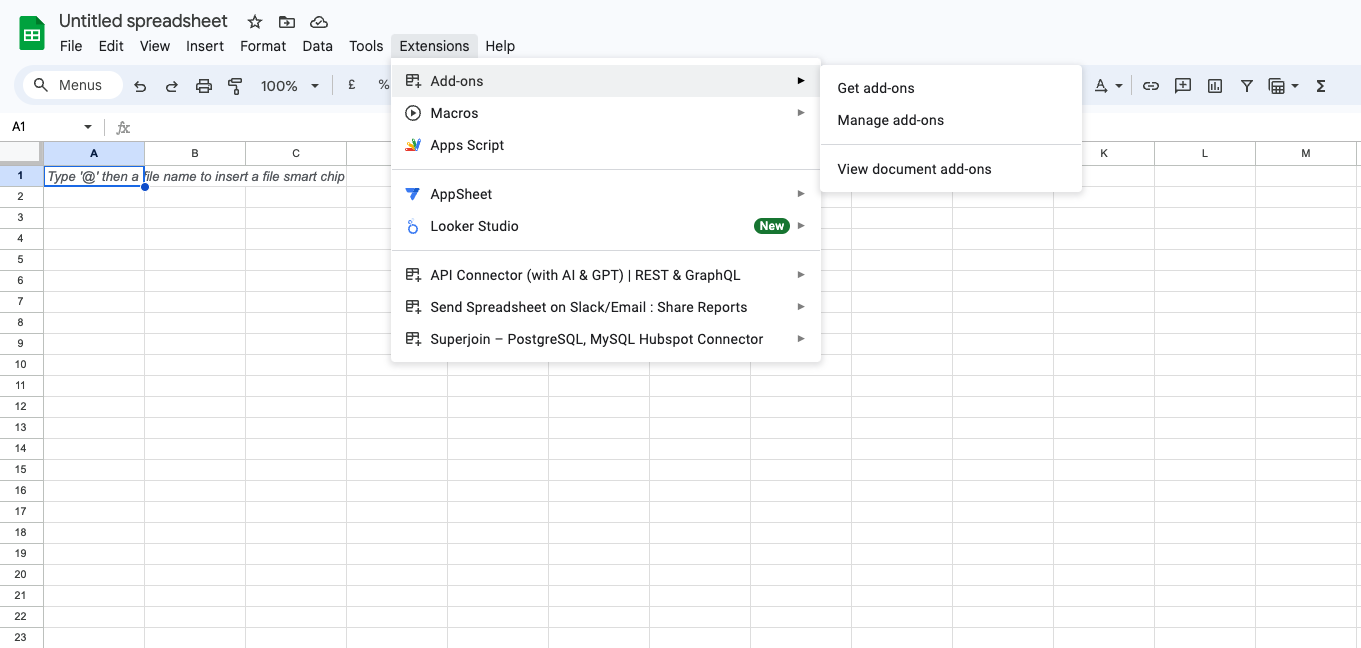
Add-ons and choose Get Add-ons. This action will redirect you to the Google Workspace Marketplace.2
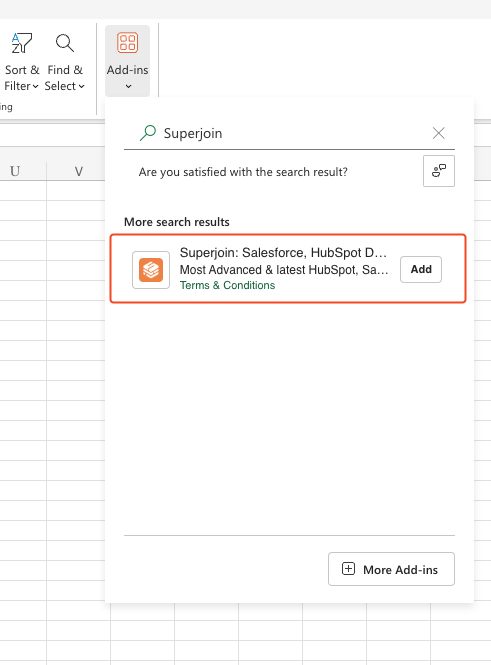
Search Superjoin
In the Google Workspace Marketplace pop-up window, search for “Superjoin”.
3
Click on Install
Click on 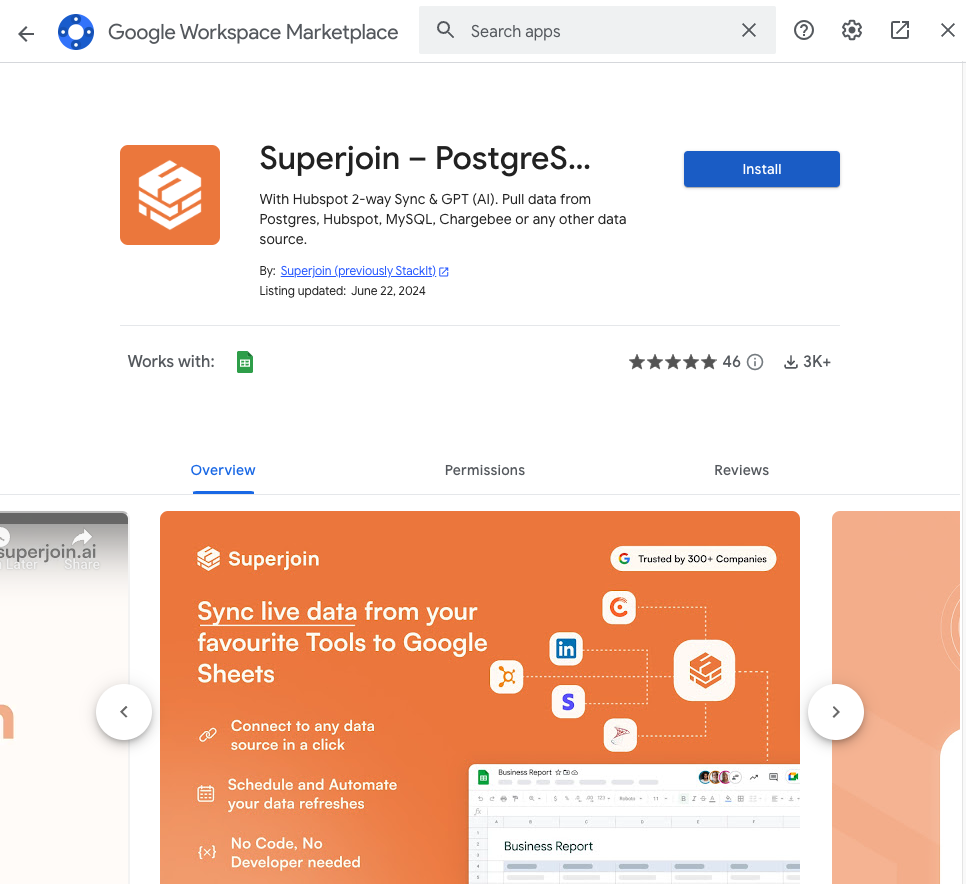
Extensions from the Google Sheets menu.
Note: For the best experience, install Superjoin where there’s only a single account is logged in the Chrome profile.
4
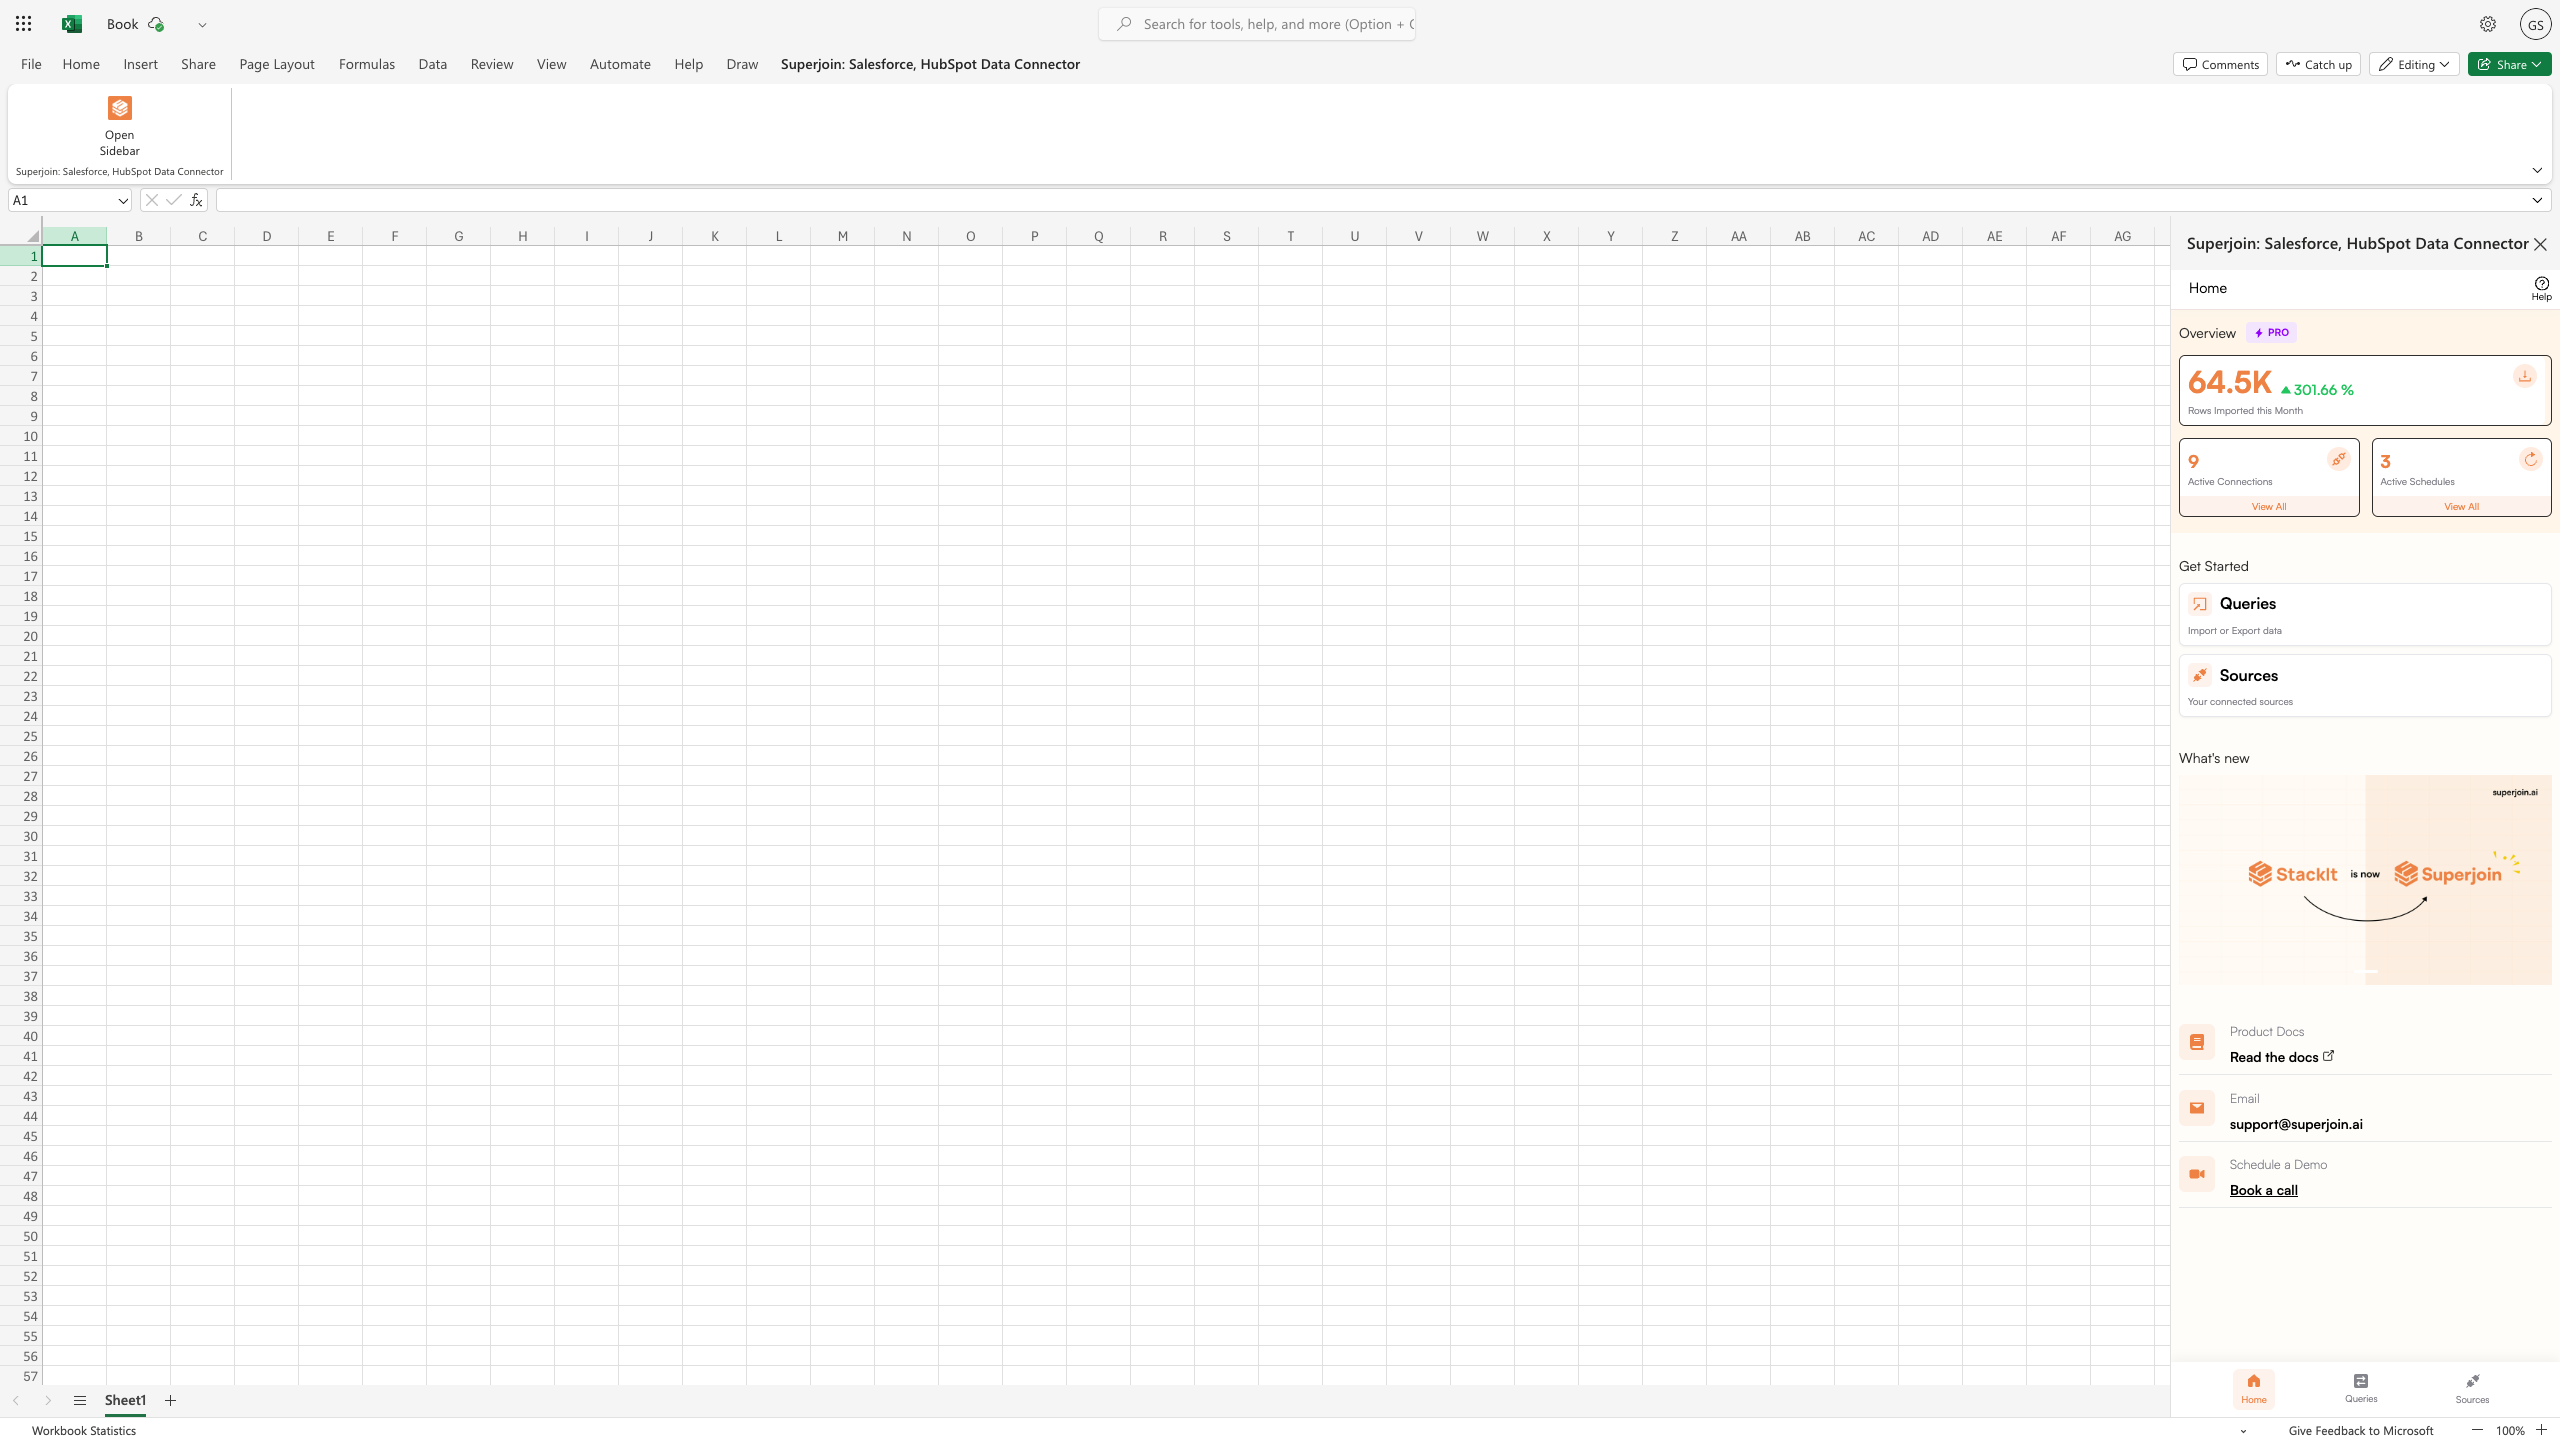
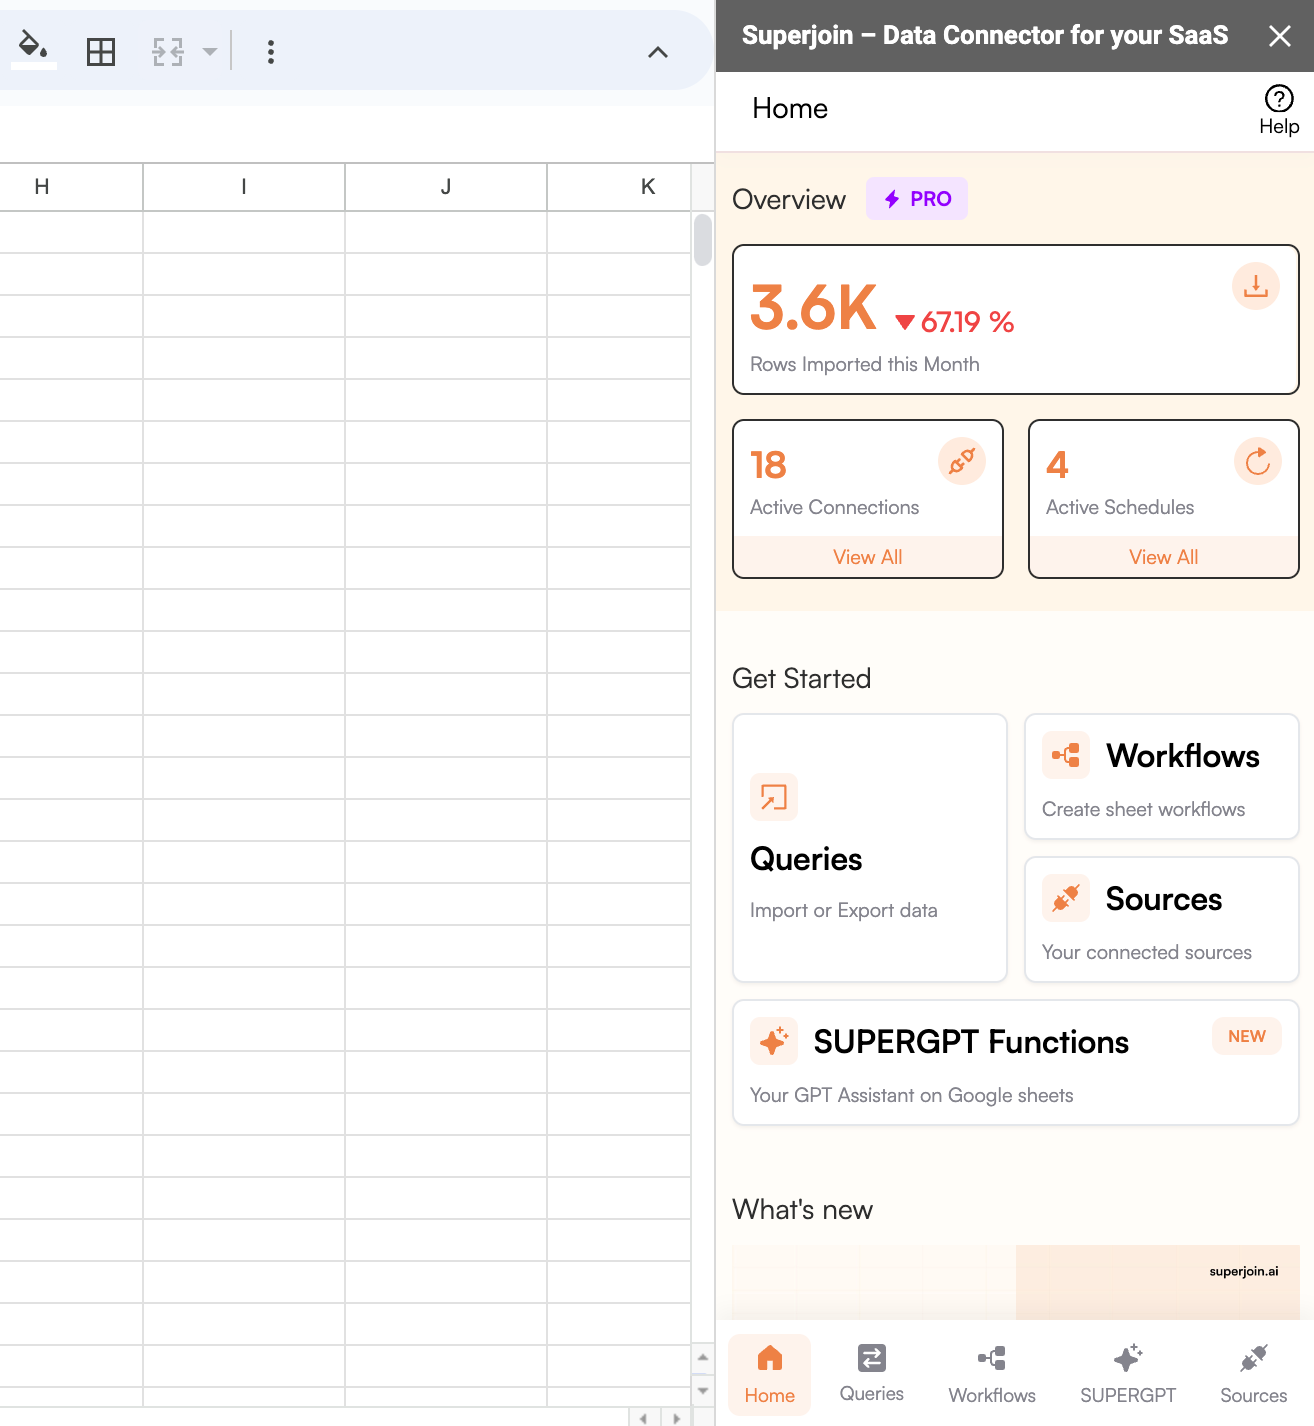
Launch Superjoin
Once installed, navigate back to the 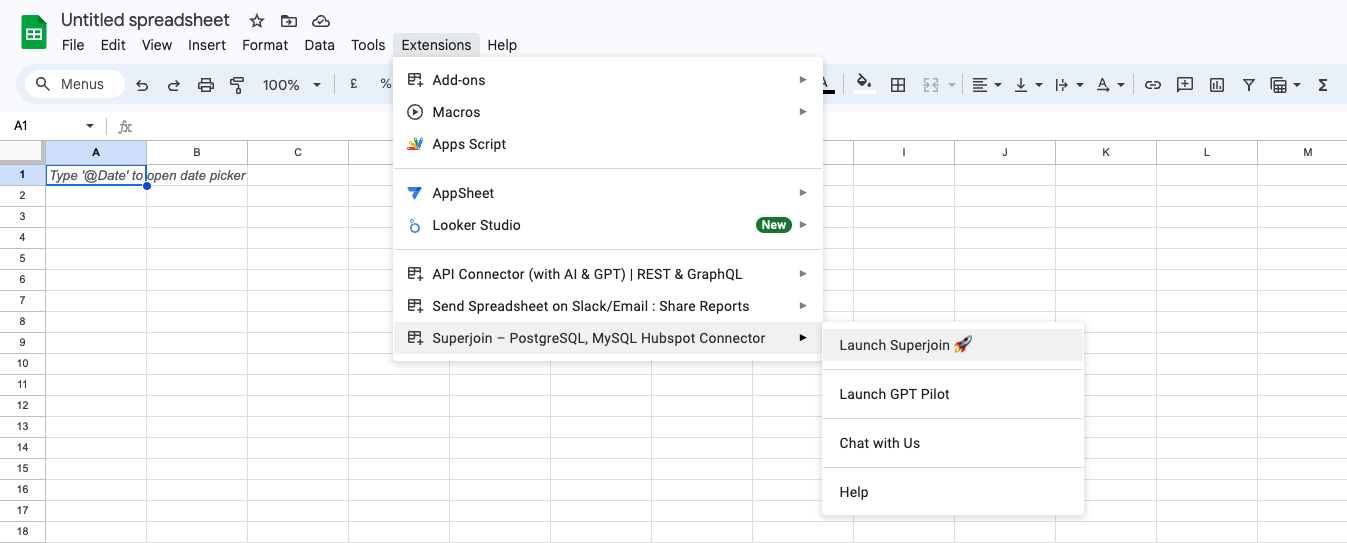
Extensions menu tab in Google Sheets. Launch Superjoin from here. You should now see Superjoin running as a side panel on the right side of your screen.5
Pick Mailchimp
Select Mailchimp from the list of available data sources.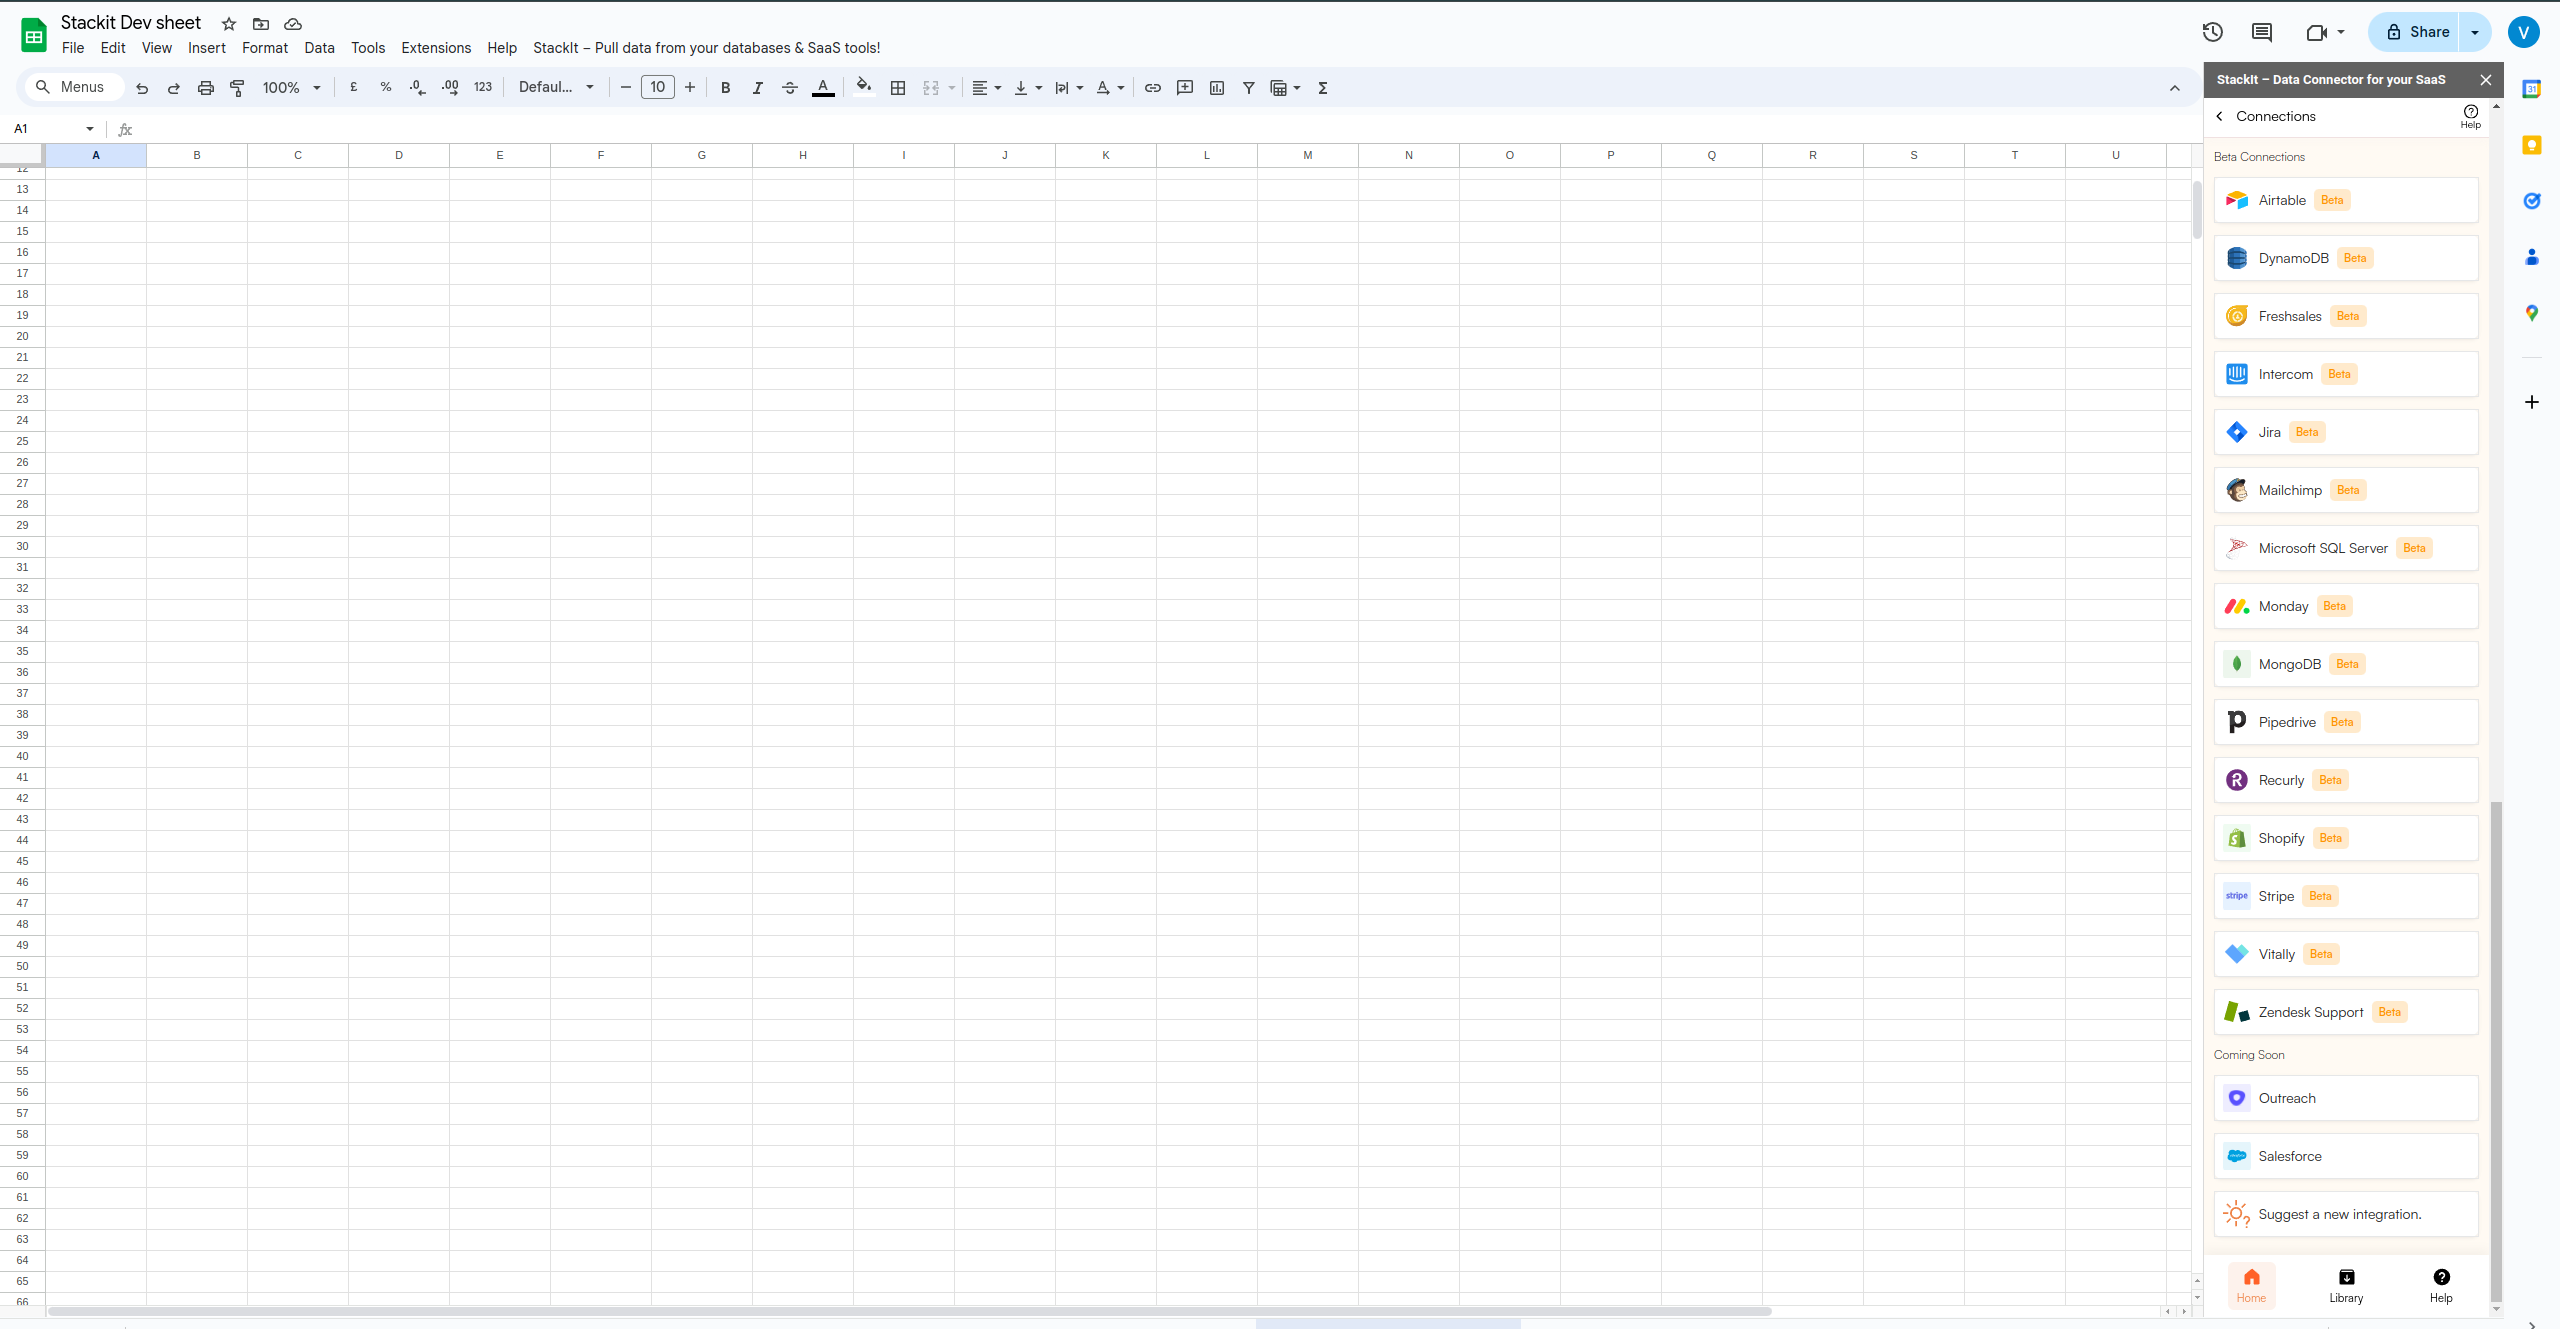
6
Connect your account
Connect your Mailchimp account. Go through all the directions and prompts to connect your Mailchimp account to Google Sheets.
7
Select your Object
Now select the objects from the list you want to import from.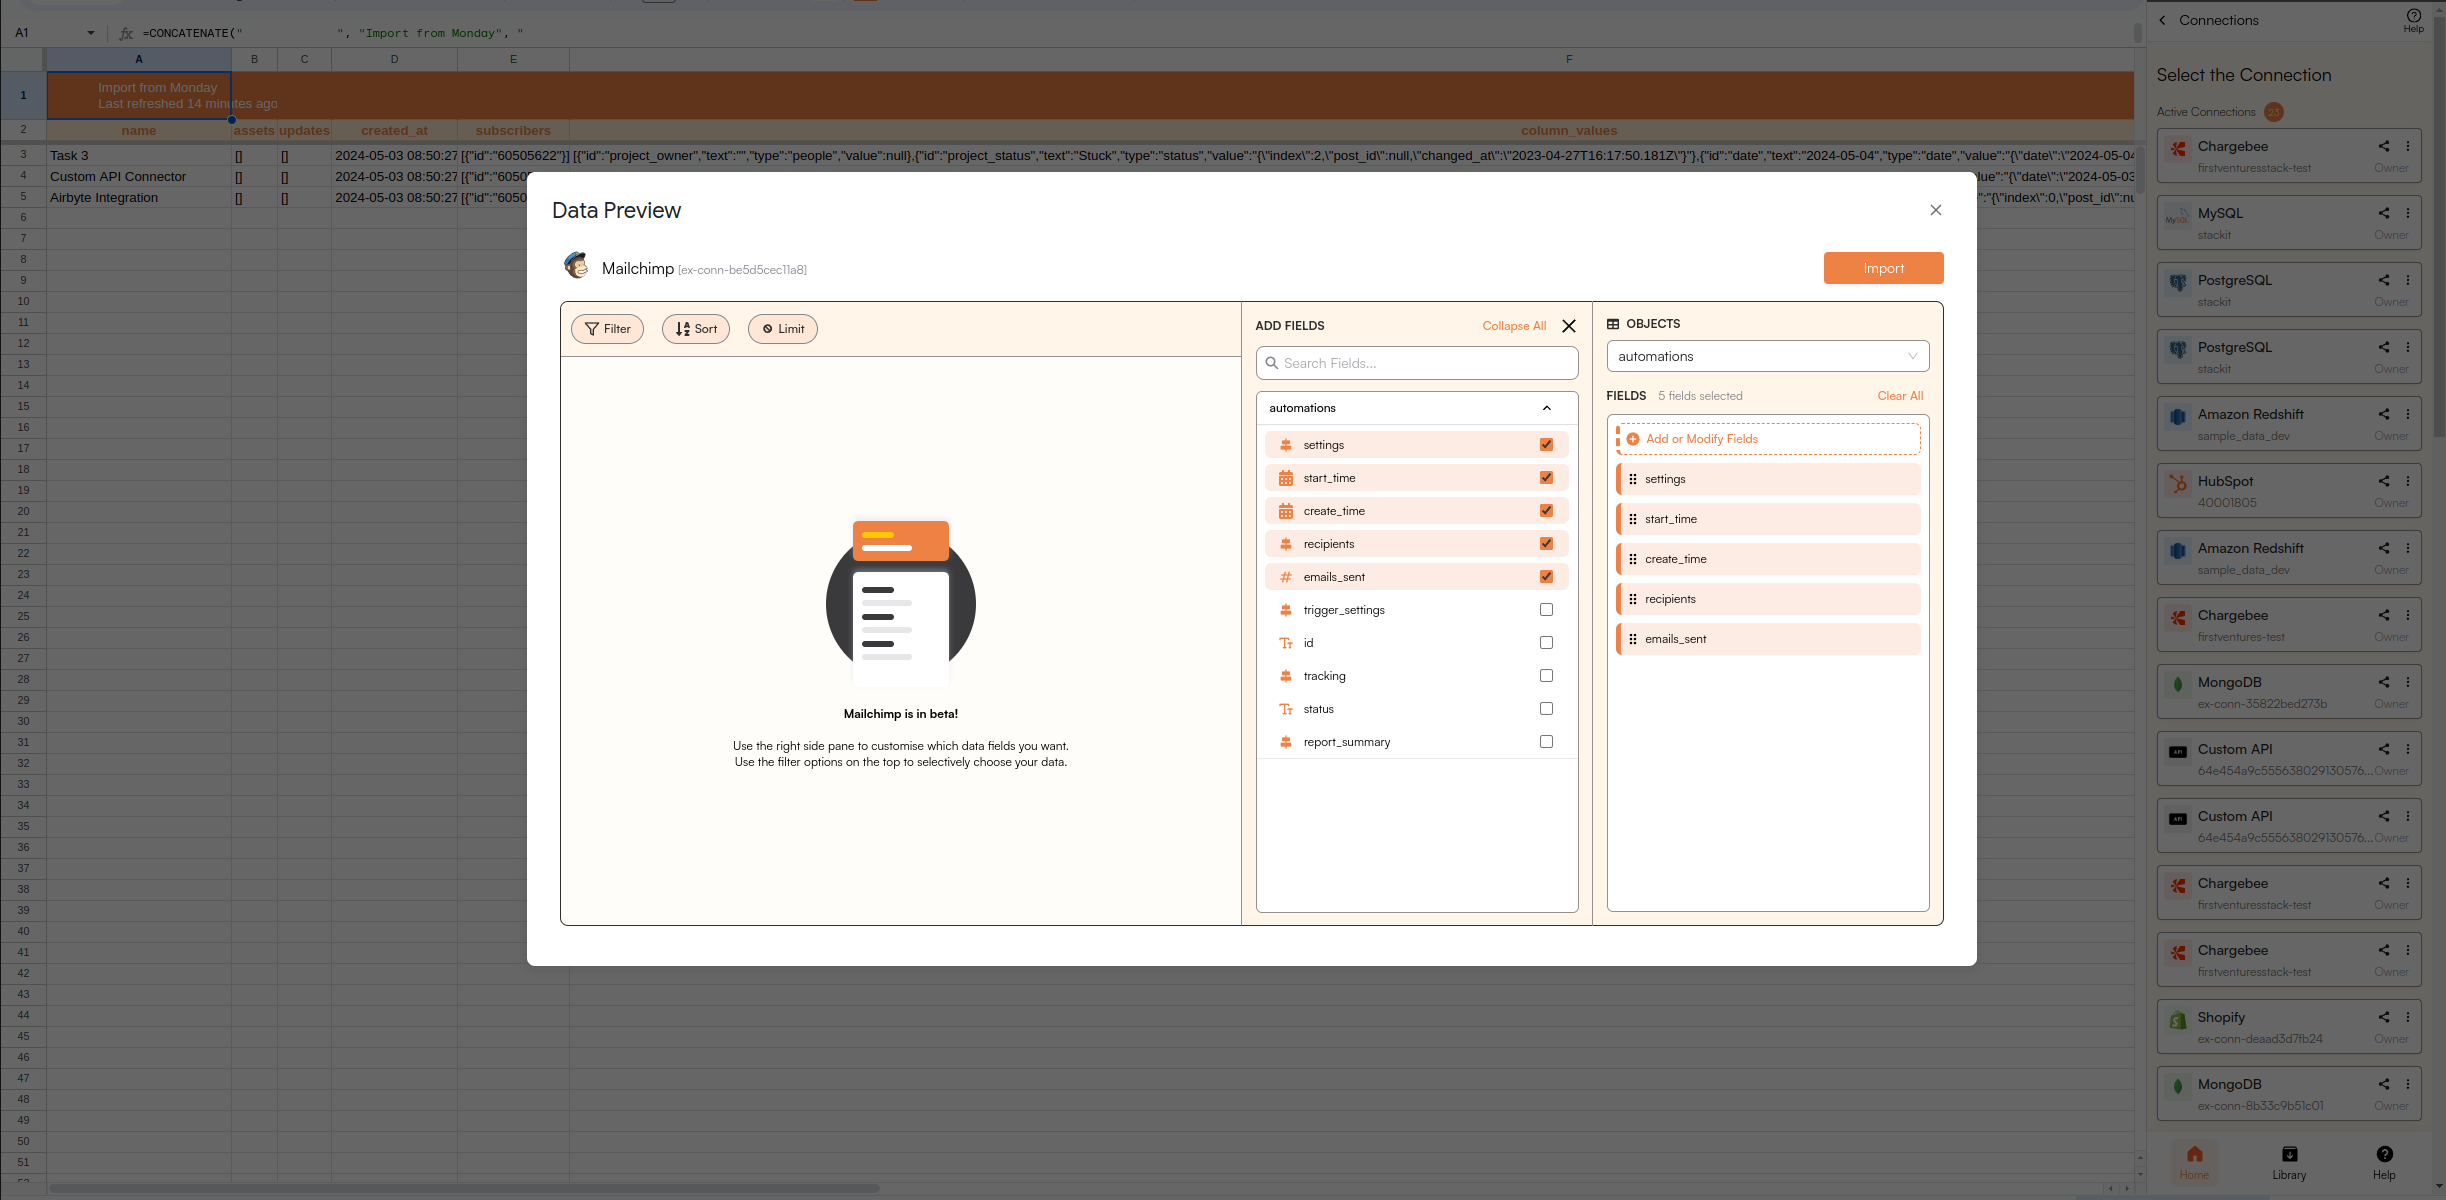
8
Select filters
Select the filters that you want to apply in order to filter down the data that you want to work on.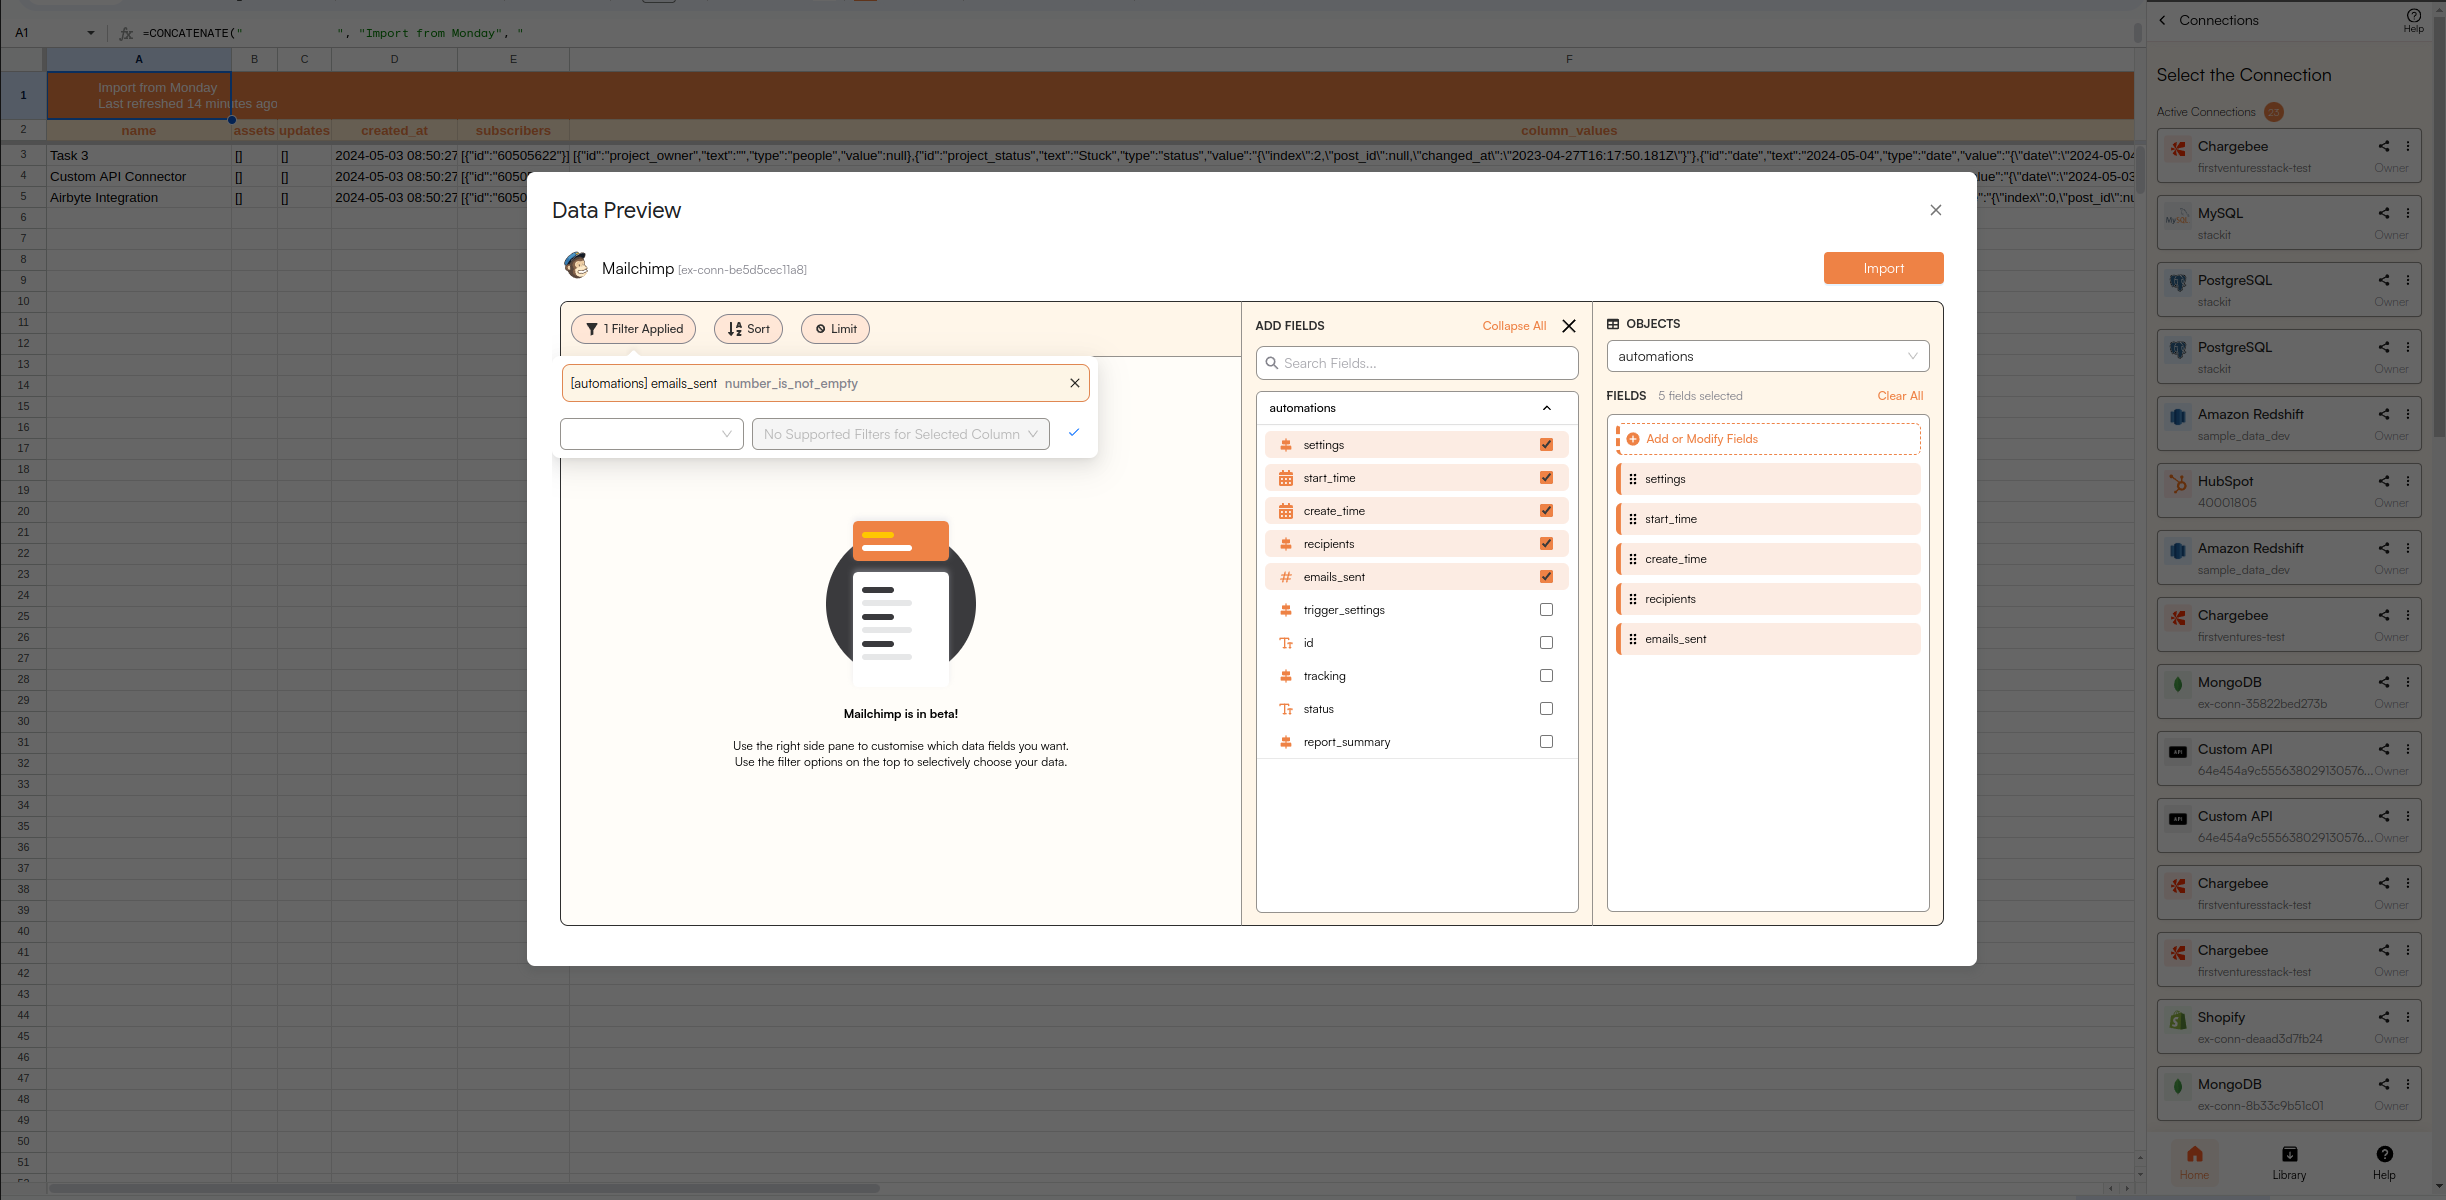
9
Select Sort
Select the items that you want to sort.
10
Enter Limit
Now simply Enter the Limit of rows you want to write on Google Sheet.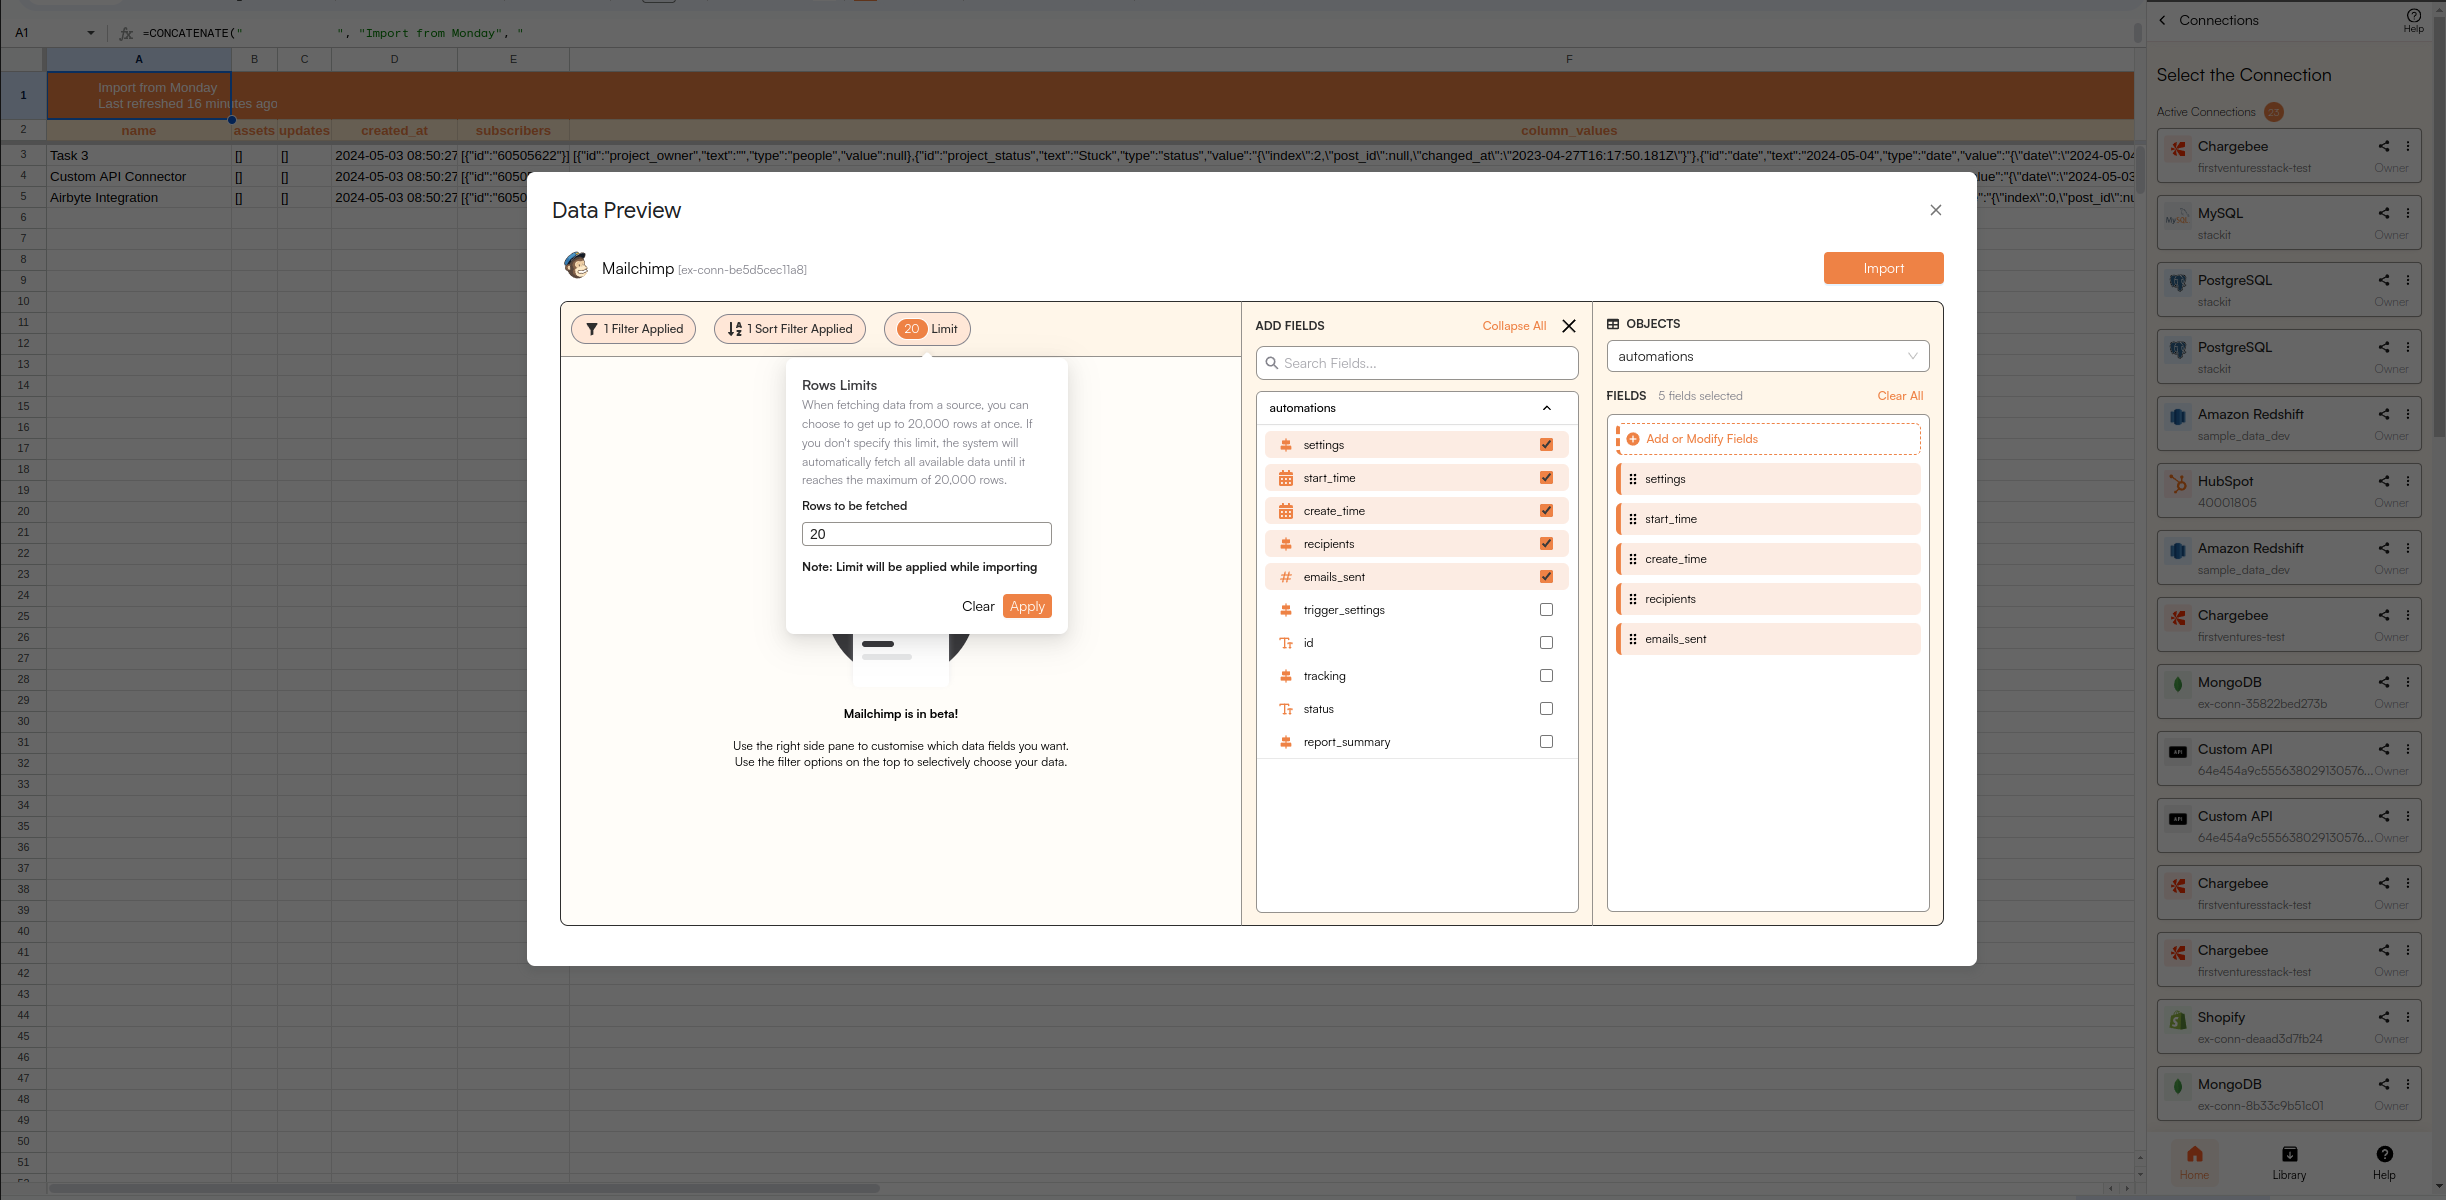
11
Click Import
Now simply click on the “import” button to bring this selected data into your Google Sheets.
12
Data pulled! Setup a auto-refresh schedule.
Superjoin lets you refresh your imported data instantly with one click or set it to auto-refresh on a pre-set schedule. This way, you won’t need to manually update your Mailchimp data in Google Sheets to reflect changes from the source.