Step-by-step walkthrough: How to get Stripe API Key
1
Go to Stripe Dashboard
Click 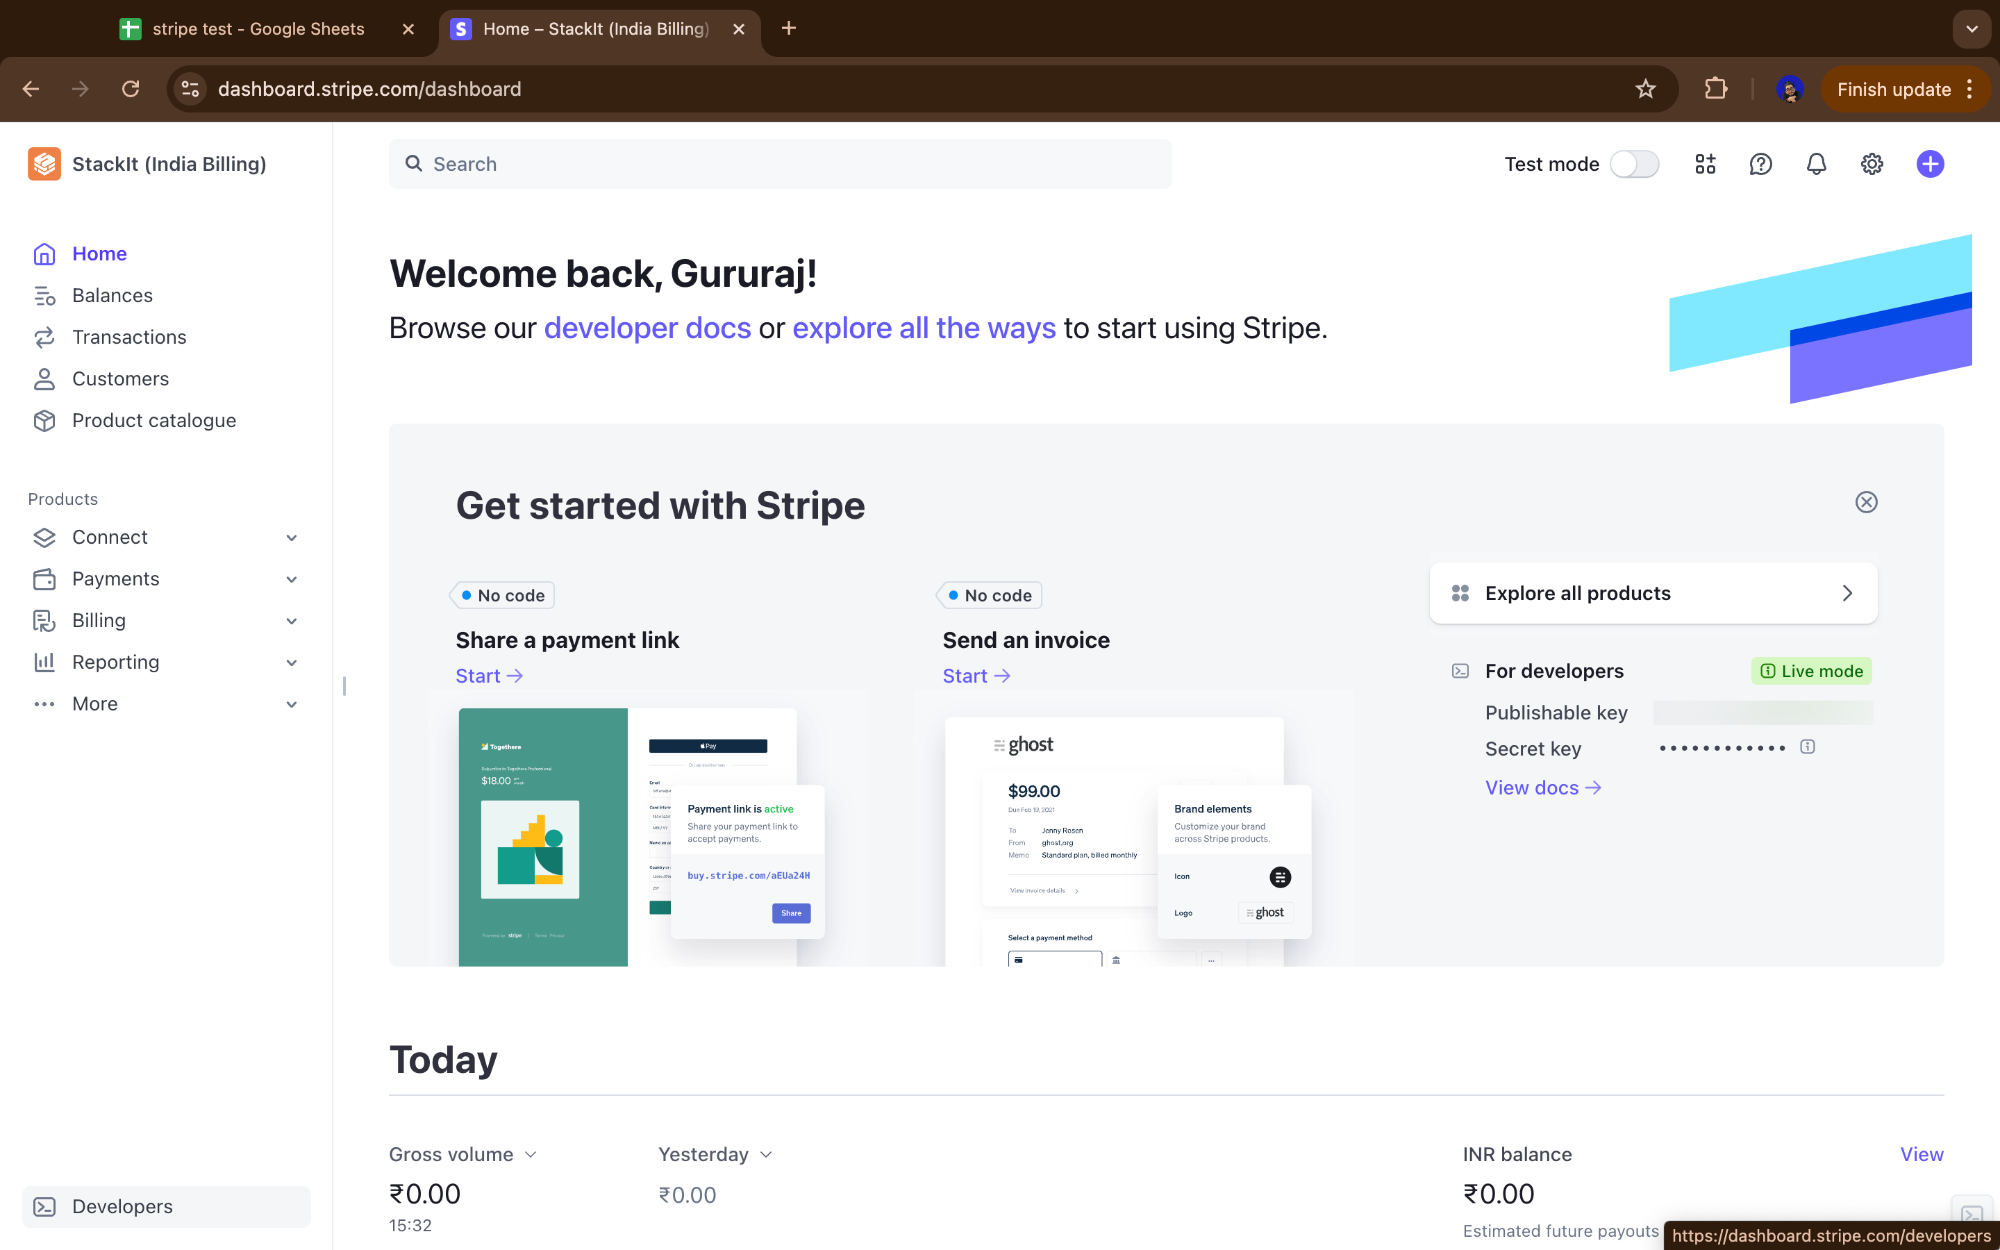
Developers in the bottom left corner in Stripe Dashboard Page.2
Go to API Keys
In the top-left corner, click API keys.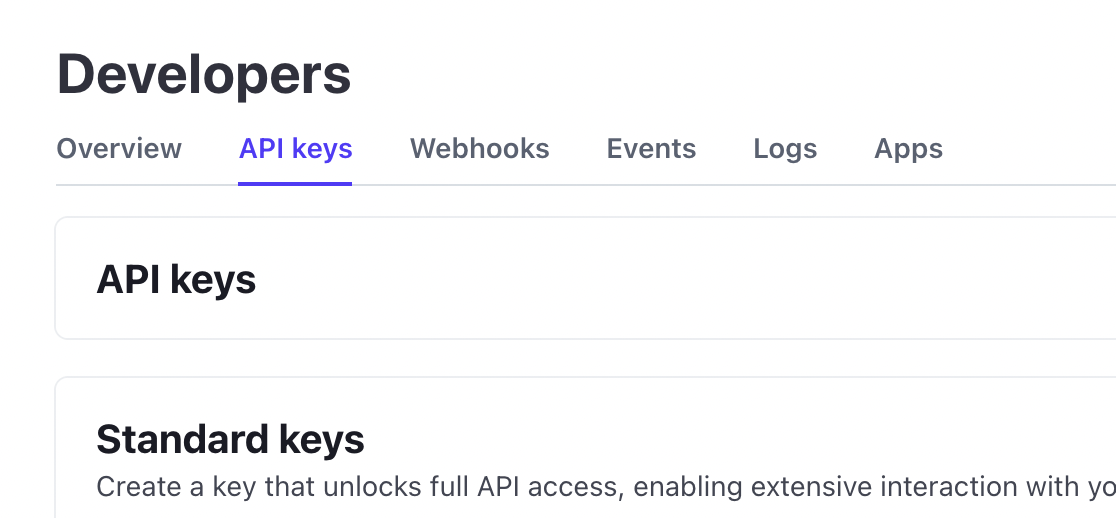
3
Click restricted key
Click on the ”+ Create restricted key” button.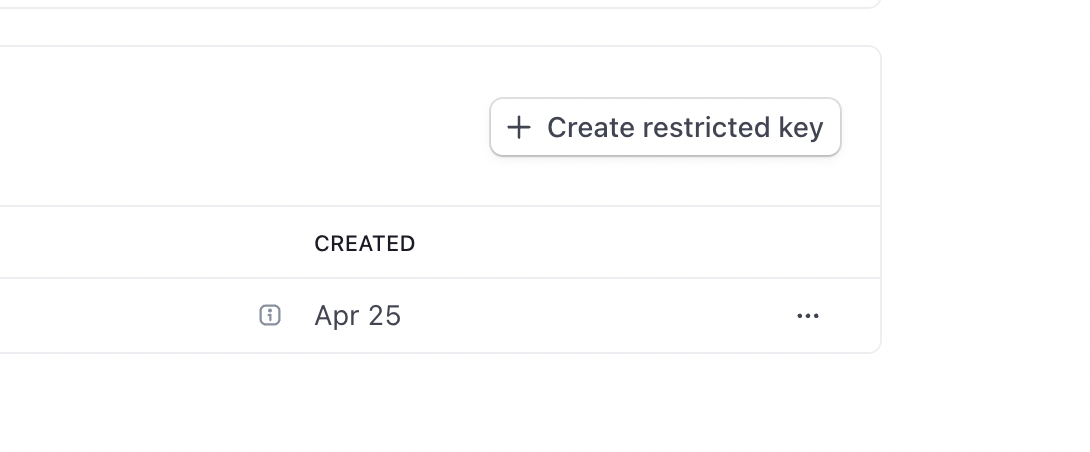
4
Give Third Party Access
Select 3rd party access and click on Continue.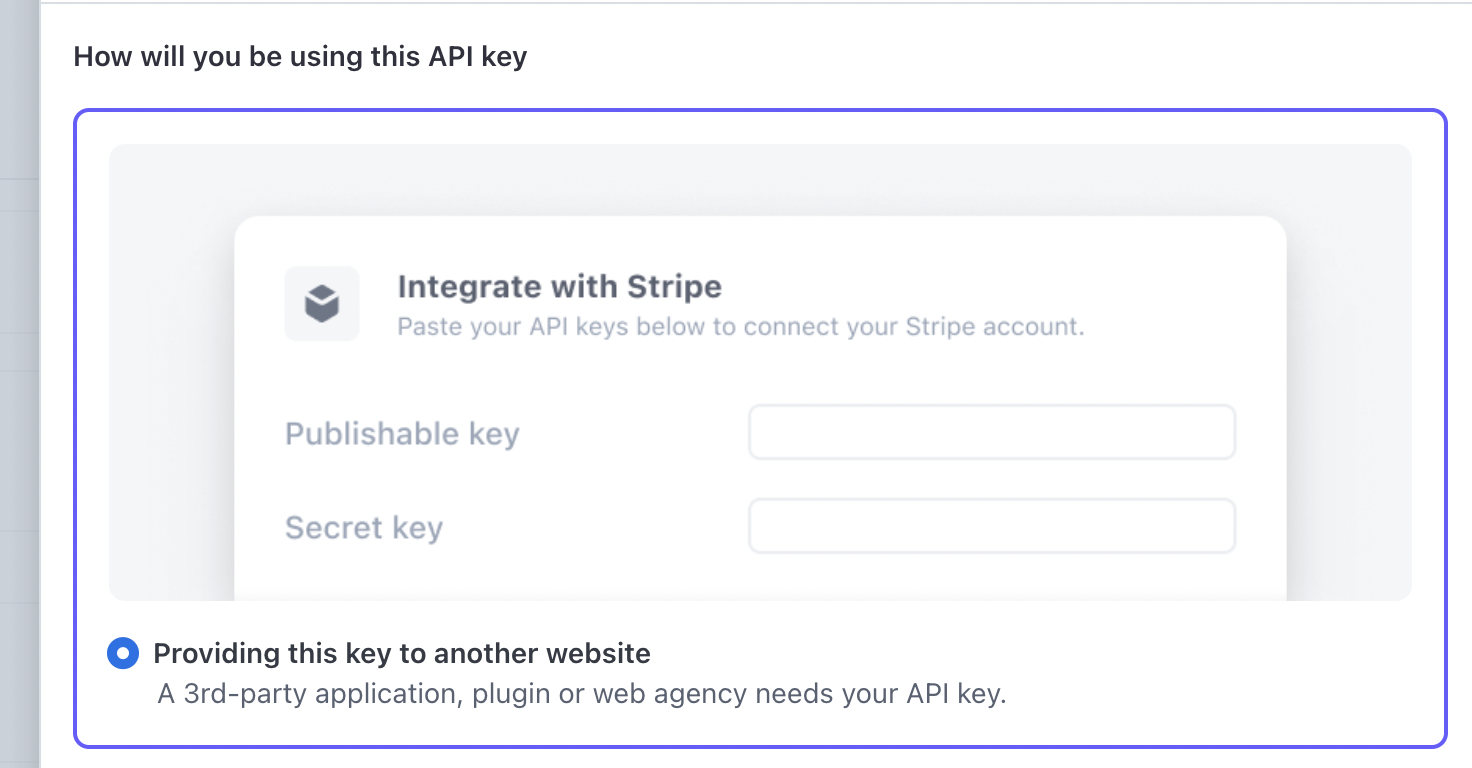
5
Give Third Party Access
Enter Superjoin’s details and check the “Customise permissions for this key” checkbox and click on “Create Restricted Key”.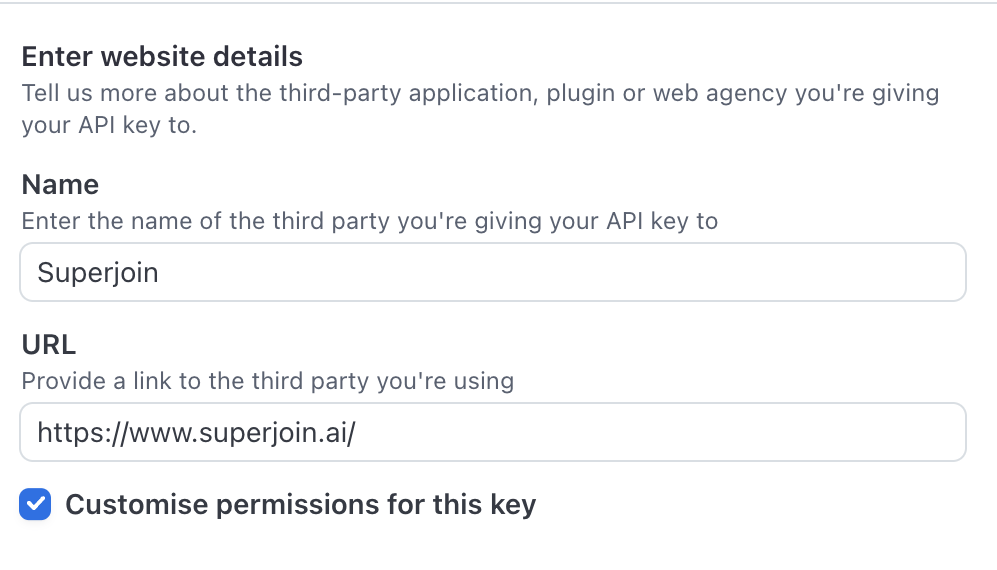
6
Set a name for the key and manage the permissions
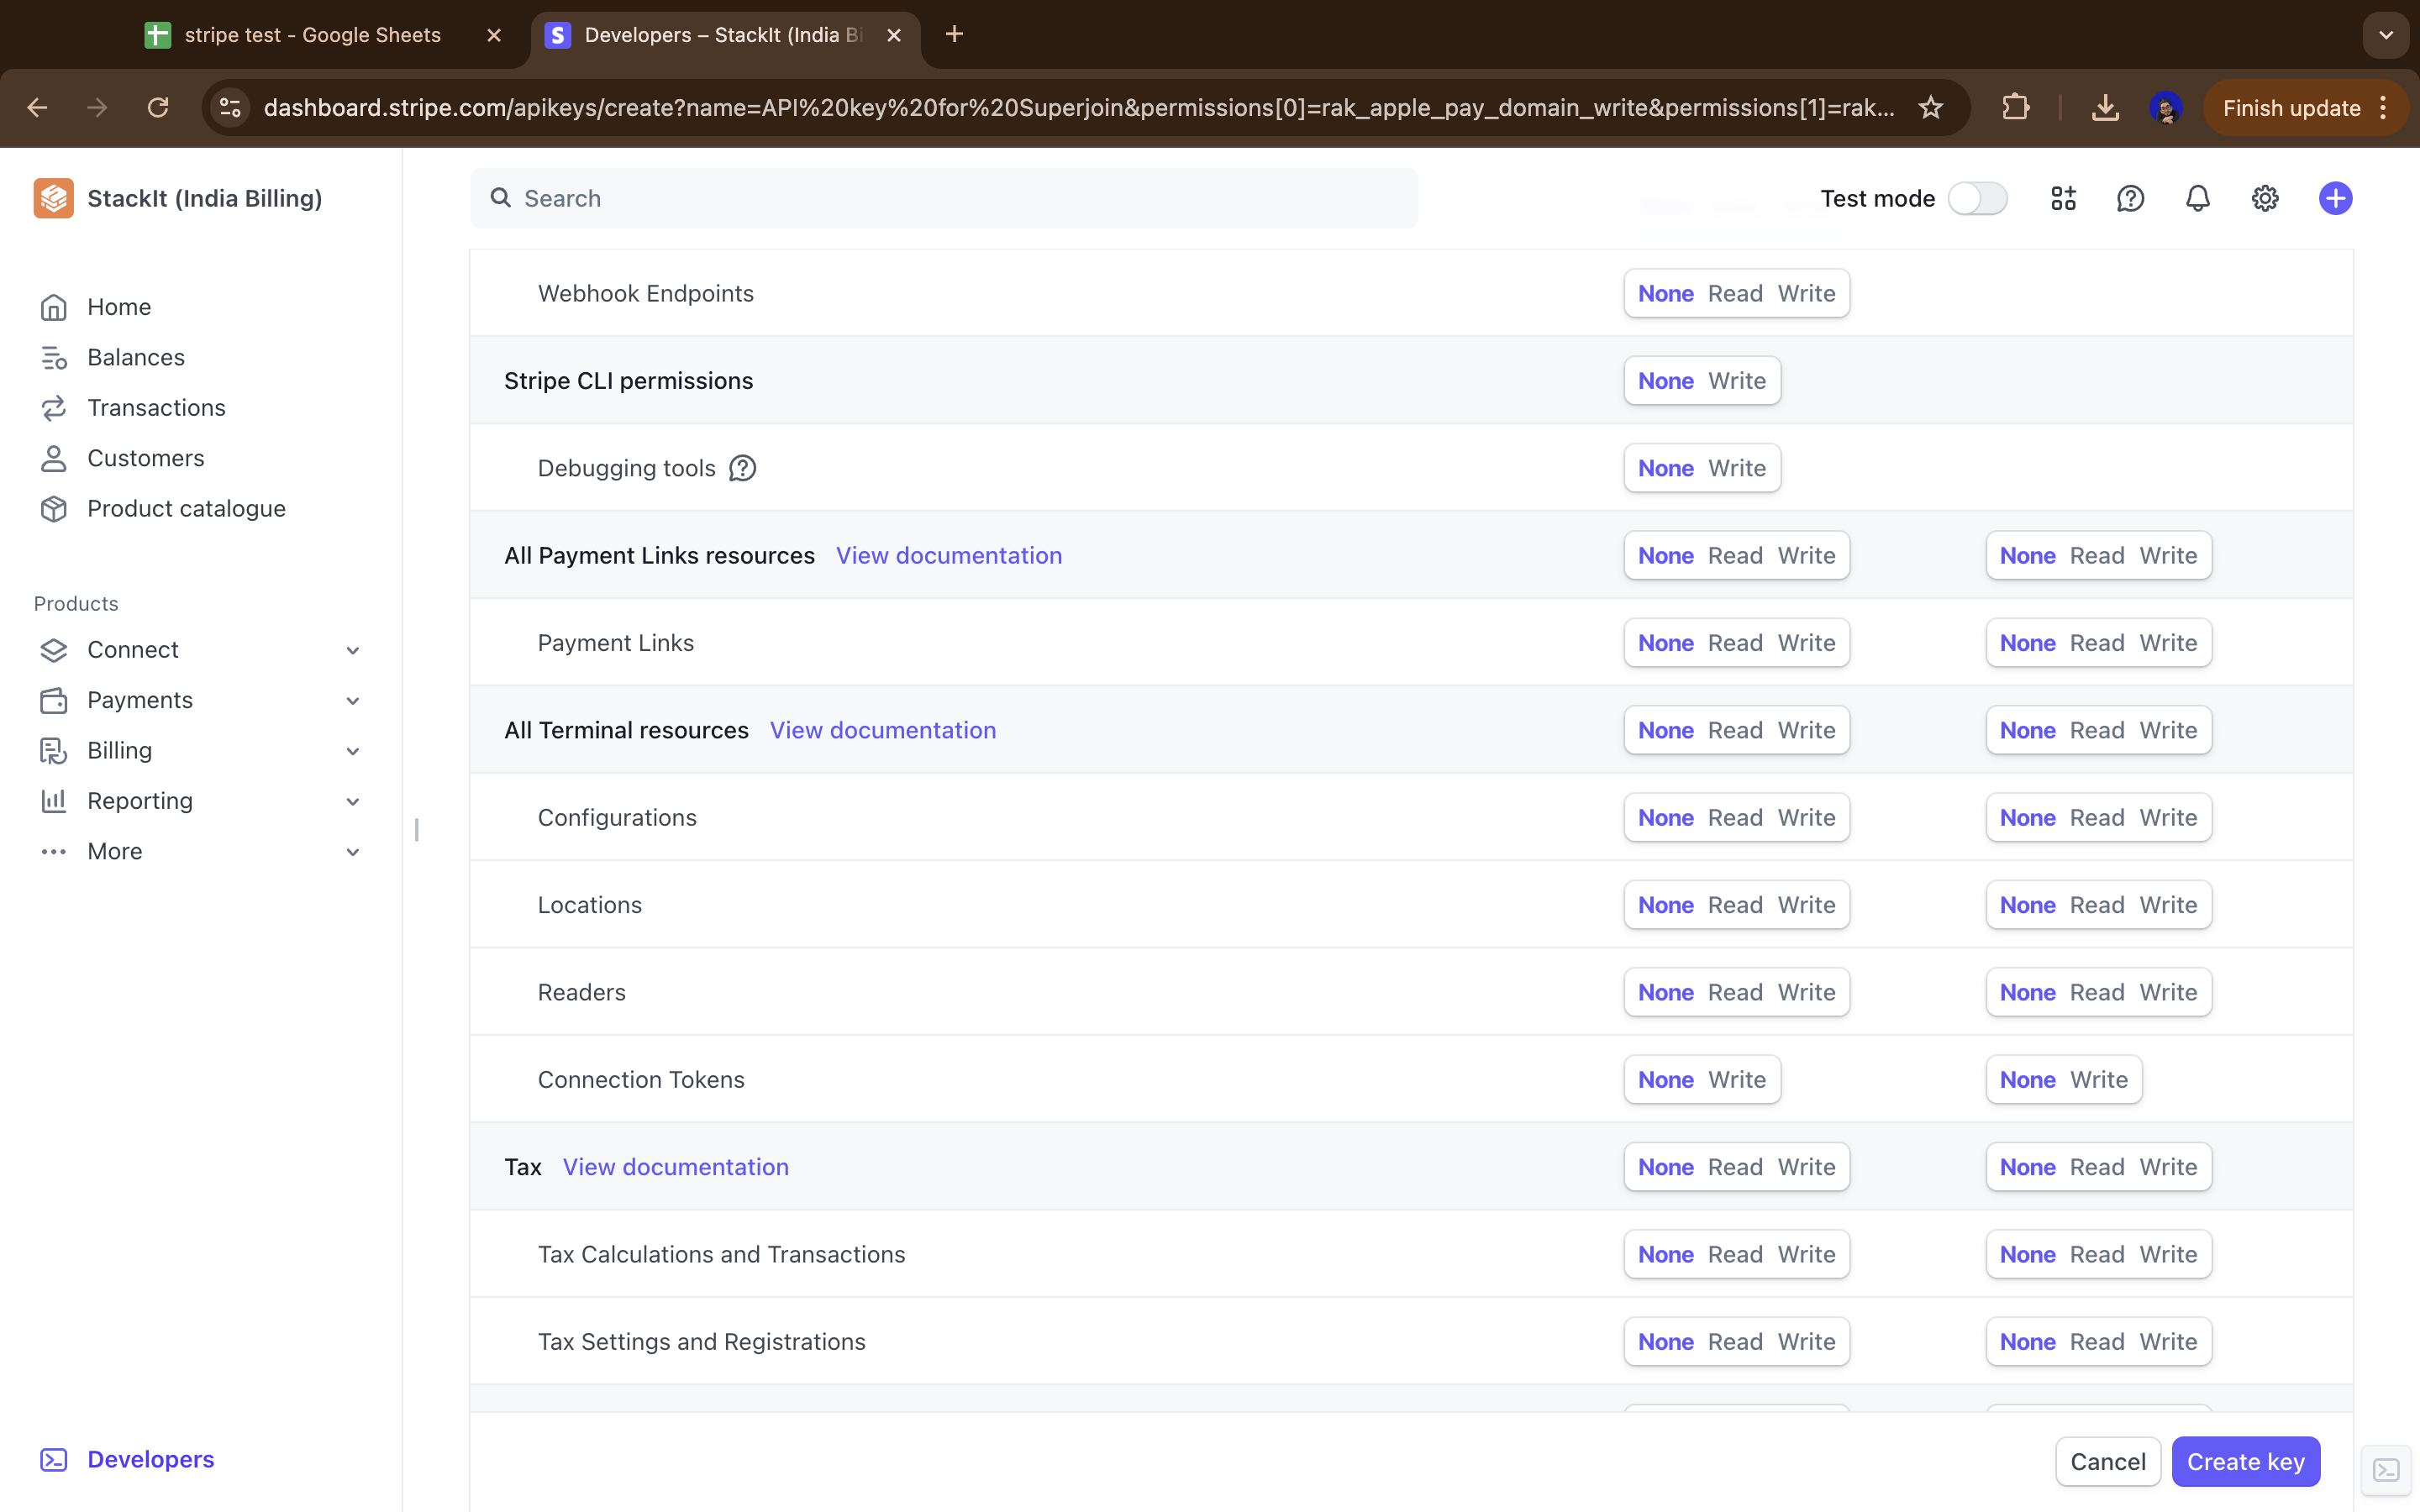
Choose a Key name, and select permissions based on what data you need to access. Below is a suggested set of permissions that will work well with Superjoin, but you can customize these based on exactly what data you want to integrate.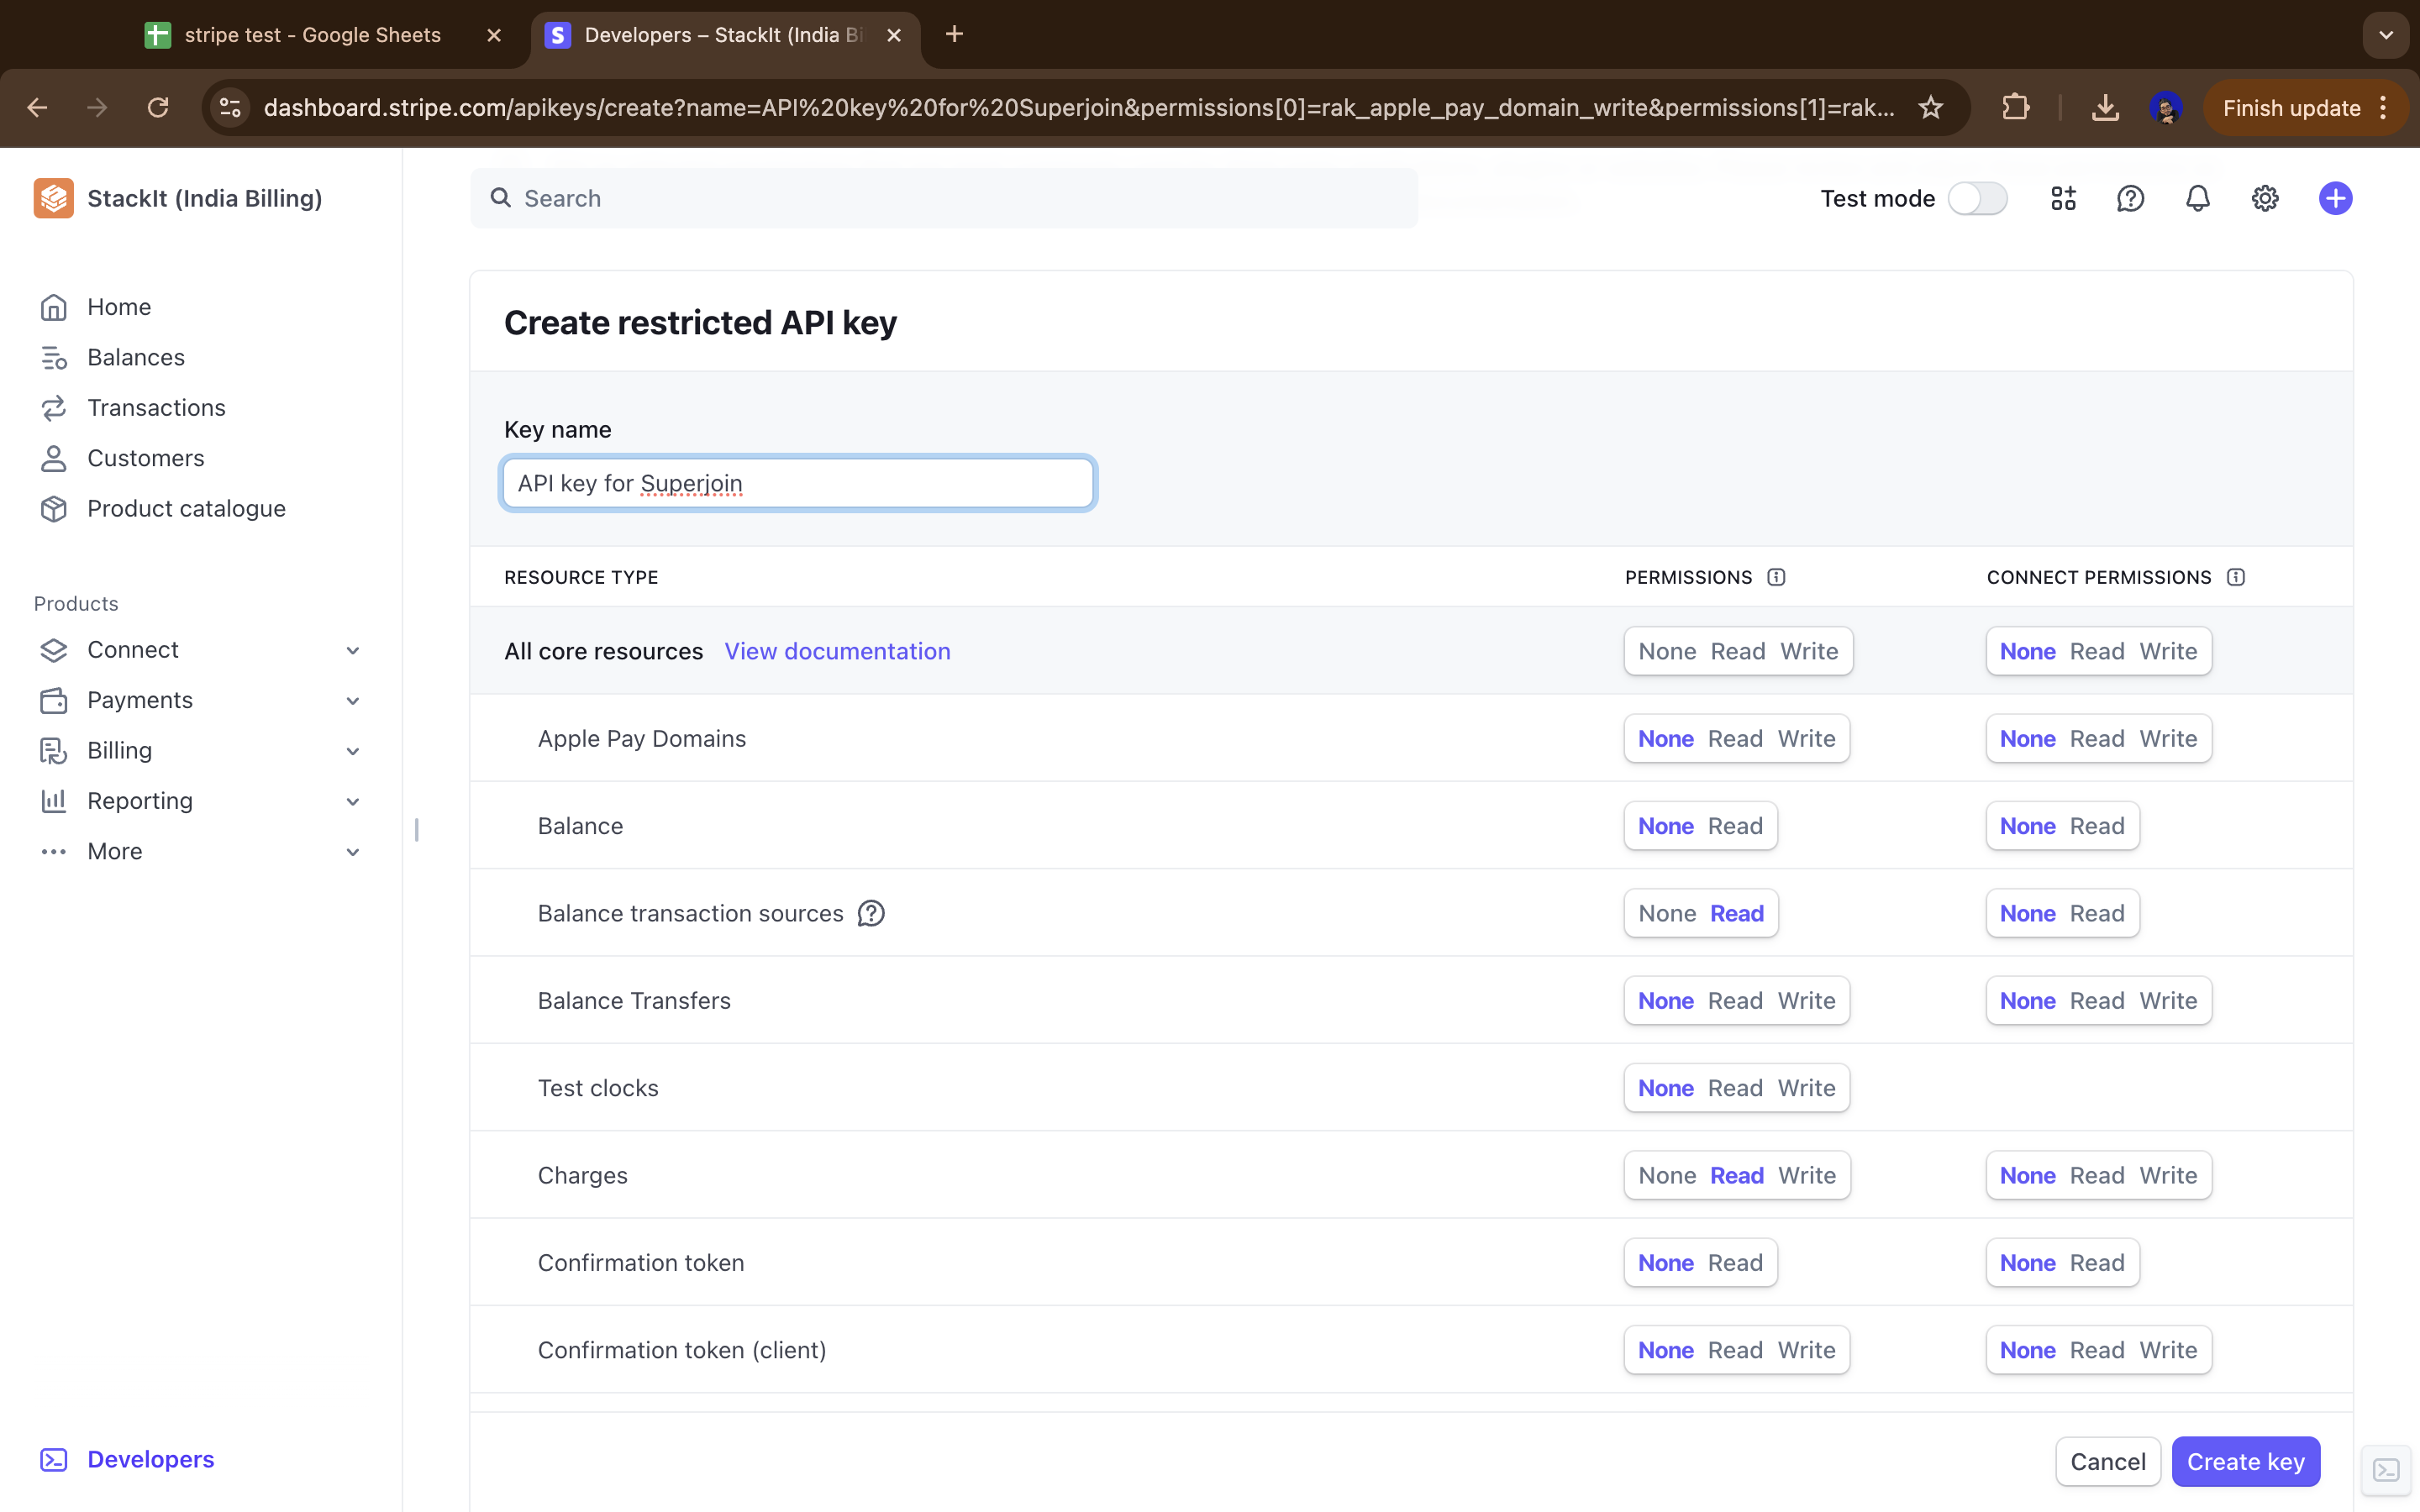
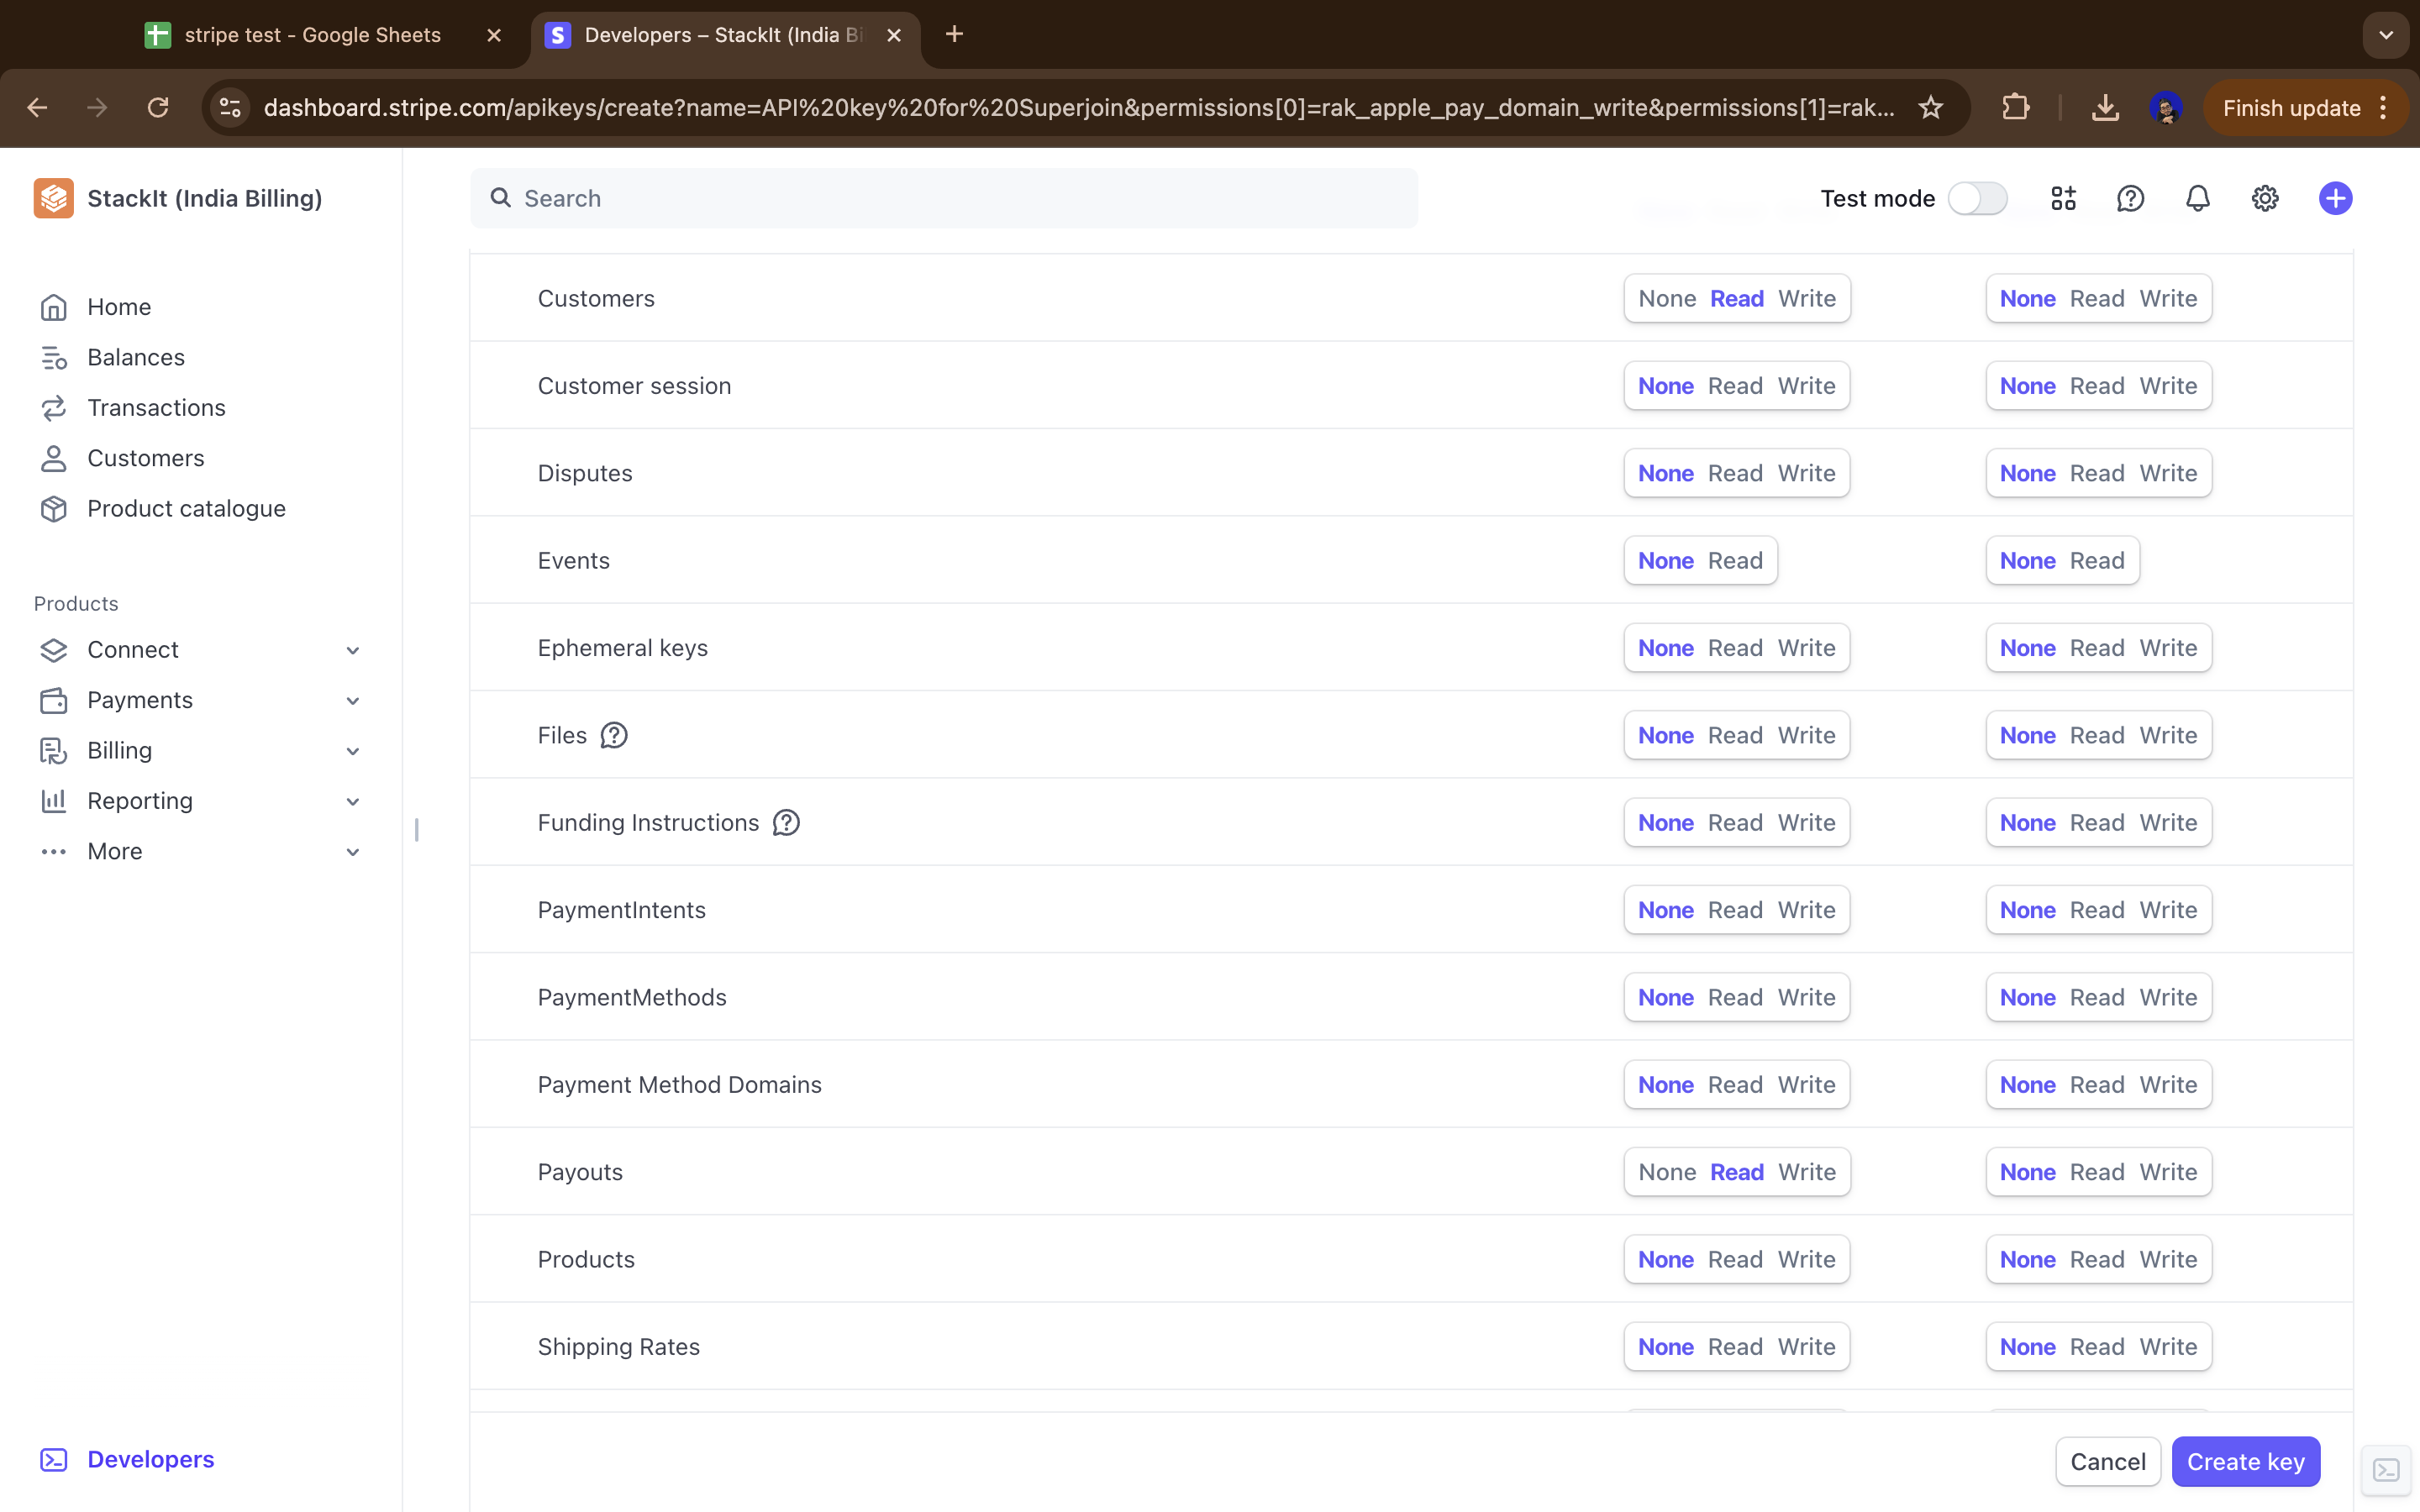
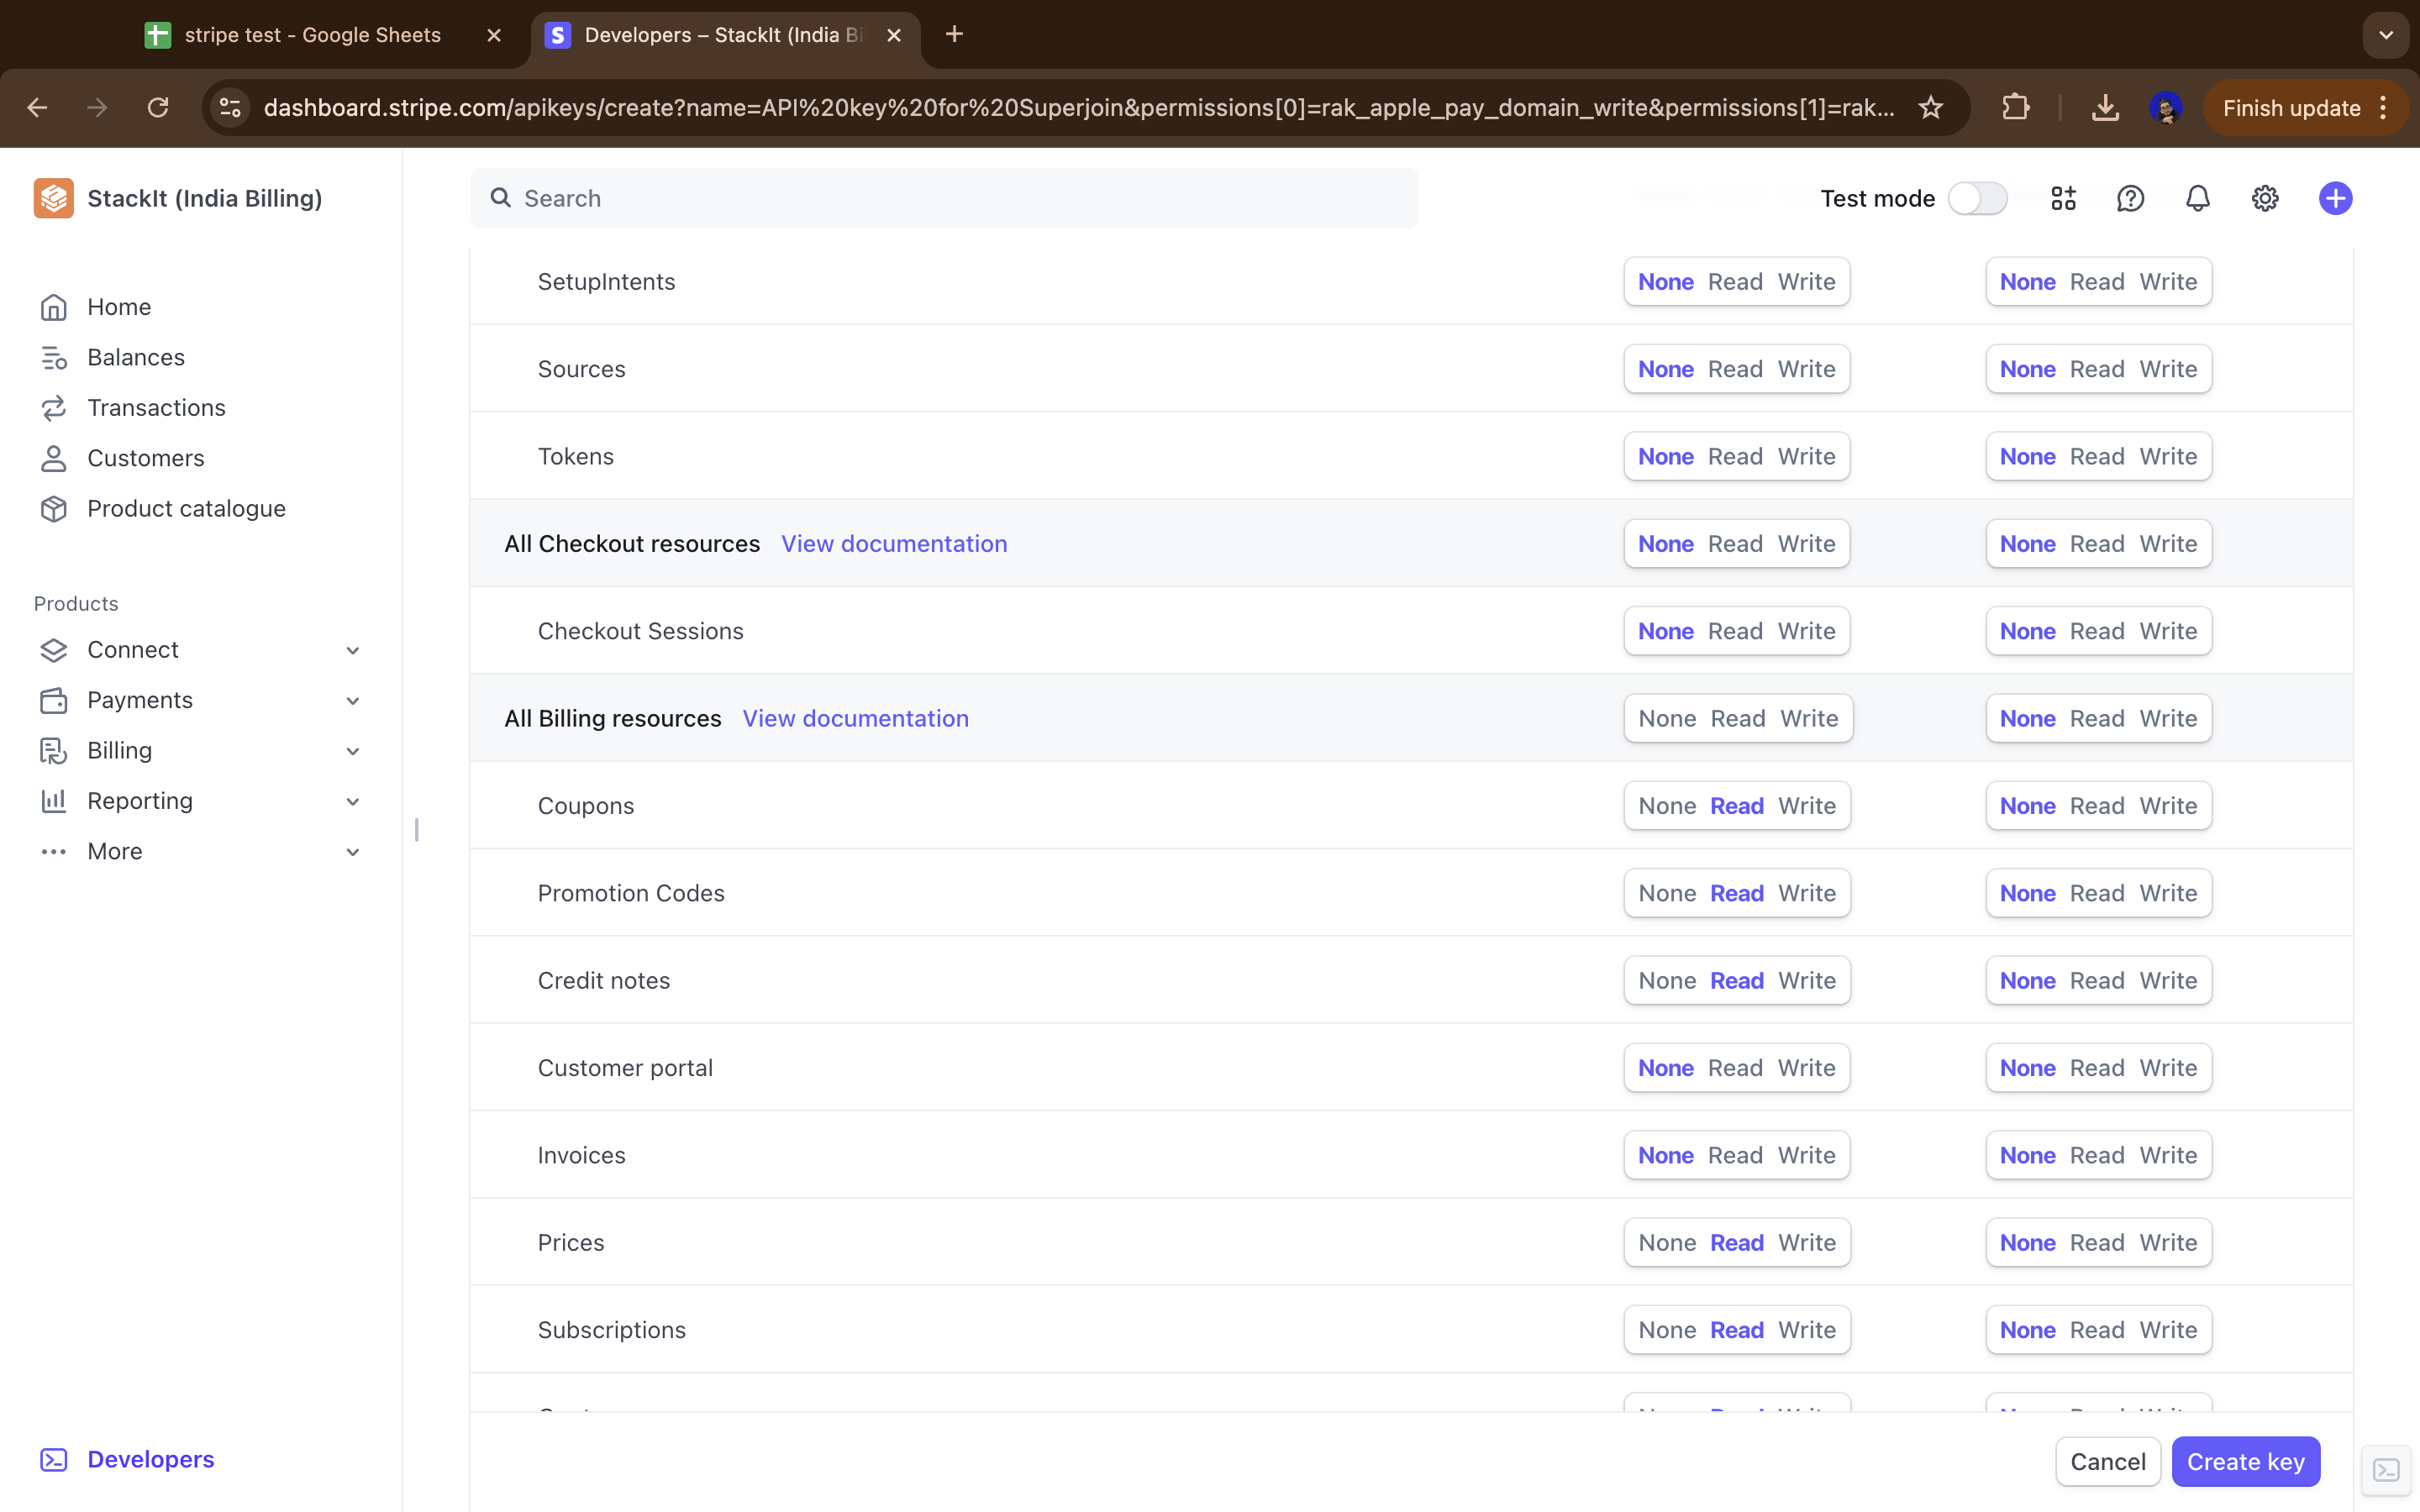

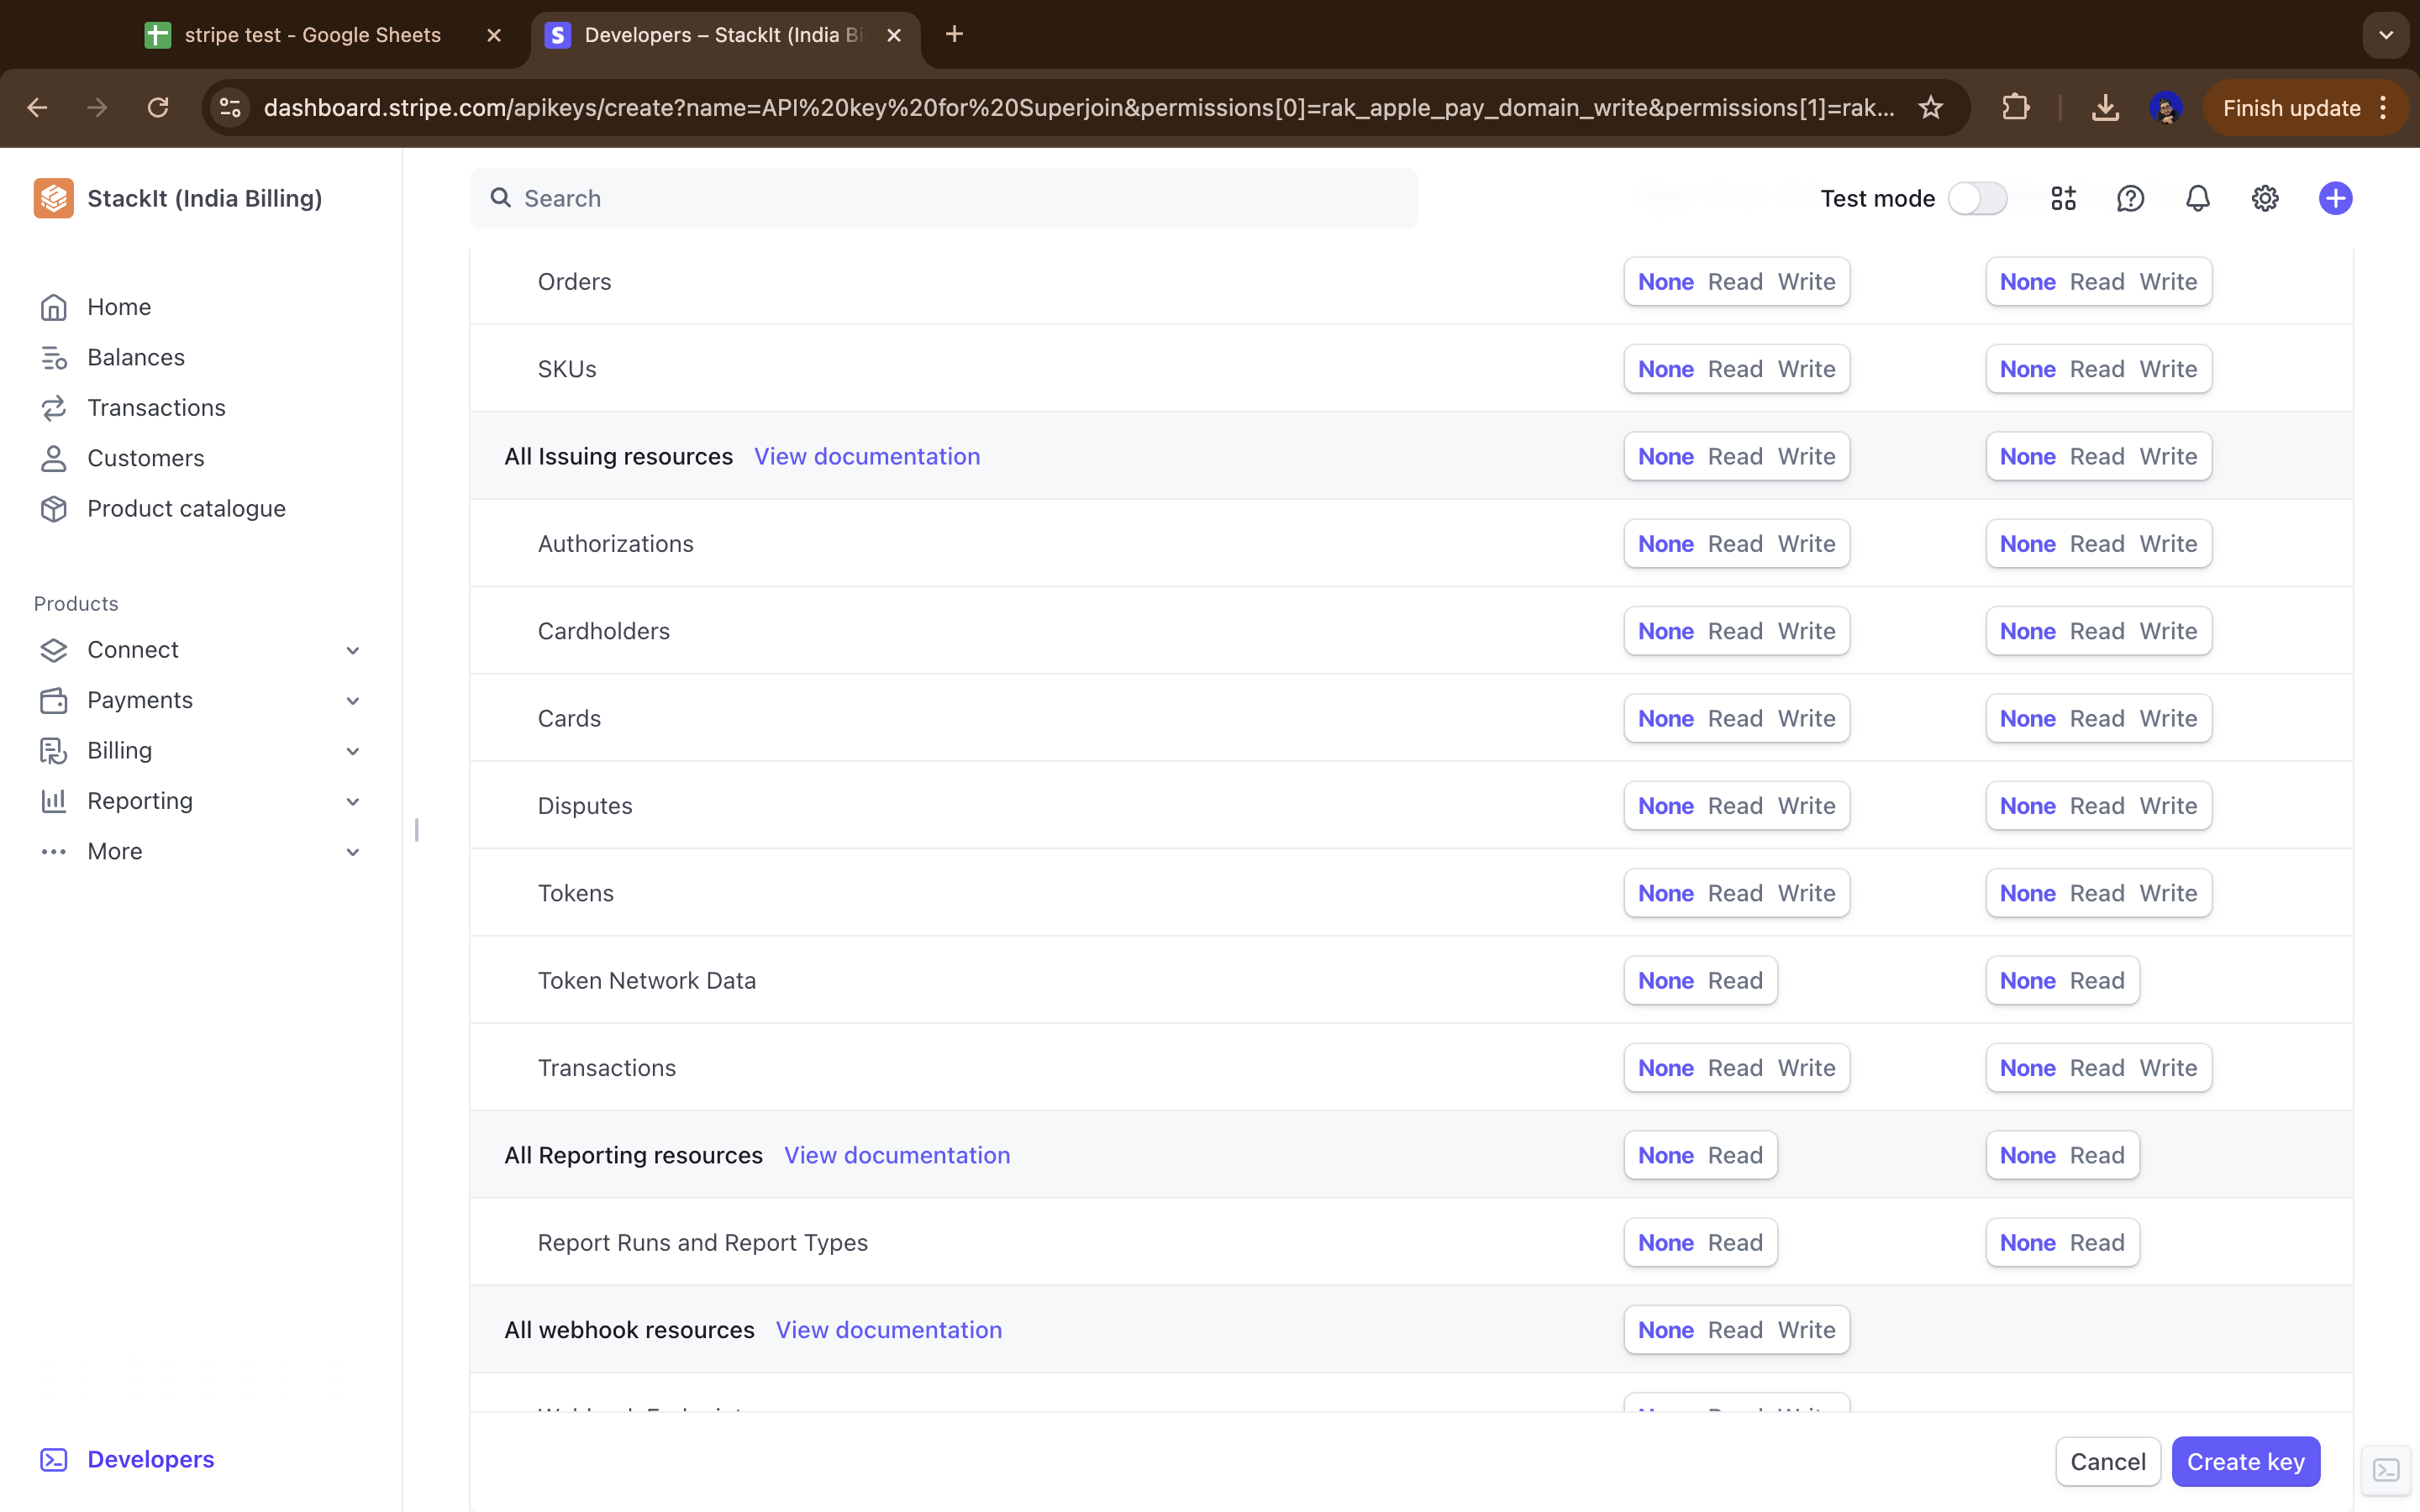
Recommended Permissions Table
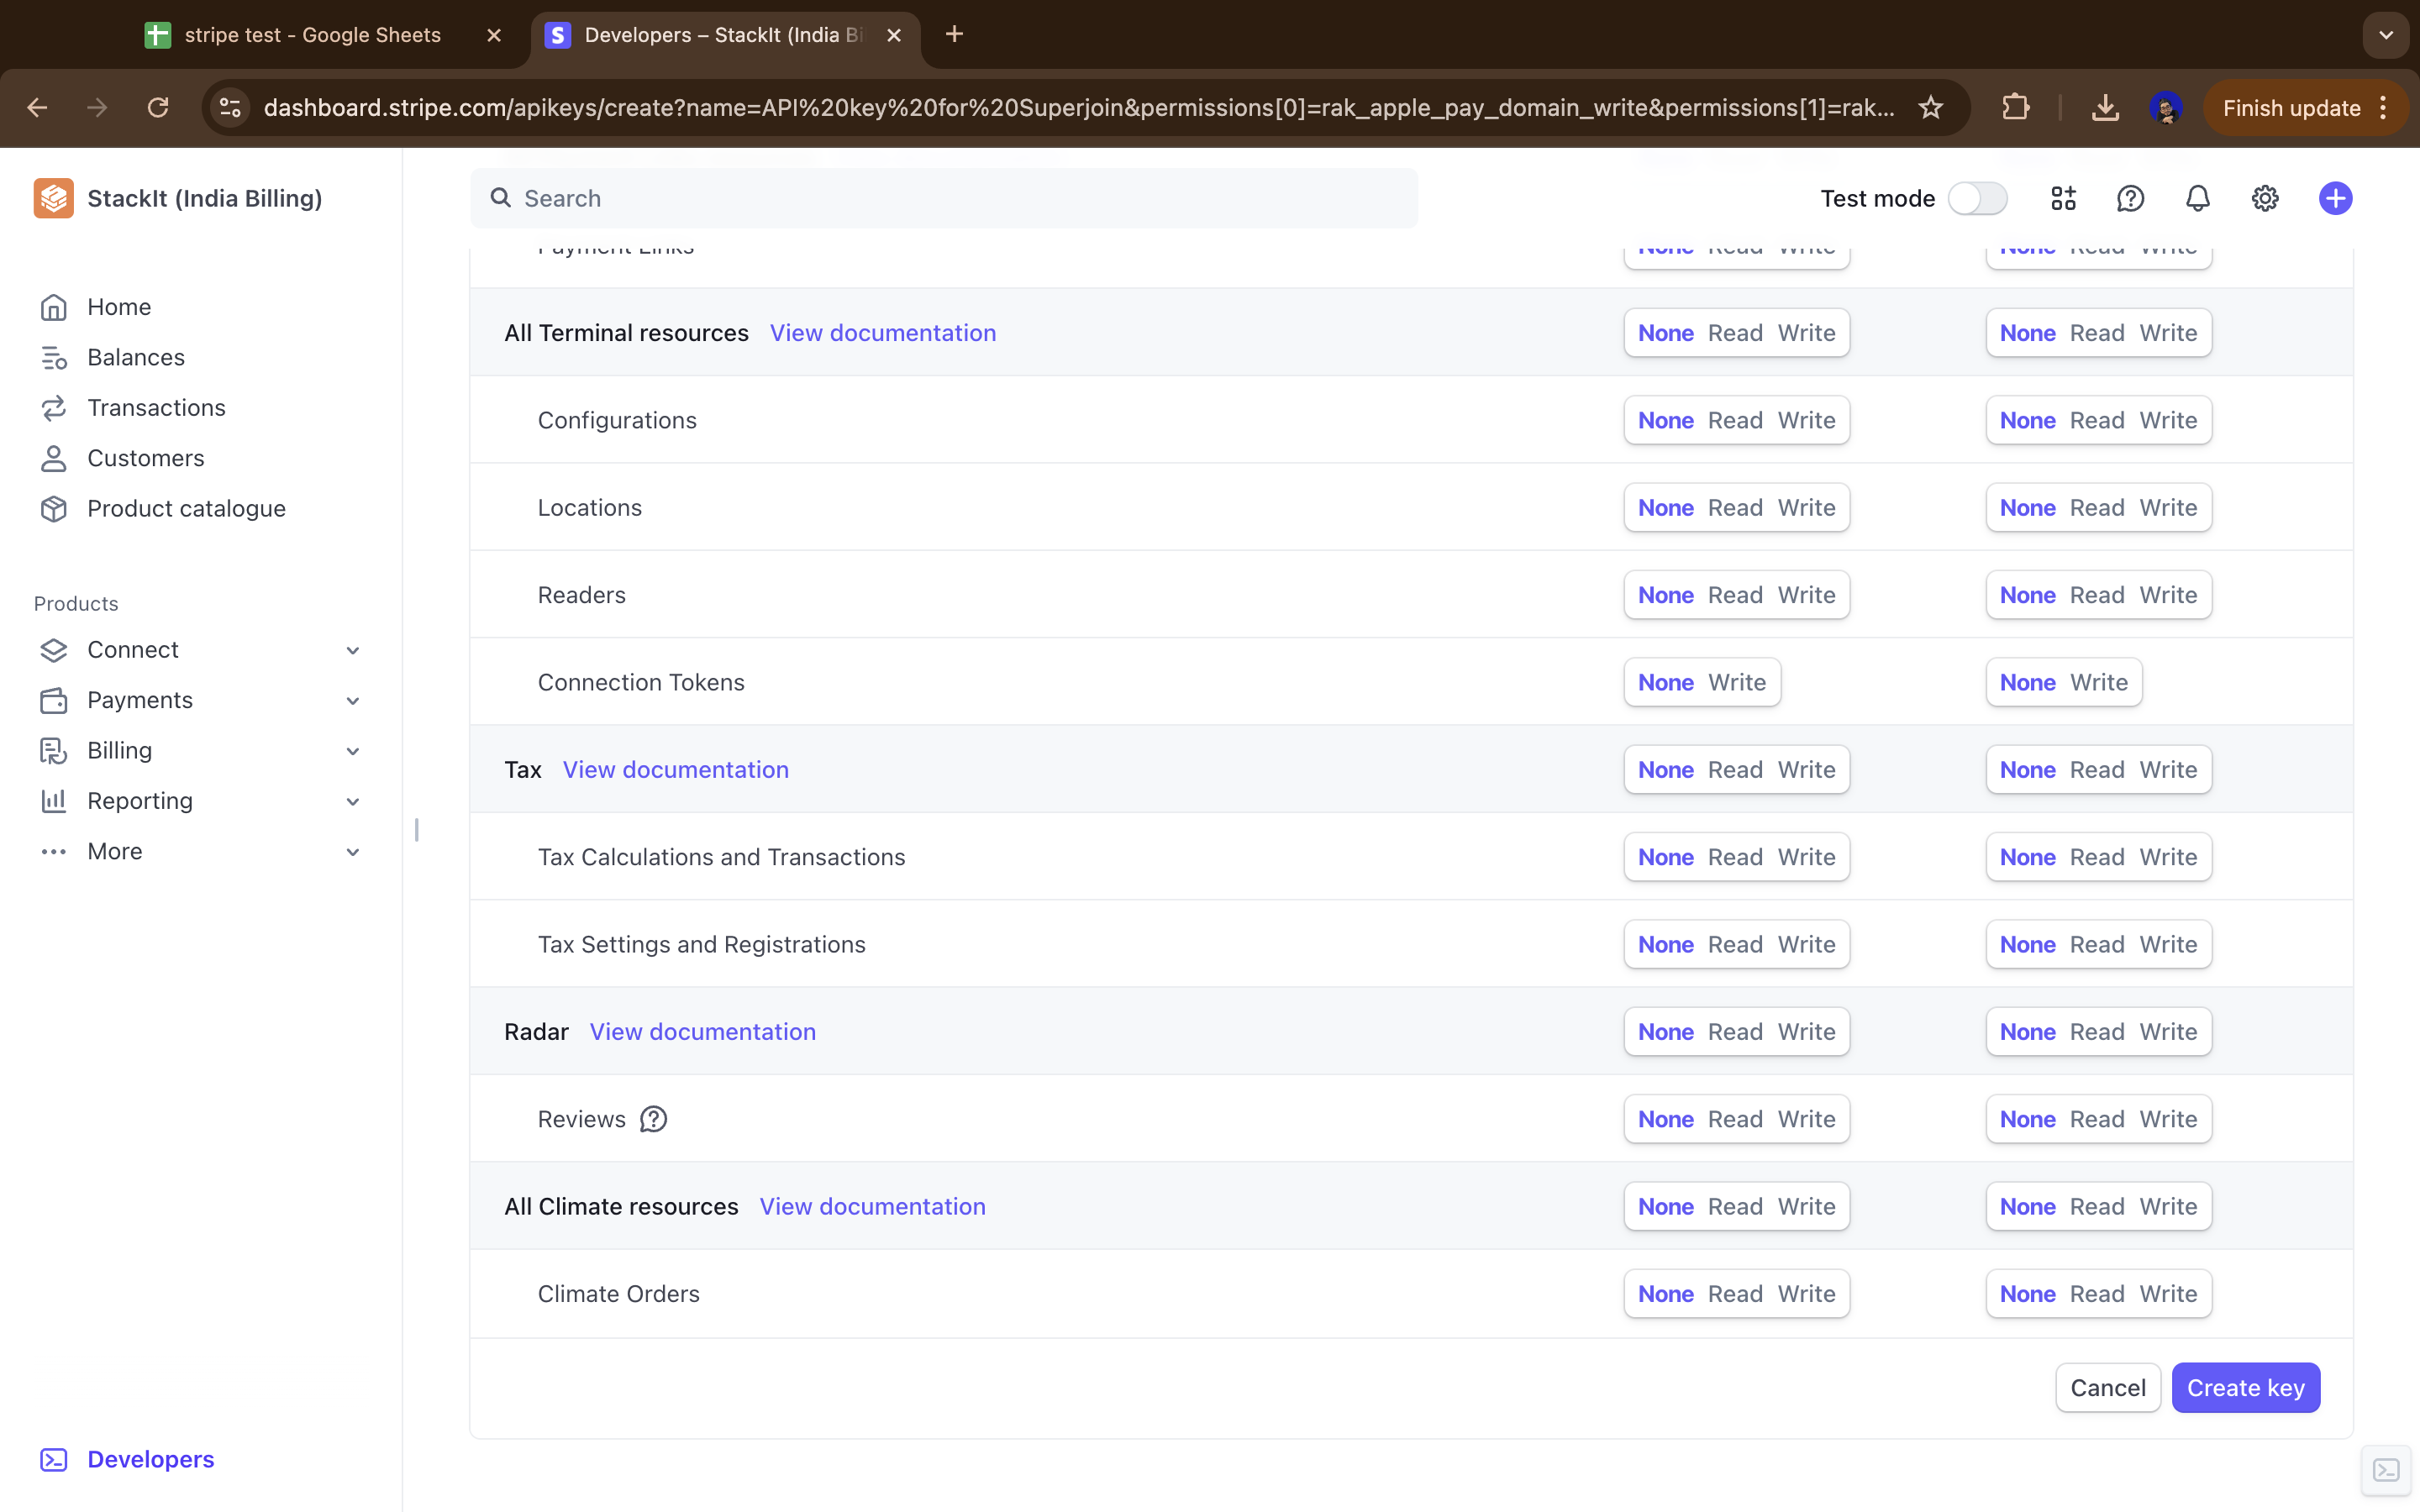
Below is a comprehensive table of suggested permissions for your Stripe Restricted API key. You can adjust these based on what specific data you want to access through Superjoin.Note: Most resources are set to “Read” permission to allow accessing data while maintaining security by not allowing write operations. Resources marked as “None” are typically not needed for data integration purposes.
7
Create Key
Click on Create key. You may be prompted to enter a confirmation code sent to your mobile or email address.
The permissions table above provides a suggested configuration that works well for most Superjoin integrations with Stripe. You can modify these permissions based on what specific data you want to access through your integration. In general, Read-only permissions are safest and sufficient for data integration purposes.
For more details, use Stripe Documentation: https://docs.stripe.com/keys
Setting up Stripe
Looking to connect your Stripe account?
Head over to the Stripe overview page to get a step by step guide to connect.