Open the Superjoin Sidebar
Start by opening the Superjoin sidebar in Google Sheets by clicking the Superjoin icon in your Google Sheets interface.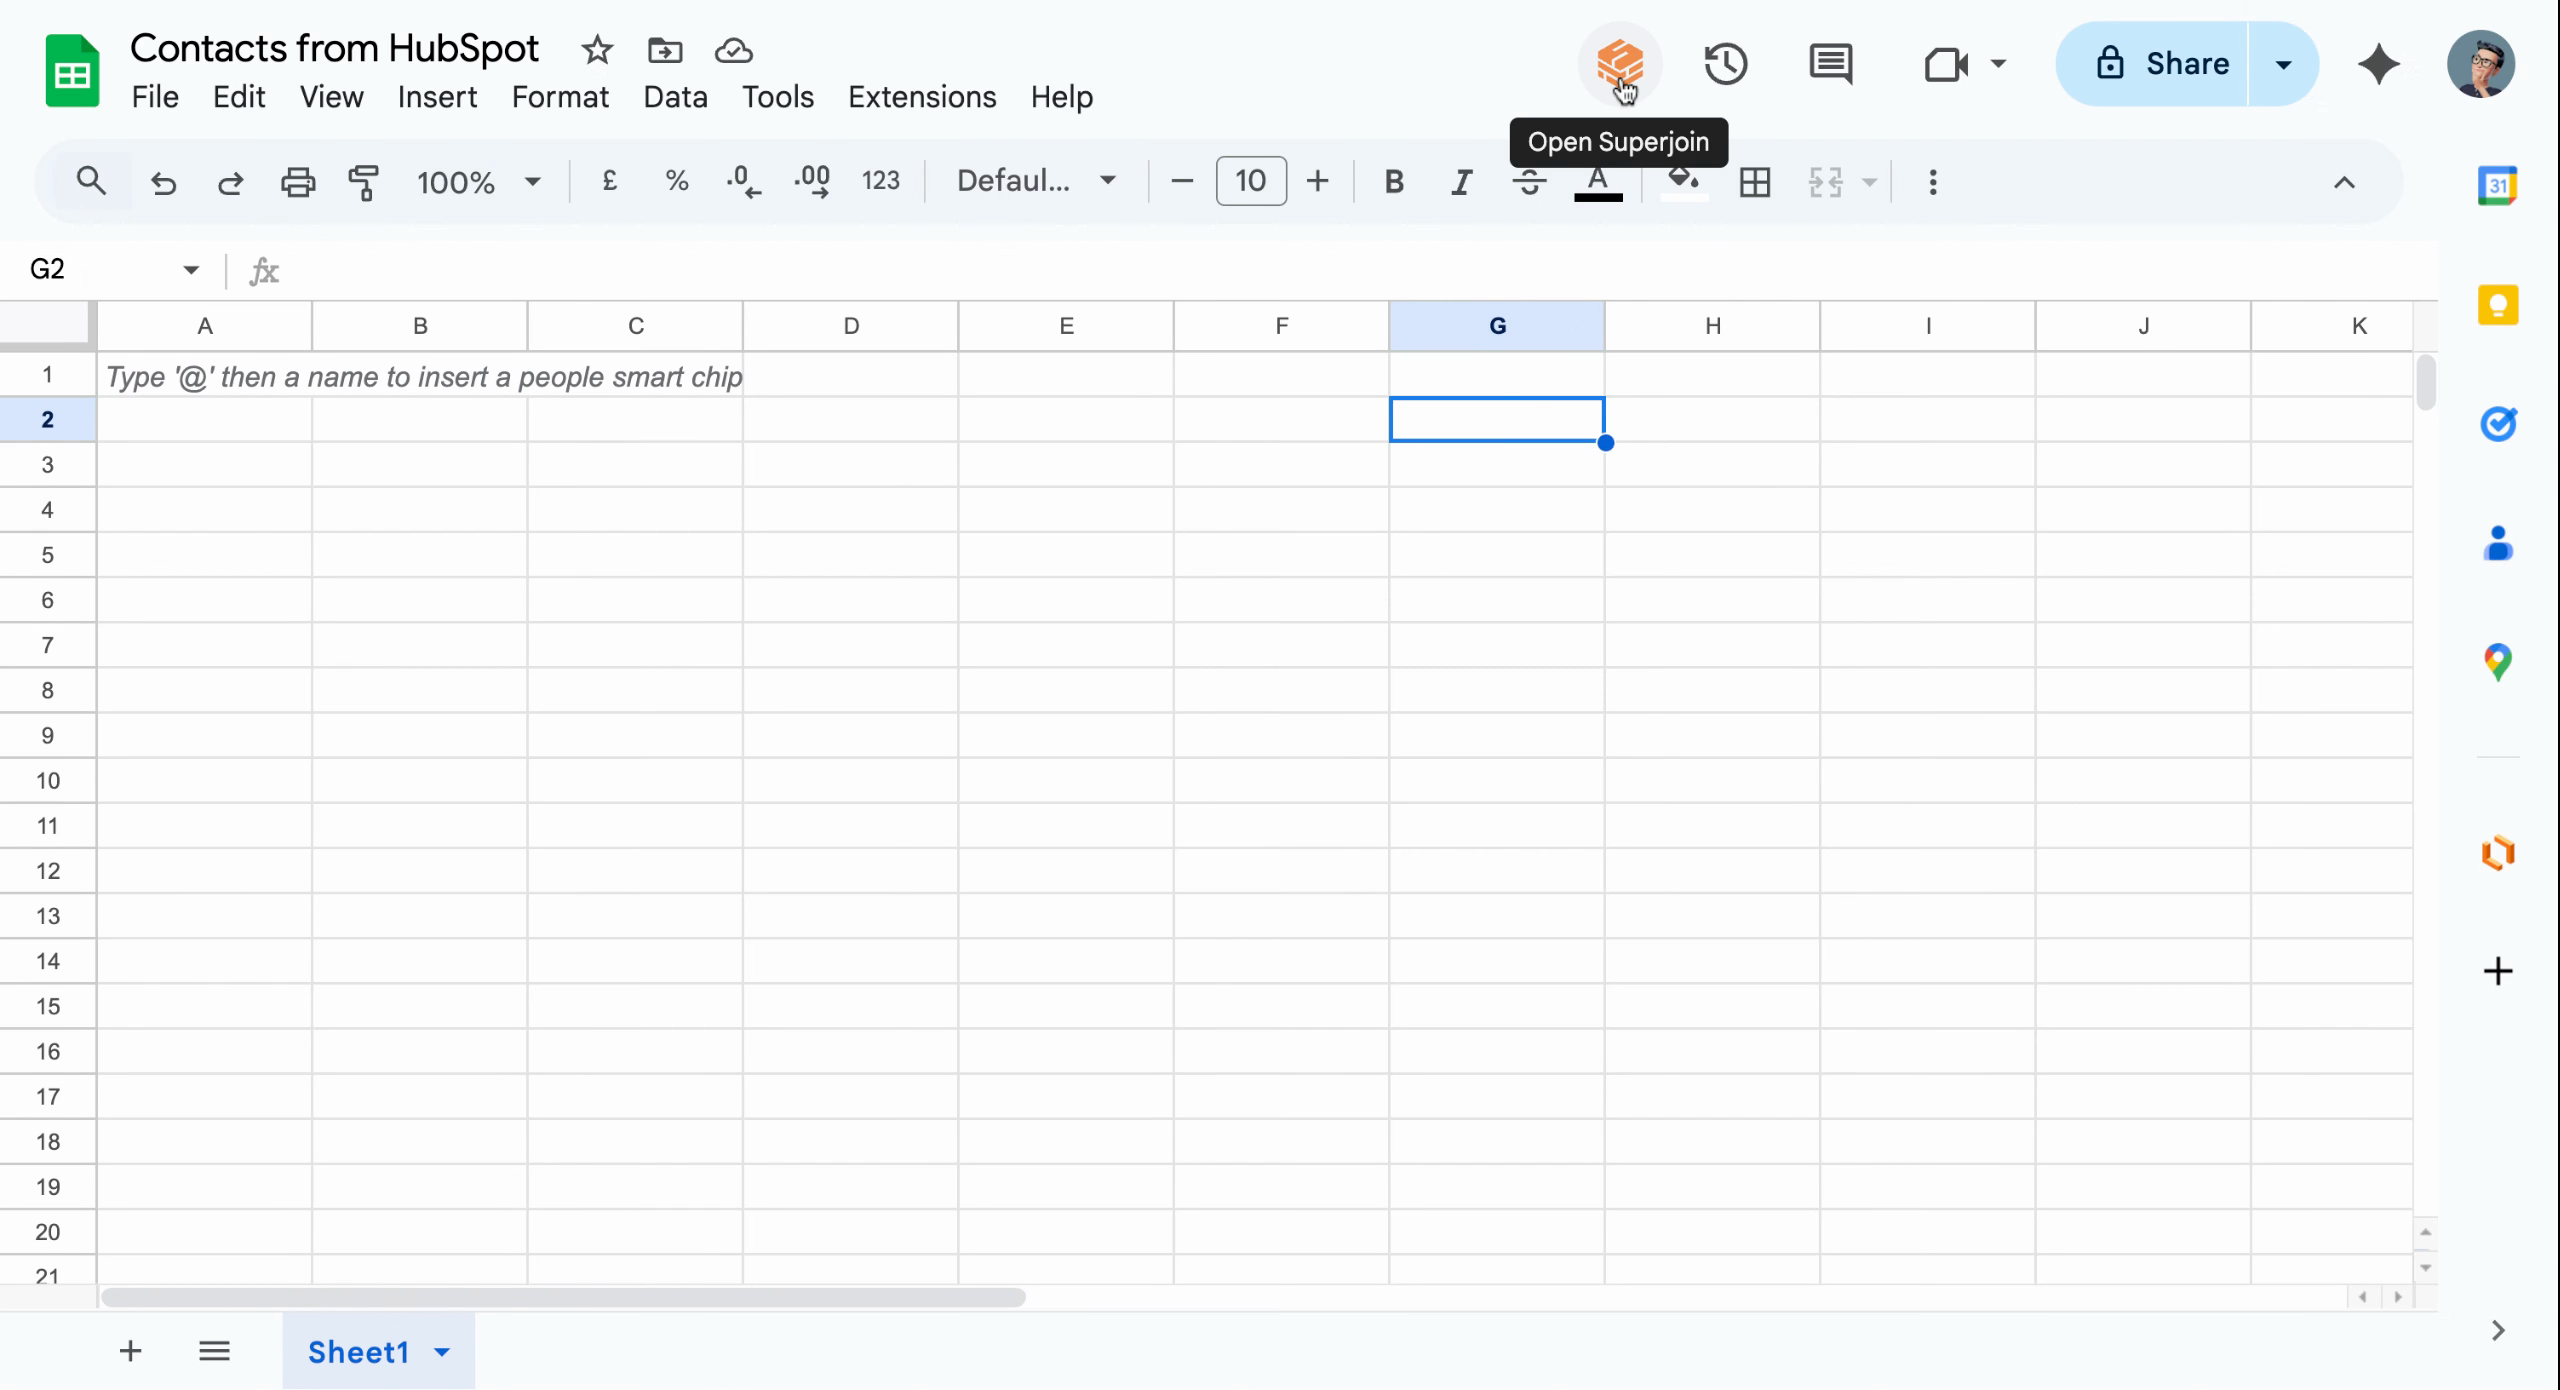
The Superjoin icon launches the sidebar directly inside Google Sheets
Locate Your HubSpot Source
Navigate to the Sources section in the sidebar. You’ll see your connected HubSpot account listed here.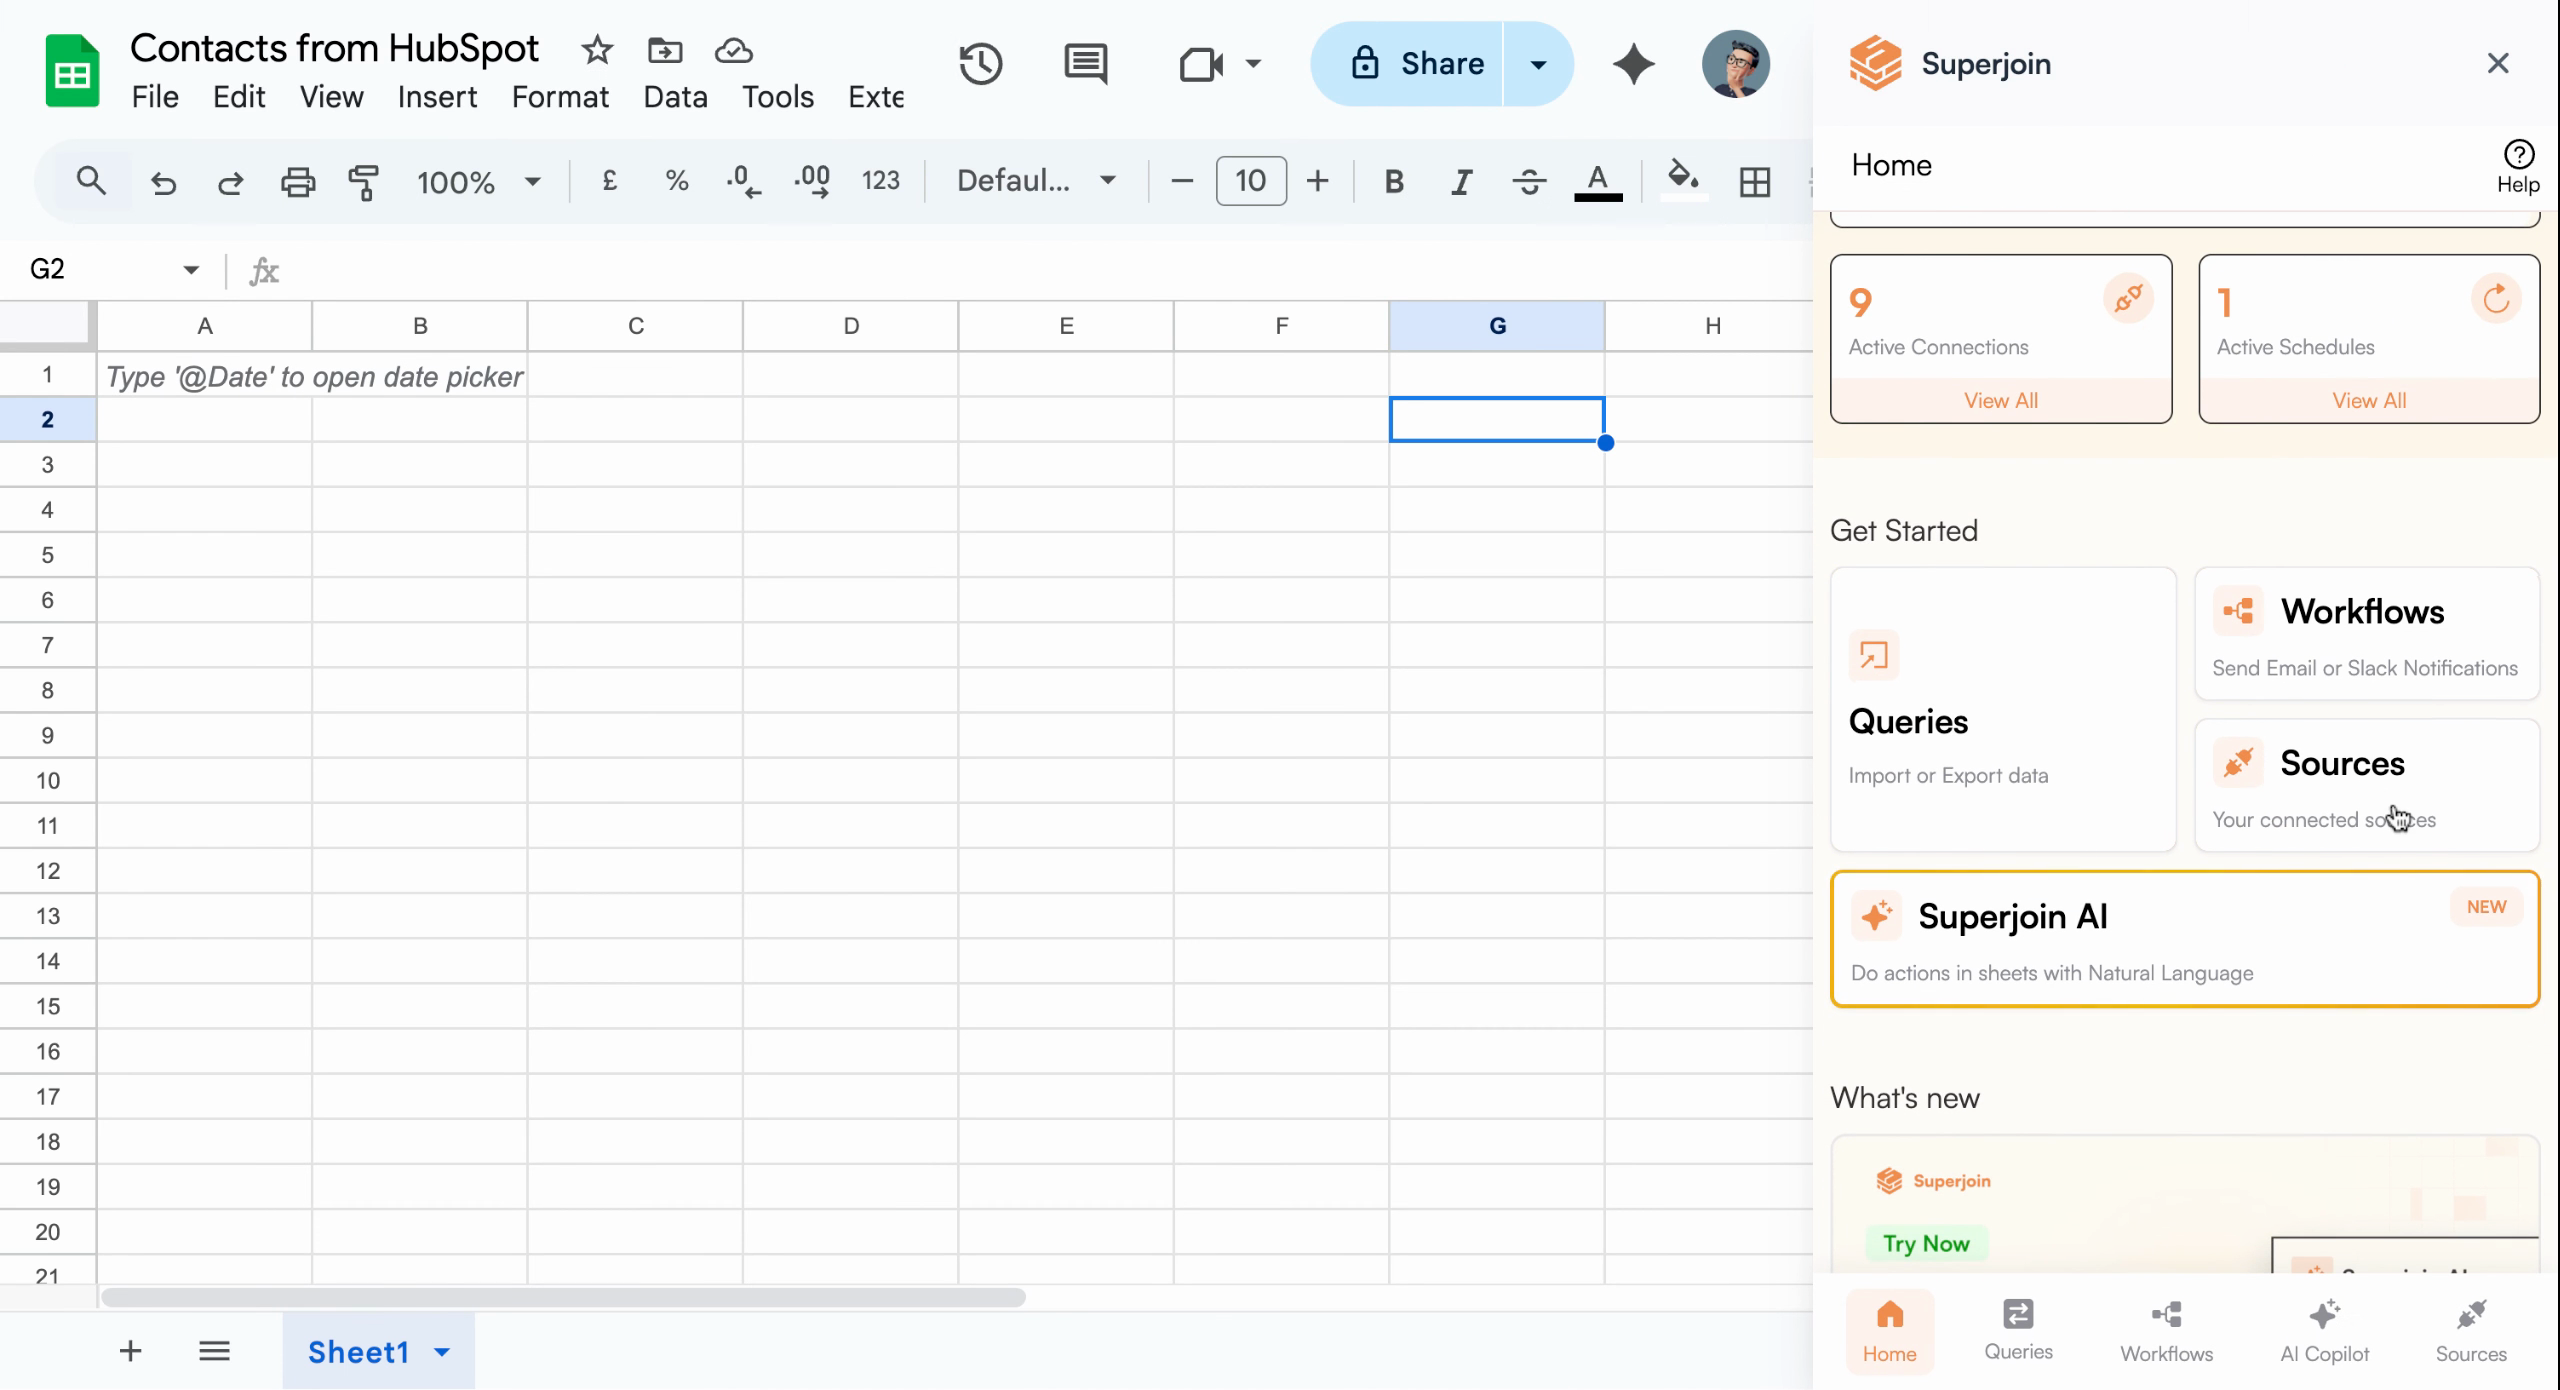
Connected data sources appear in this section for quick access
Open Data Preview
Click on your HubSpot source, then select Import into Google Sheets from the available options.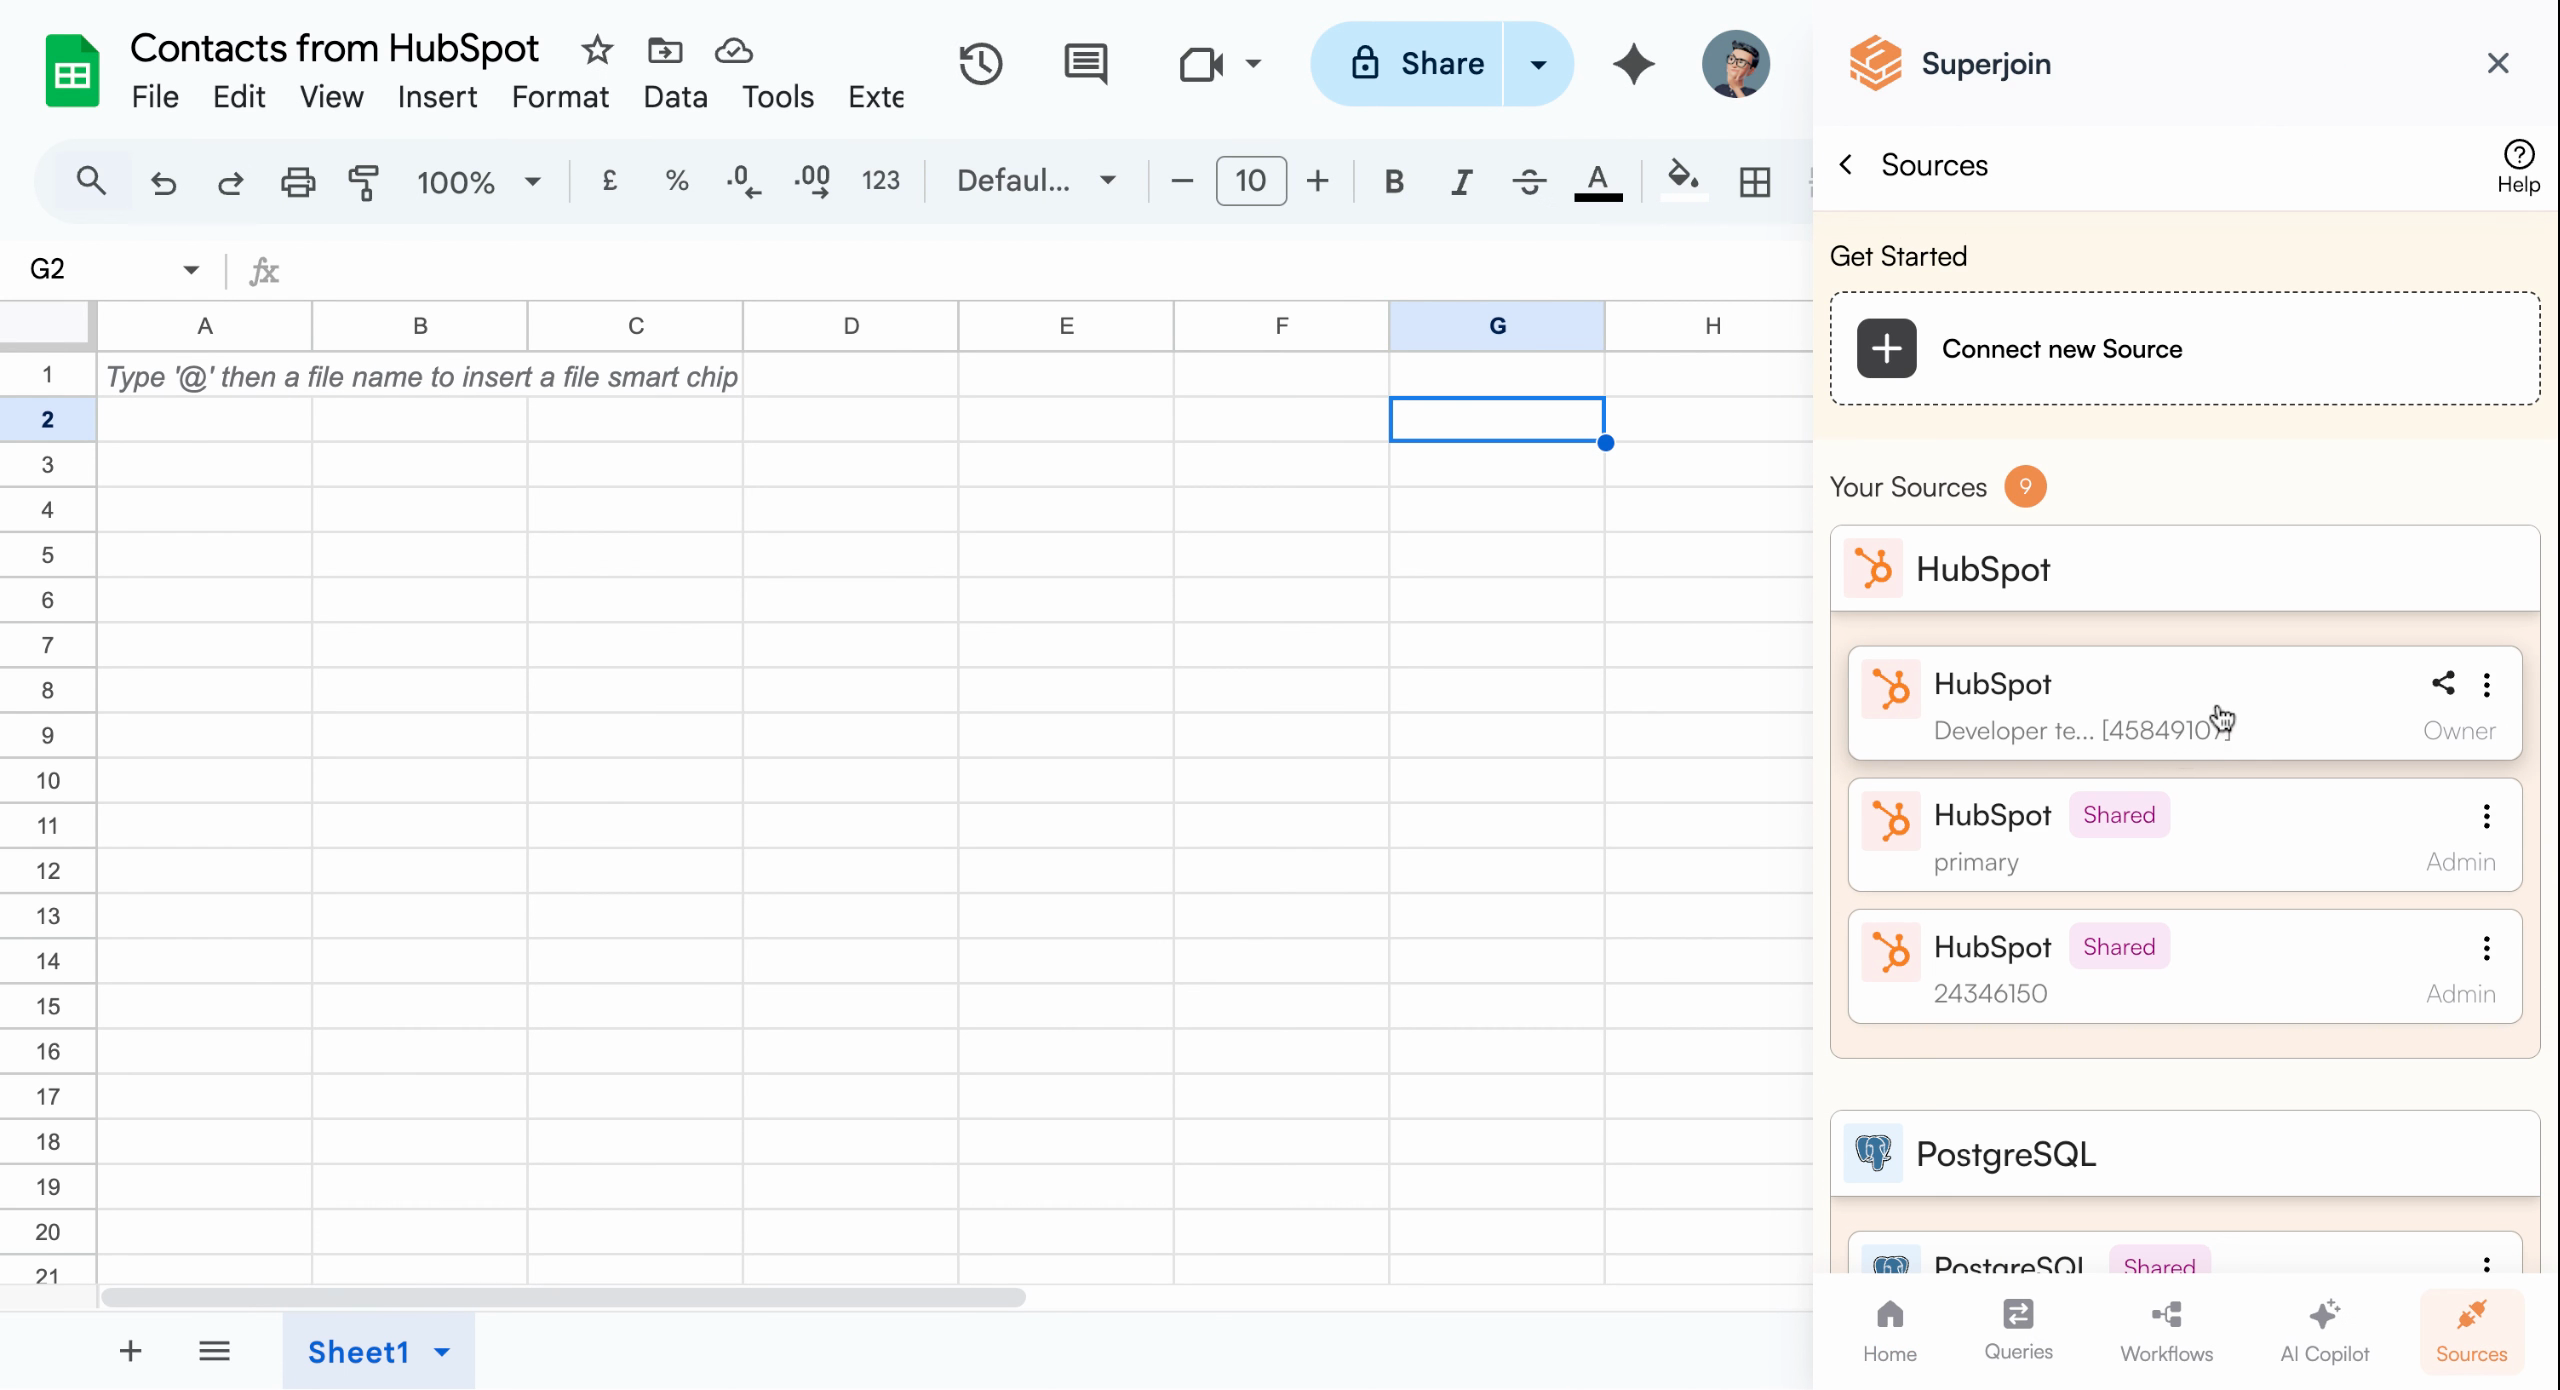
Select your HubSpot source to start setting up an import
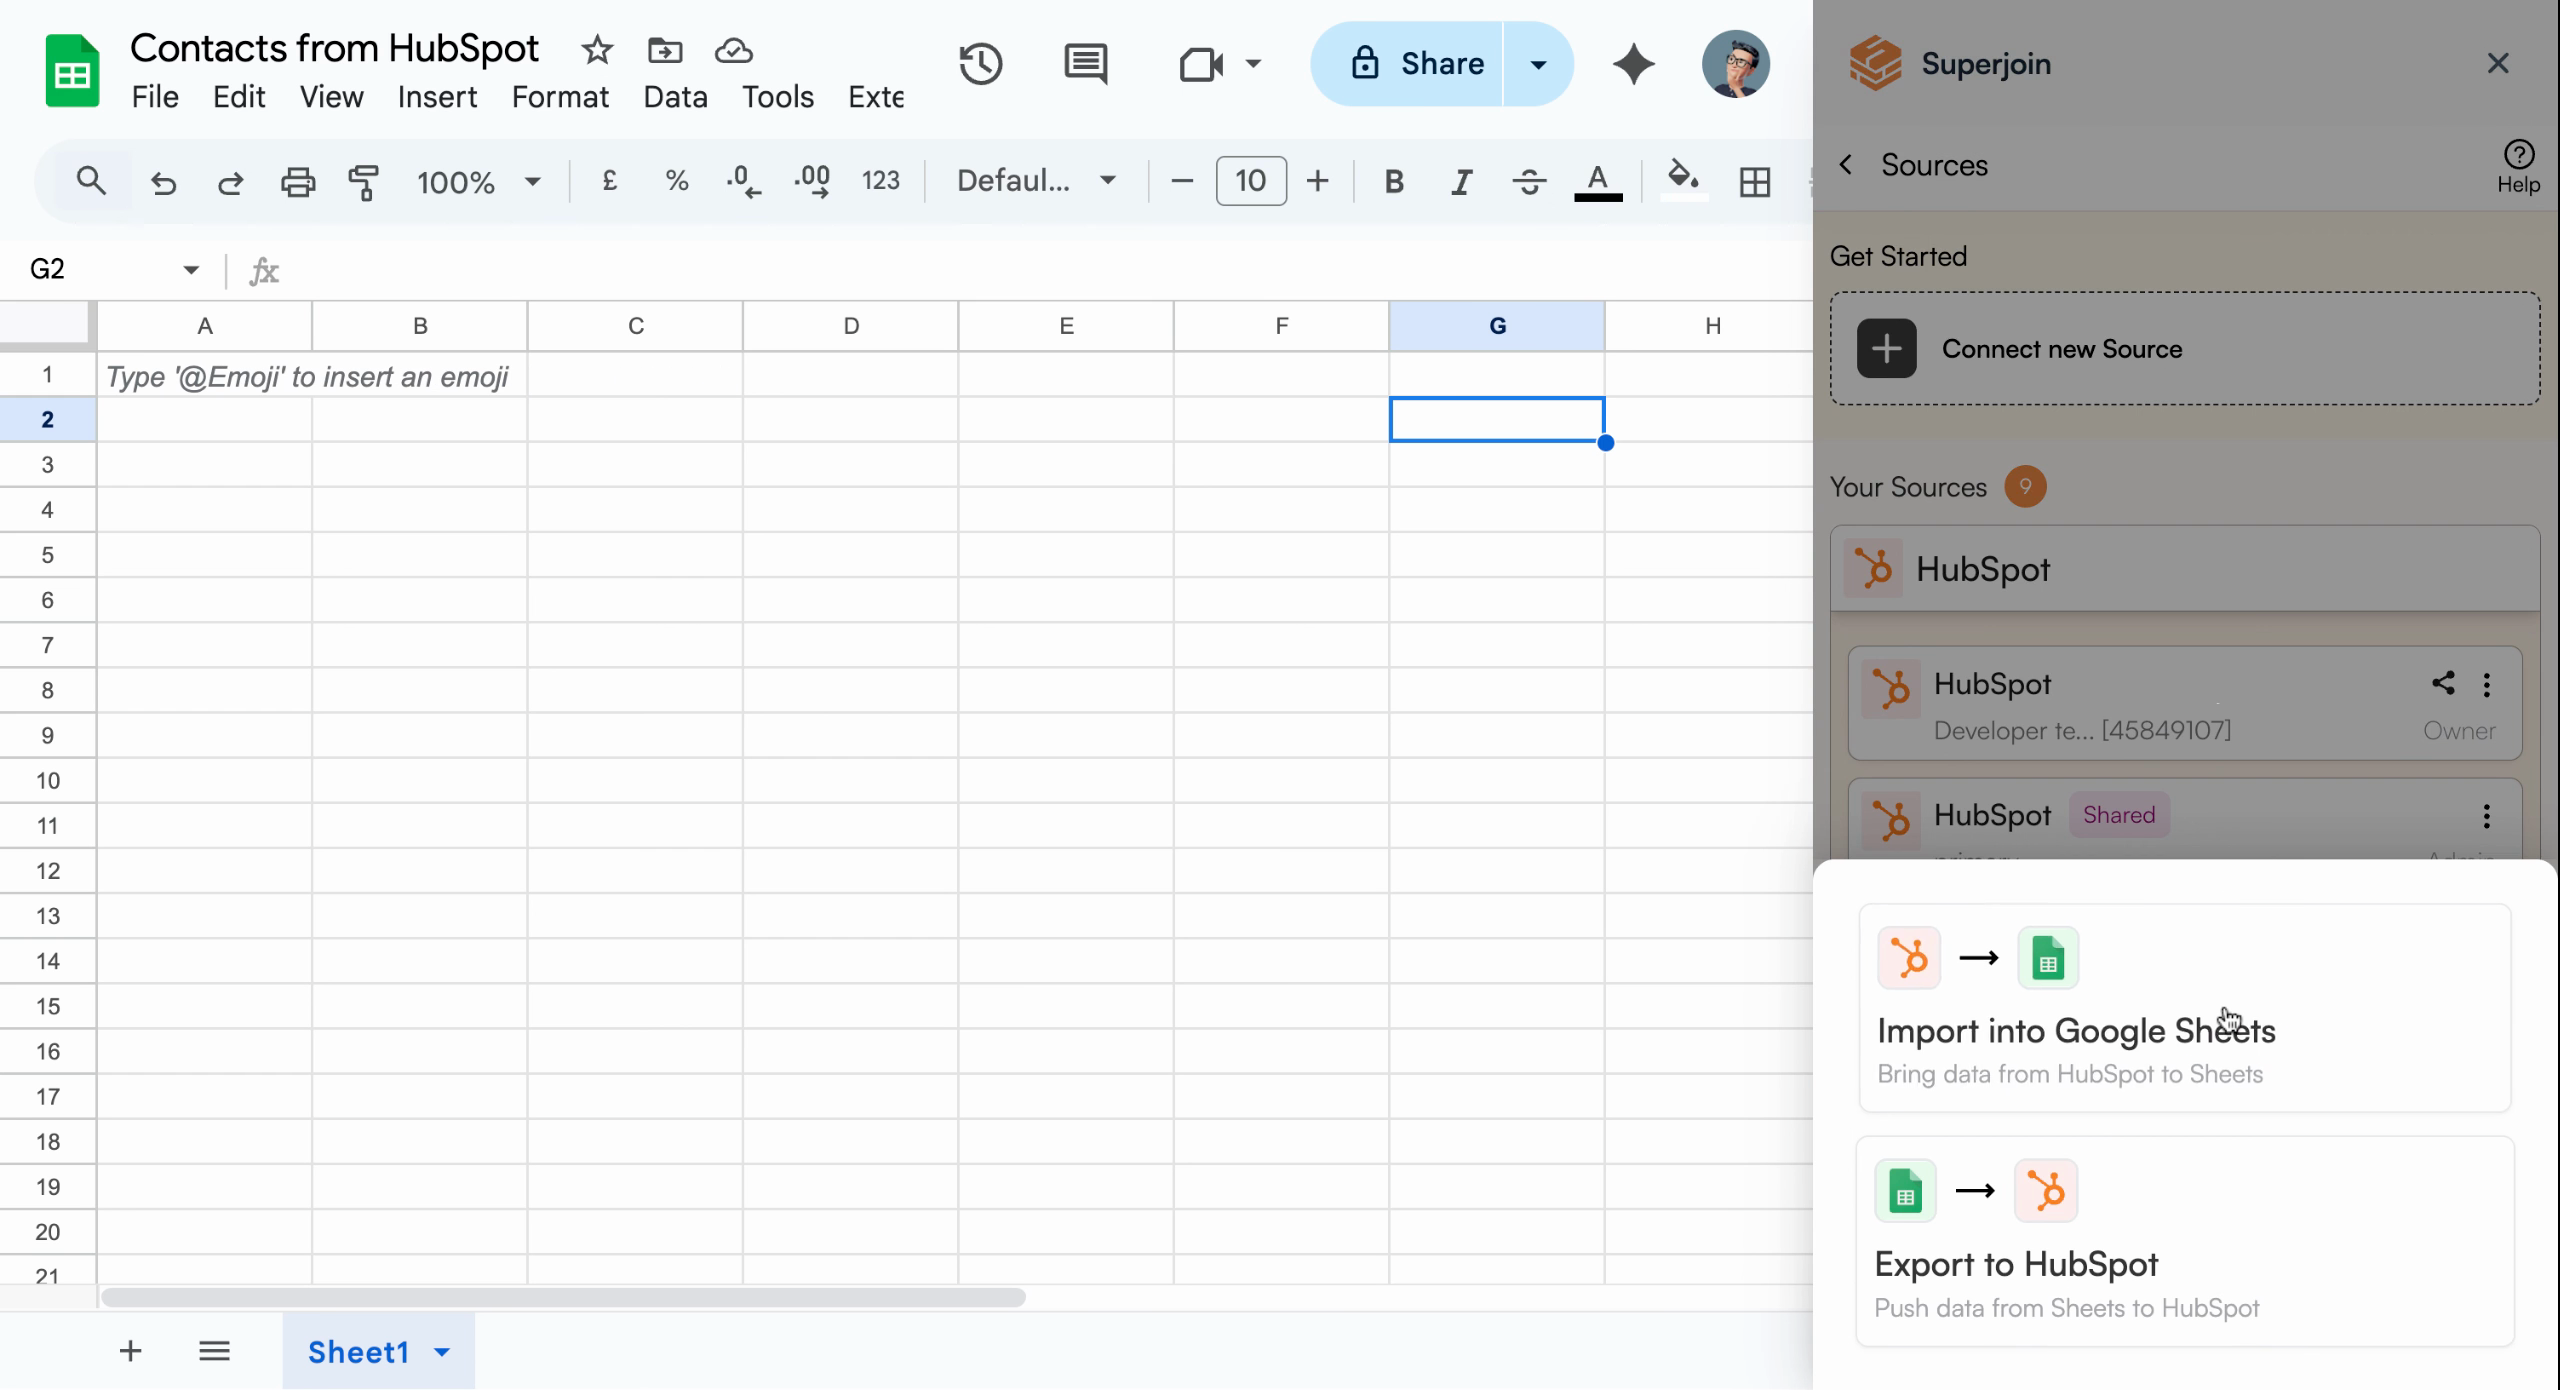
Choose Import into Google Sheets to continue
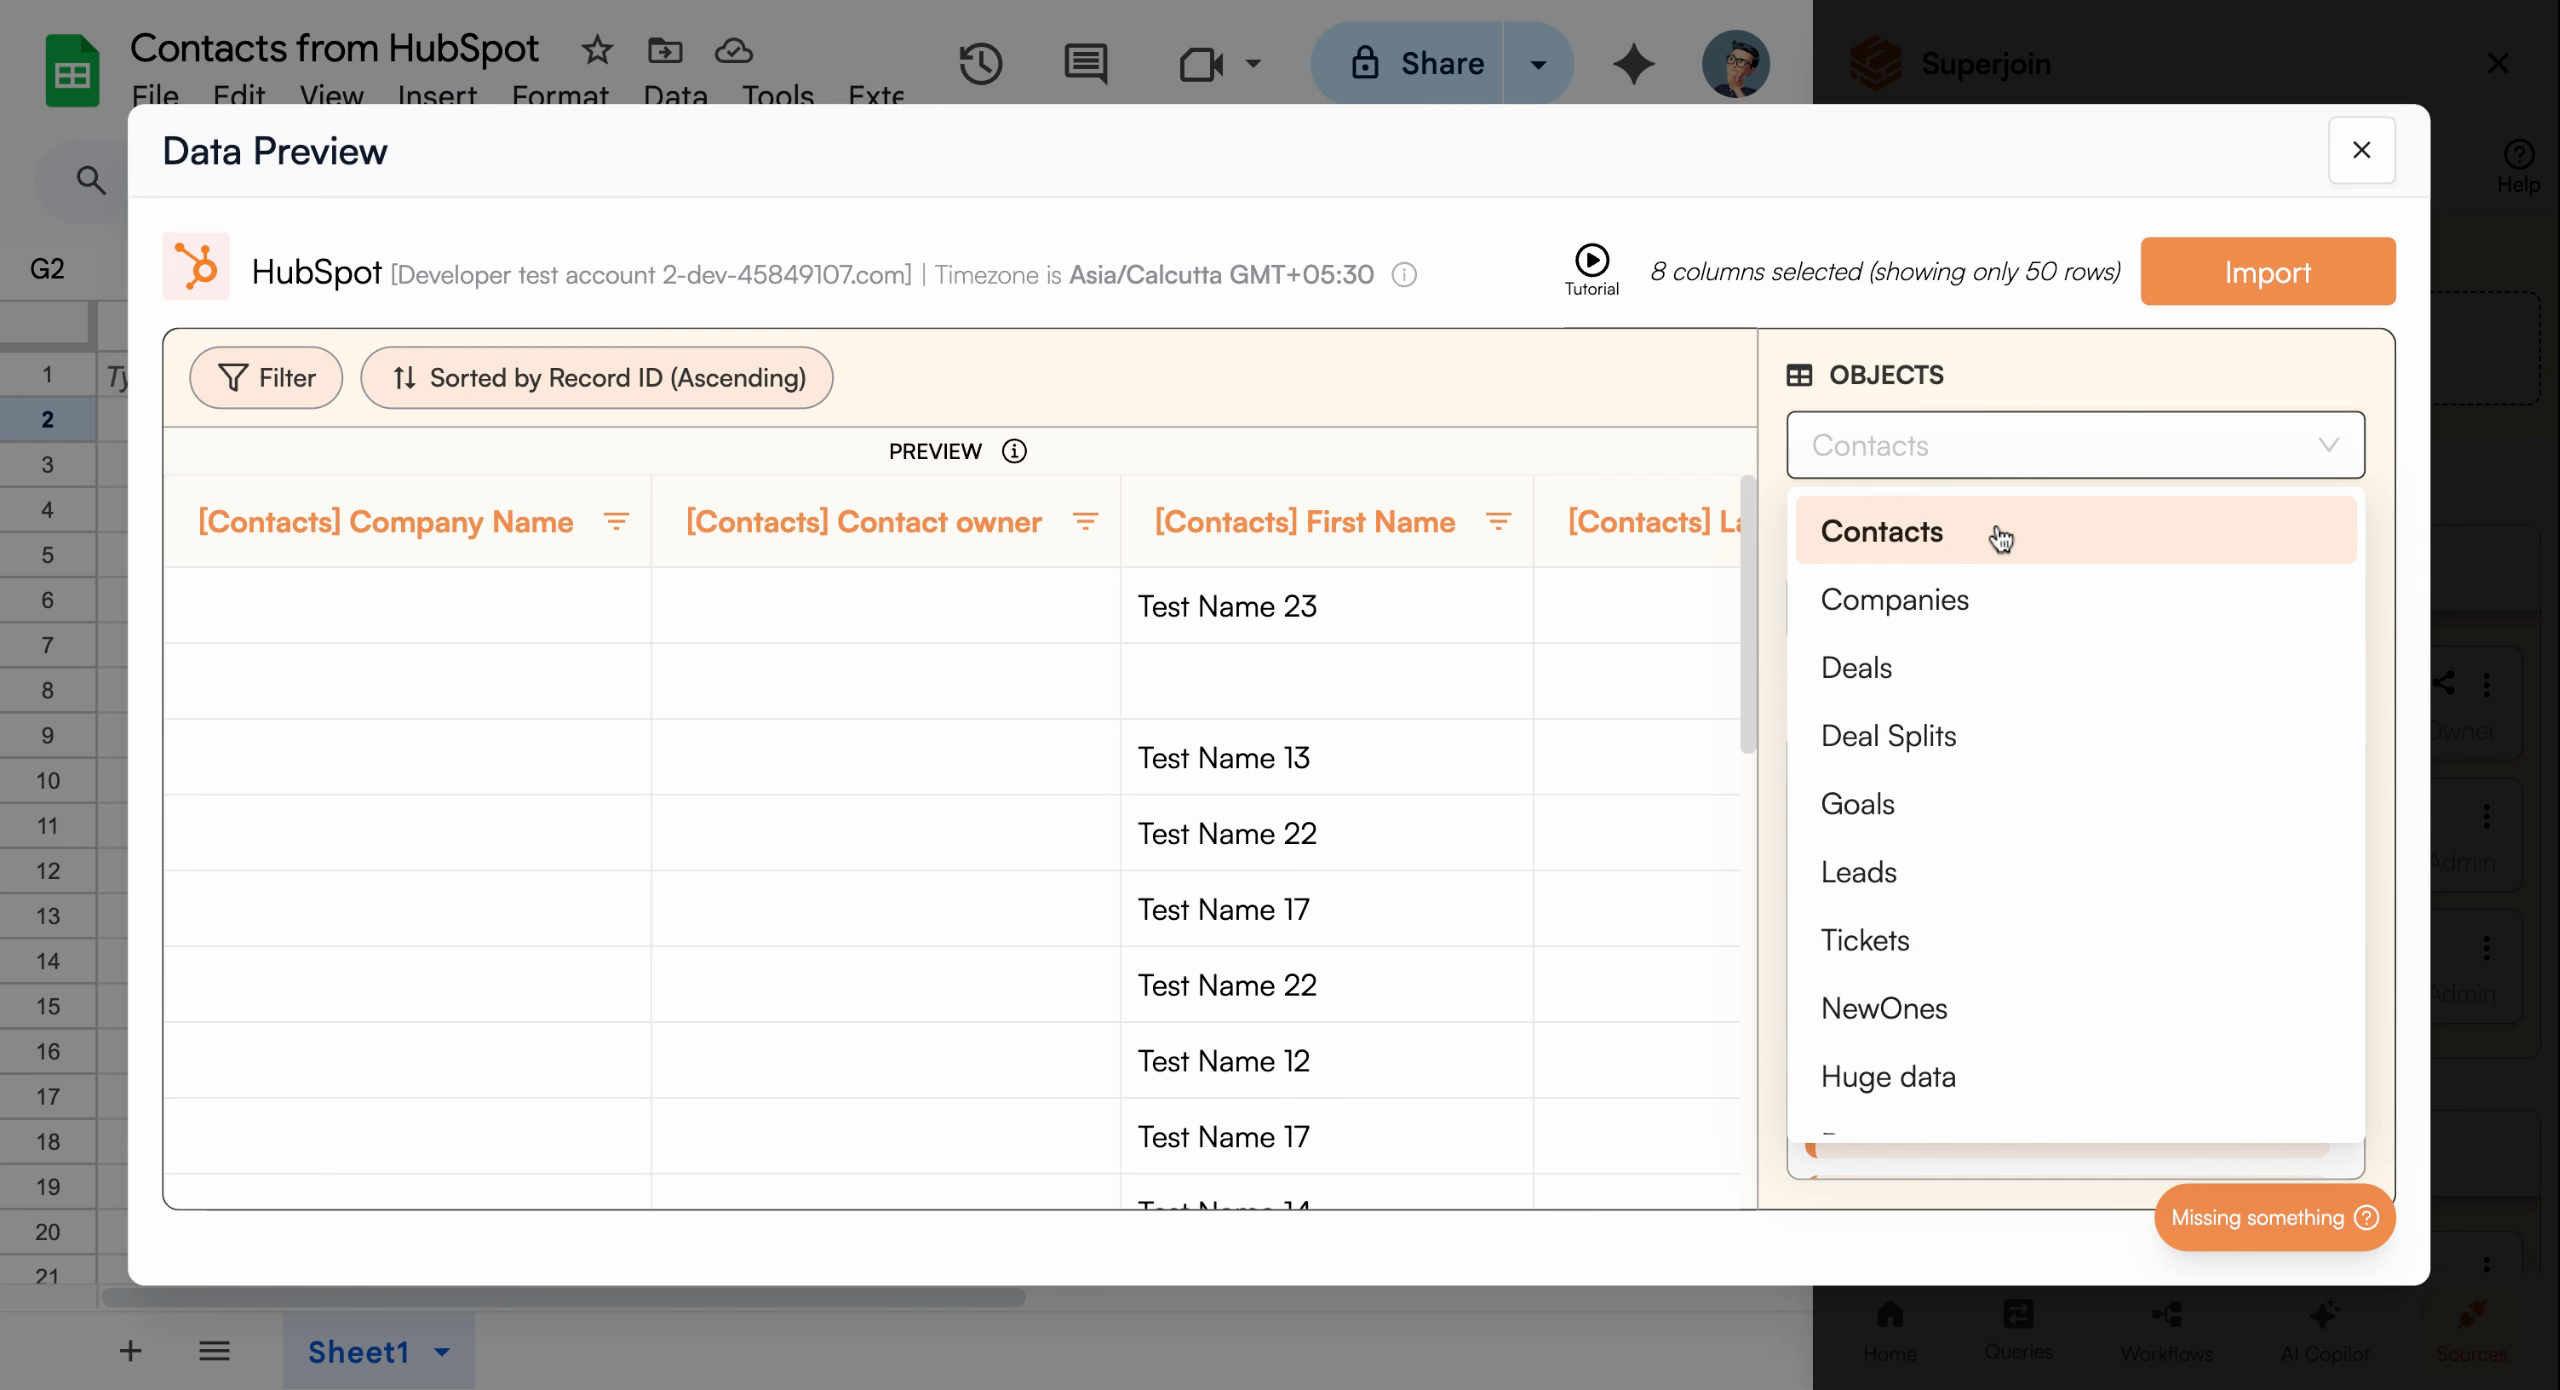
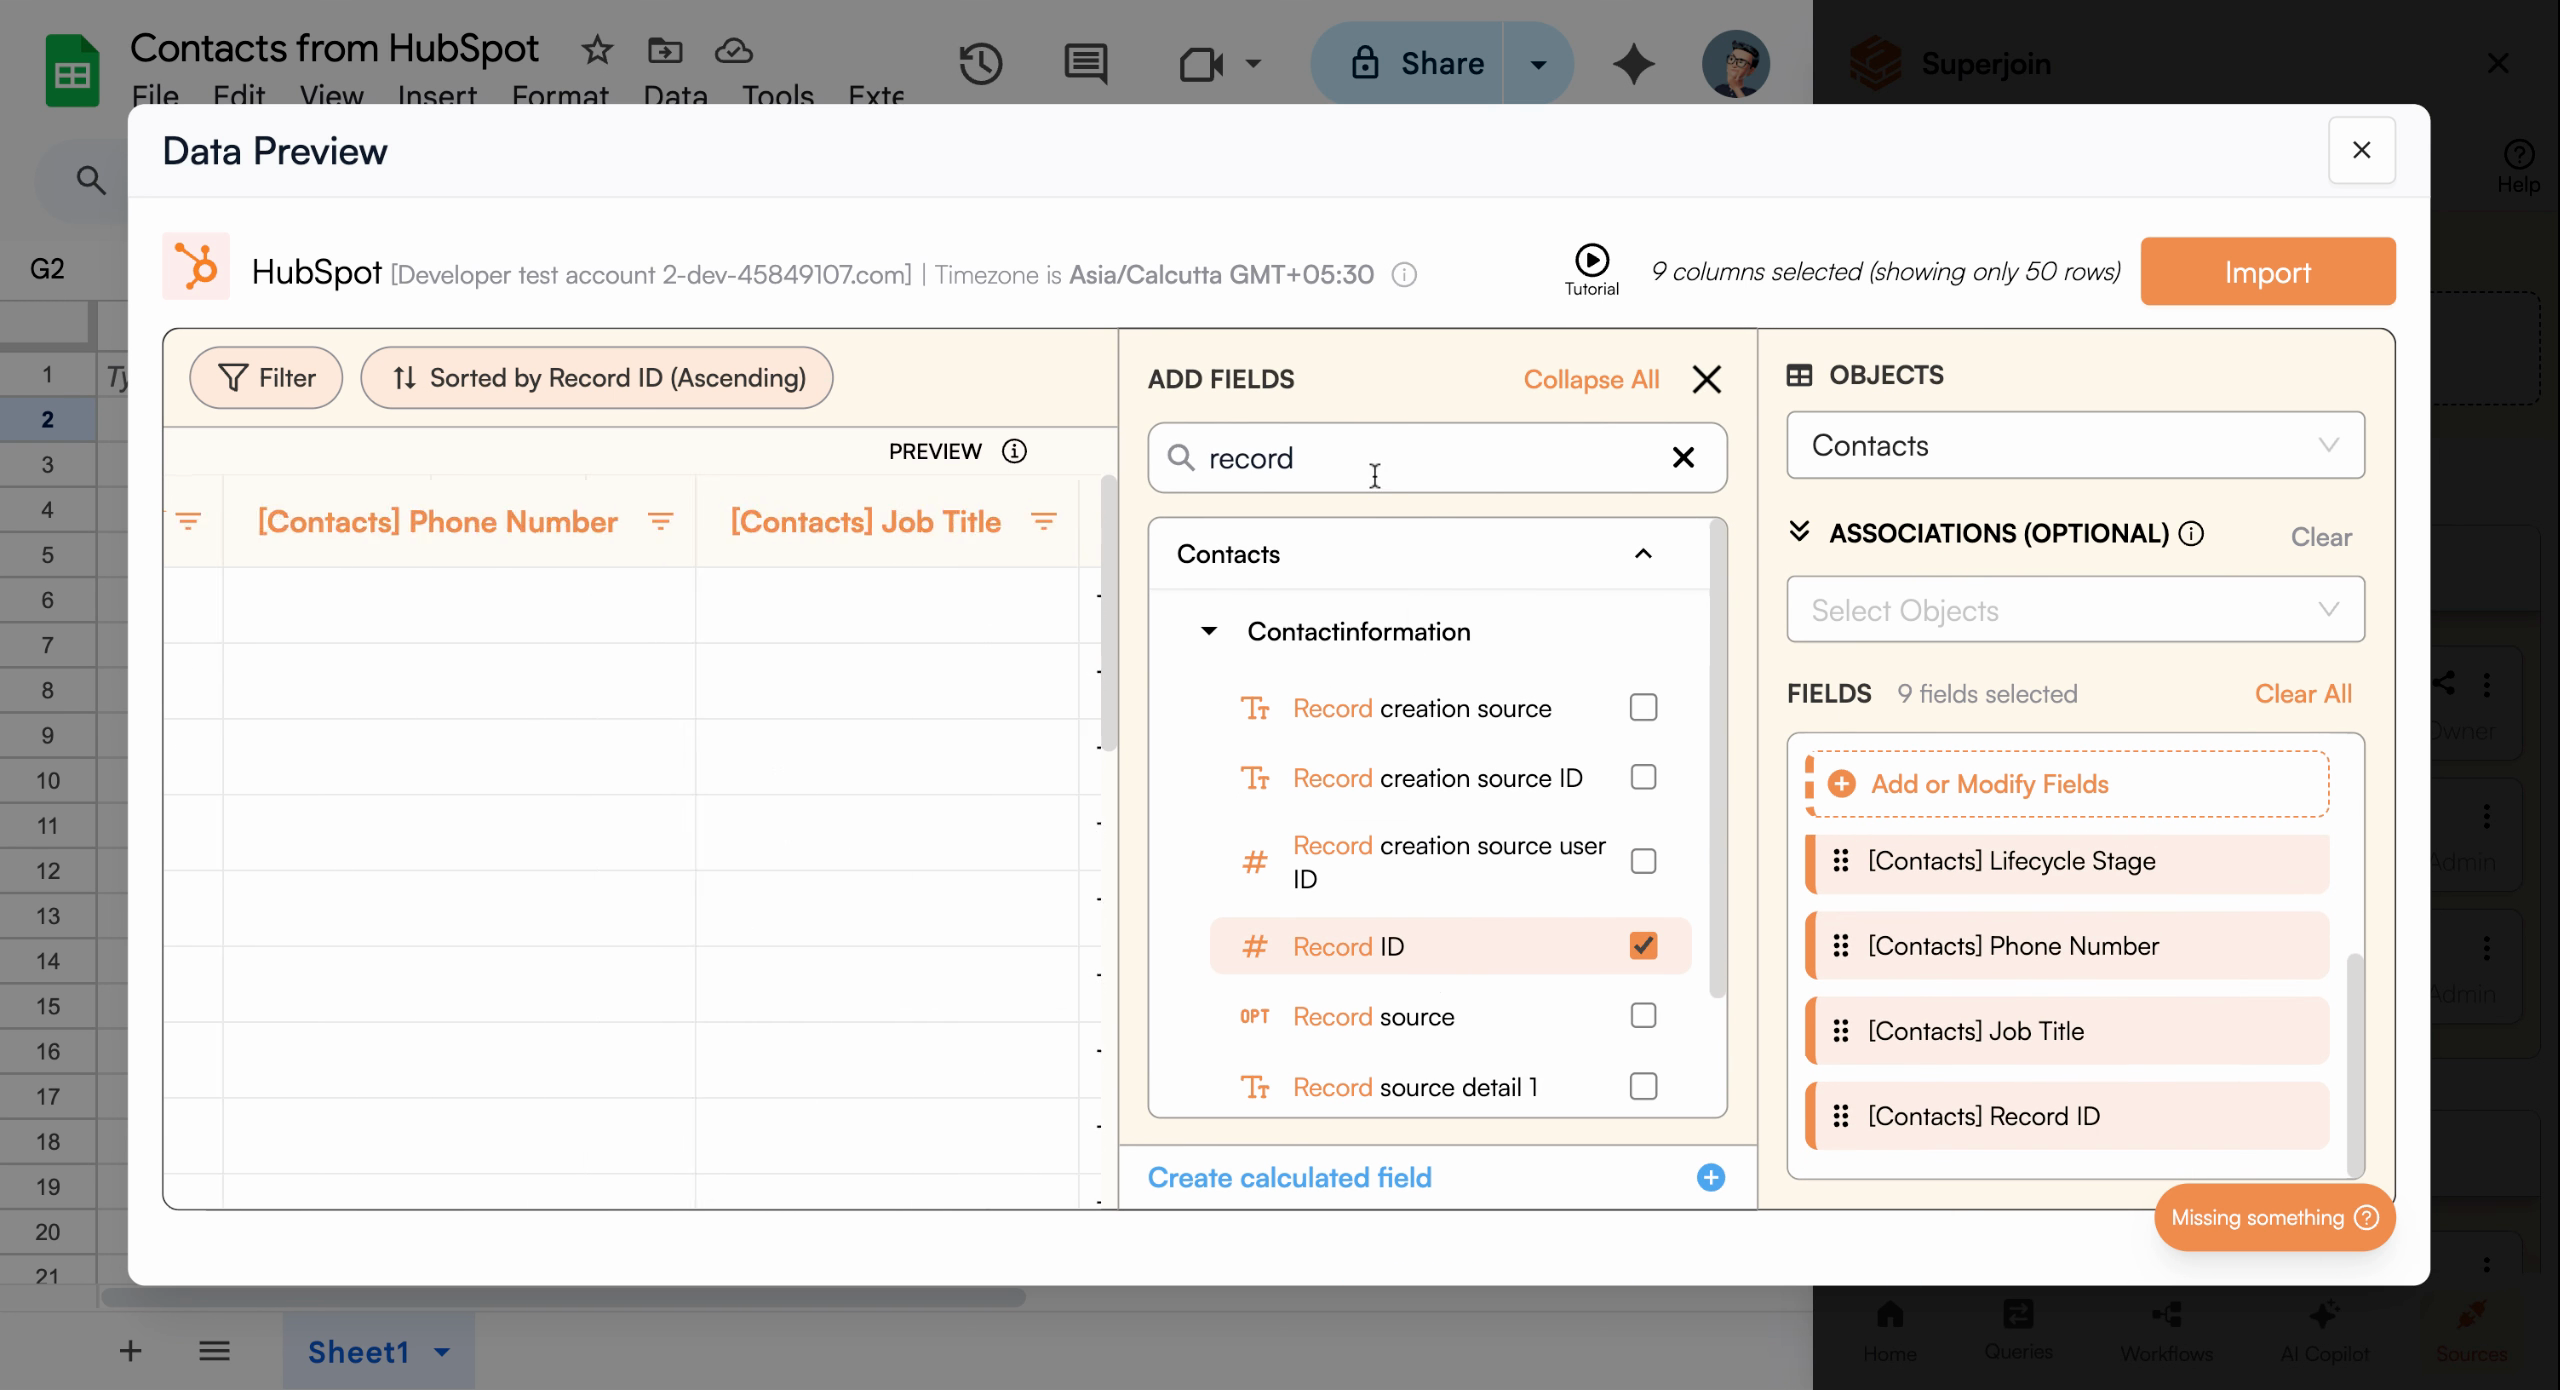
Select Data to Import
A data preview modal will open, allowing you to configure which HubSpot data to import. Select Contacts as the object type.
Ensure Contacts is chosen to import people records from HubSpot
- Record ID
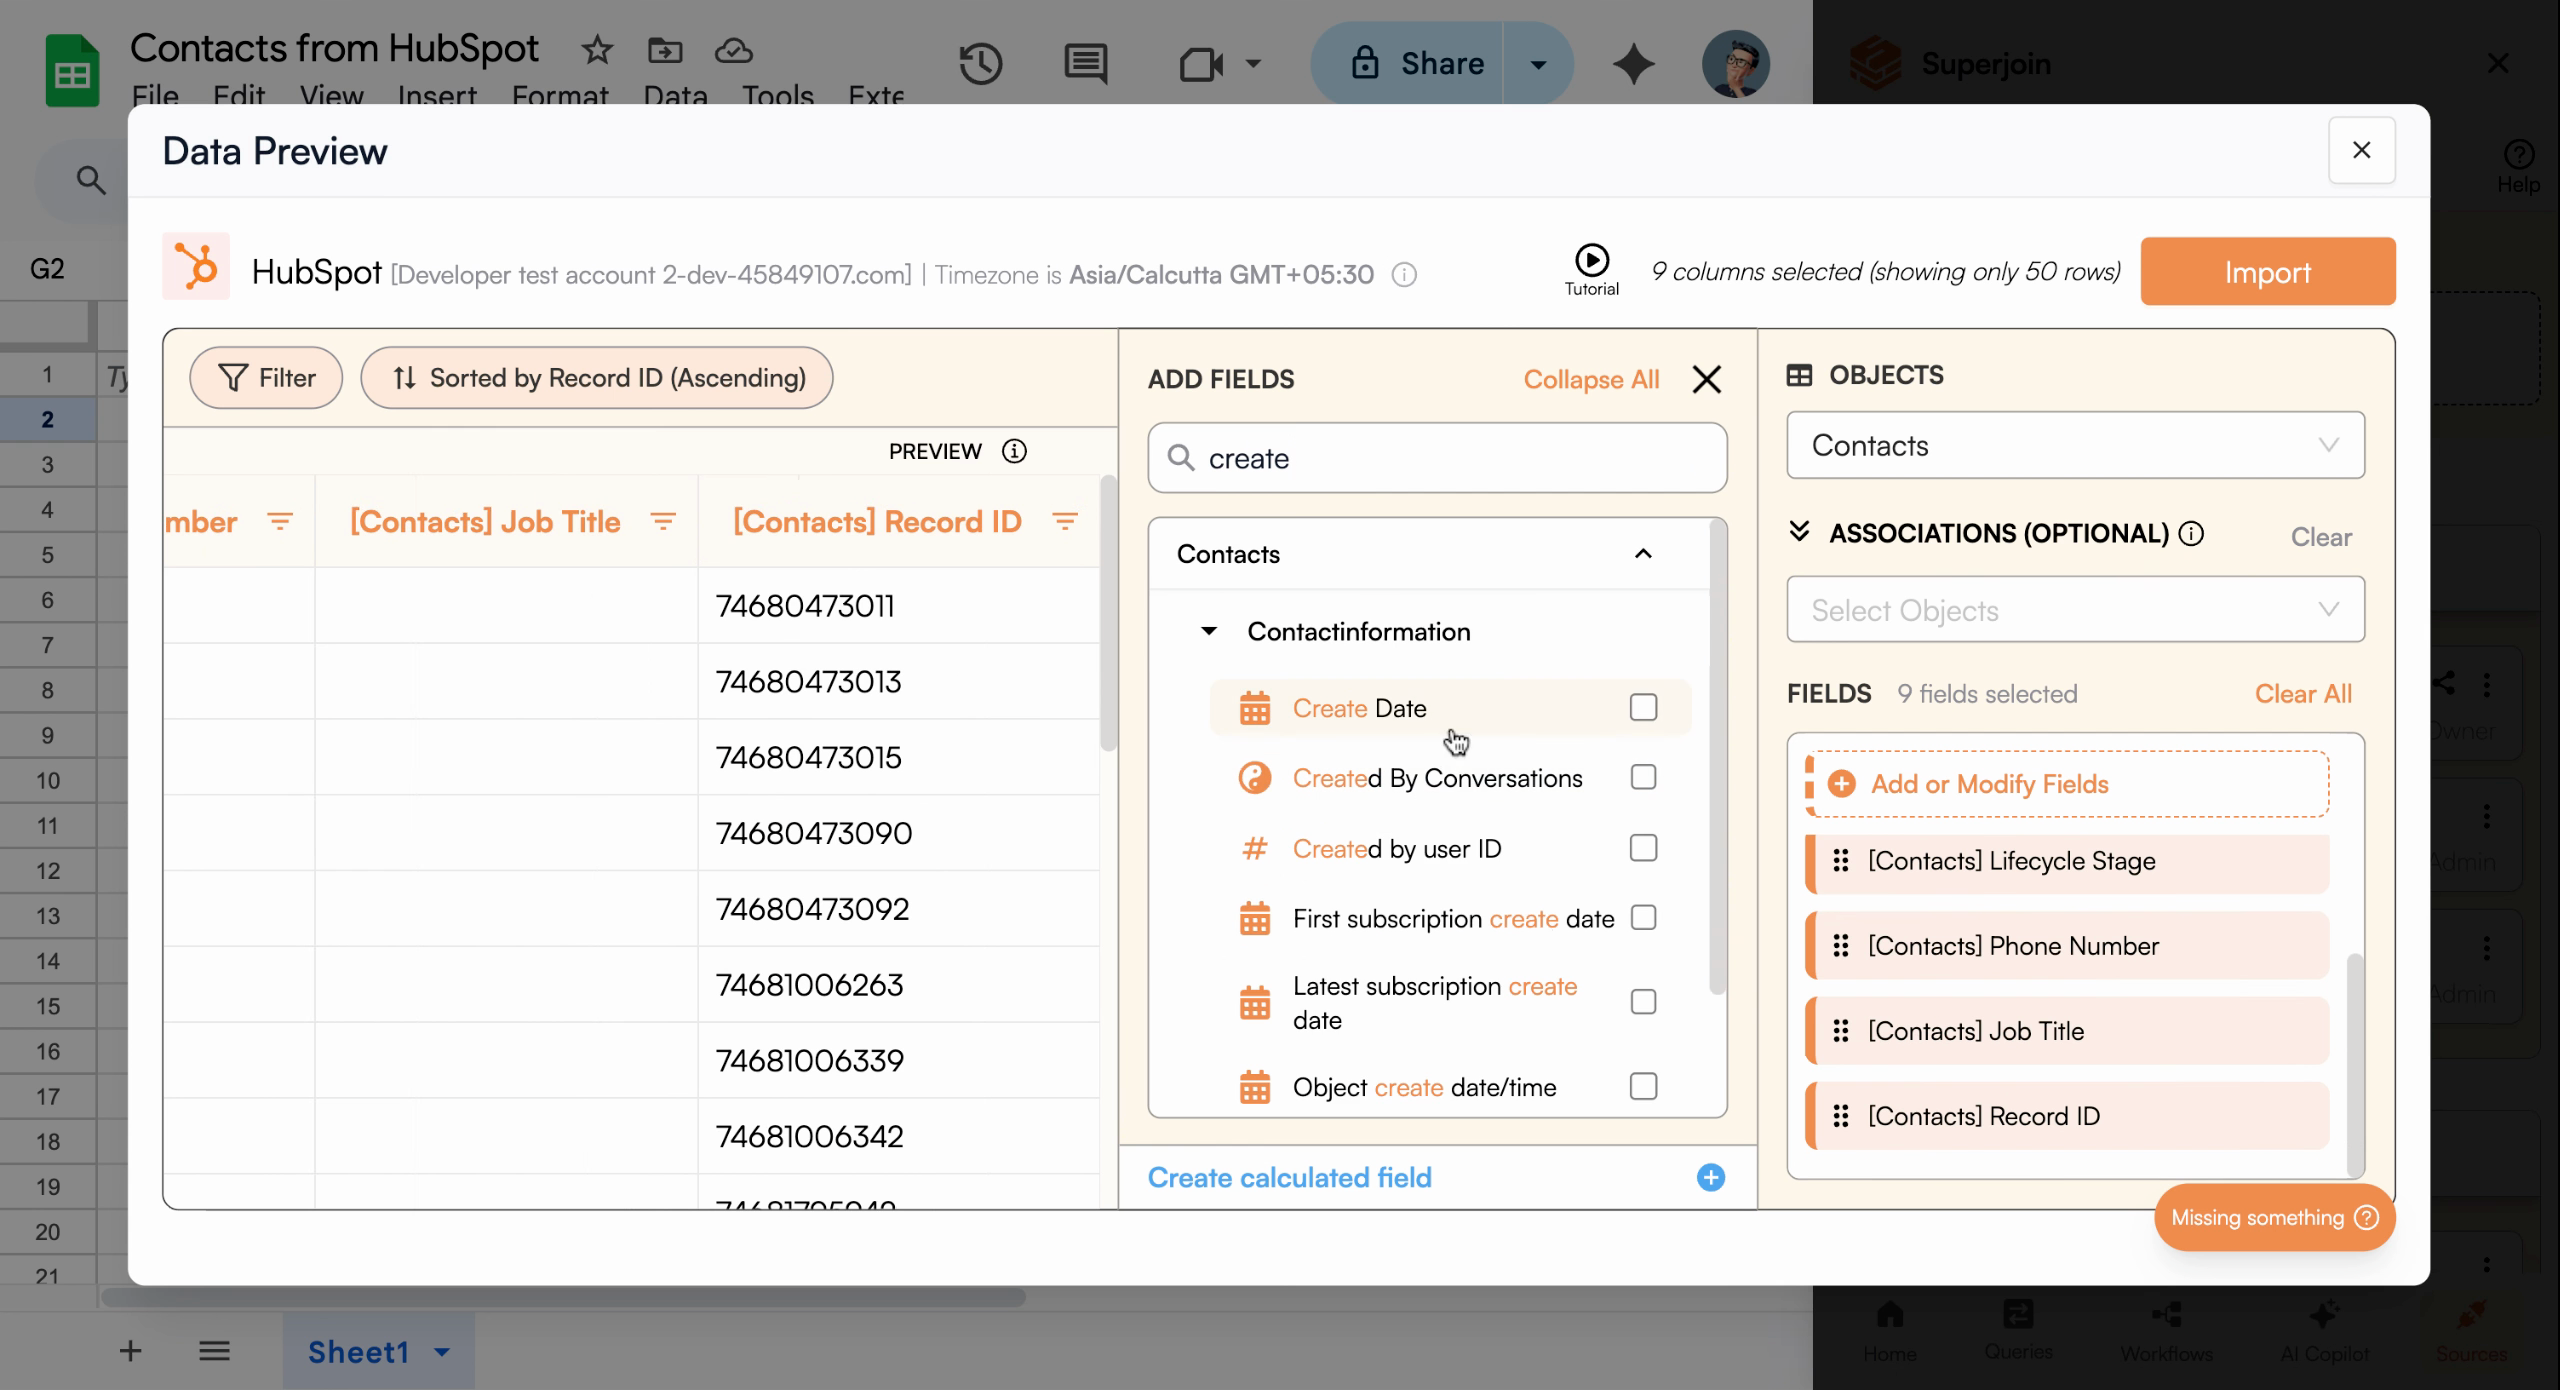
- Create Date
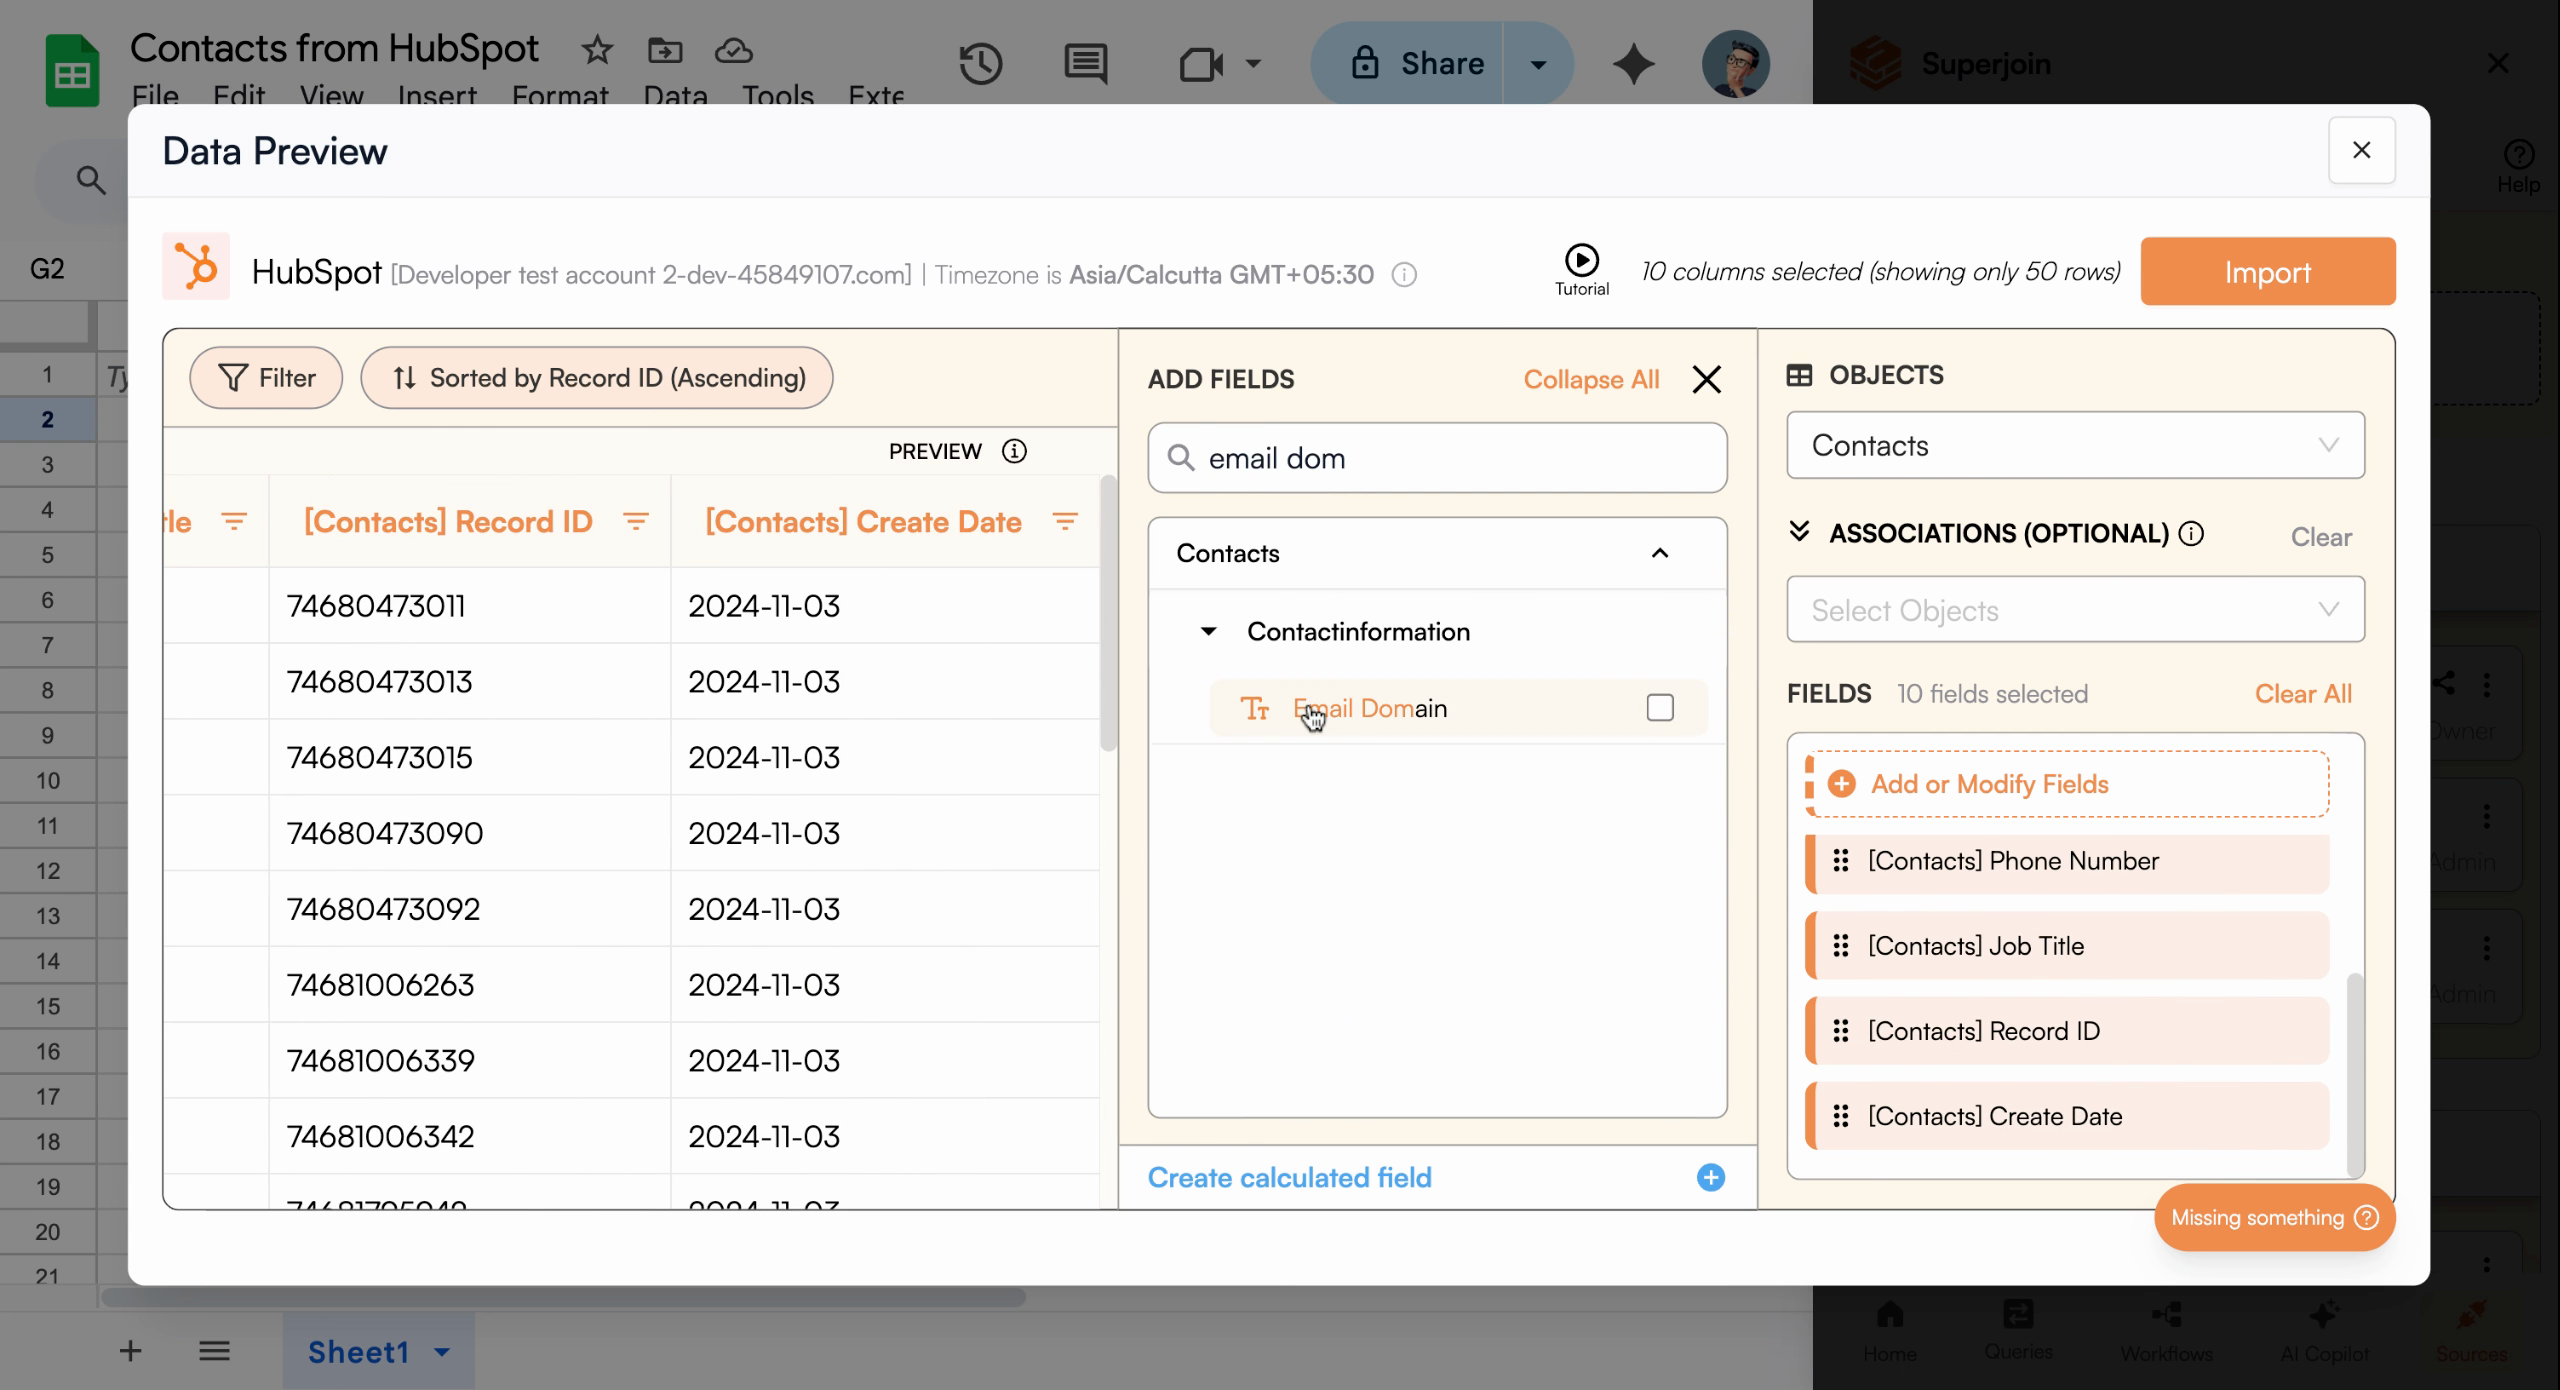
- Email Domain
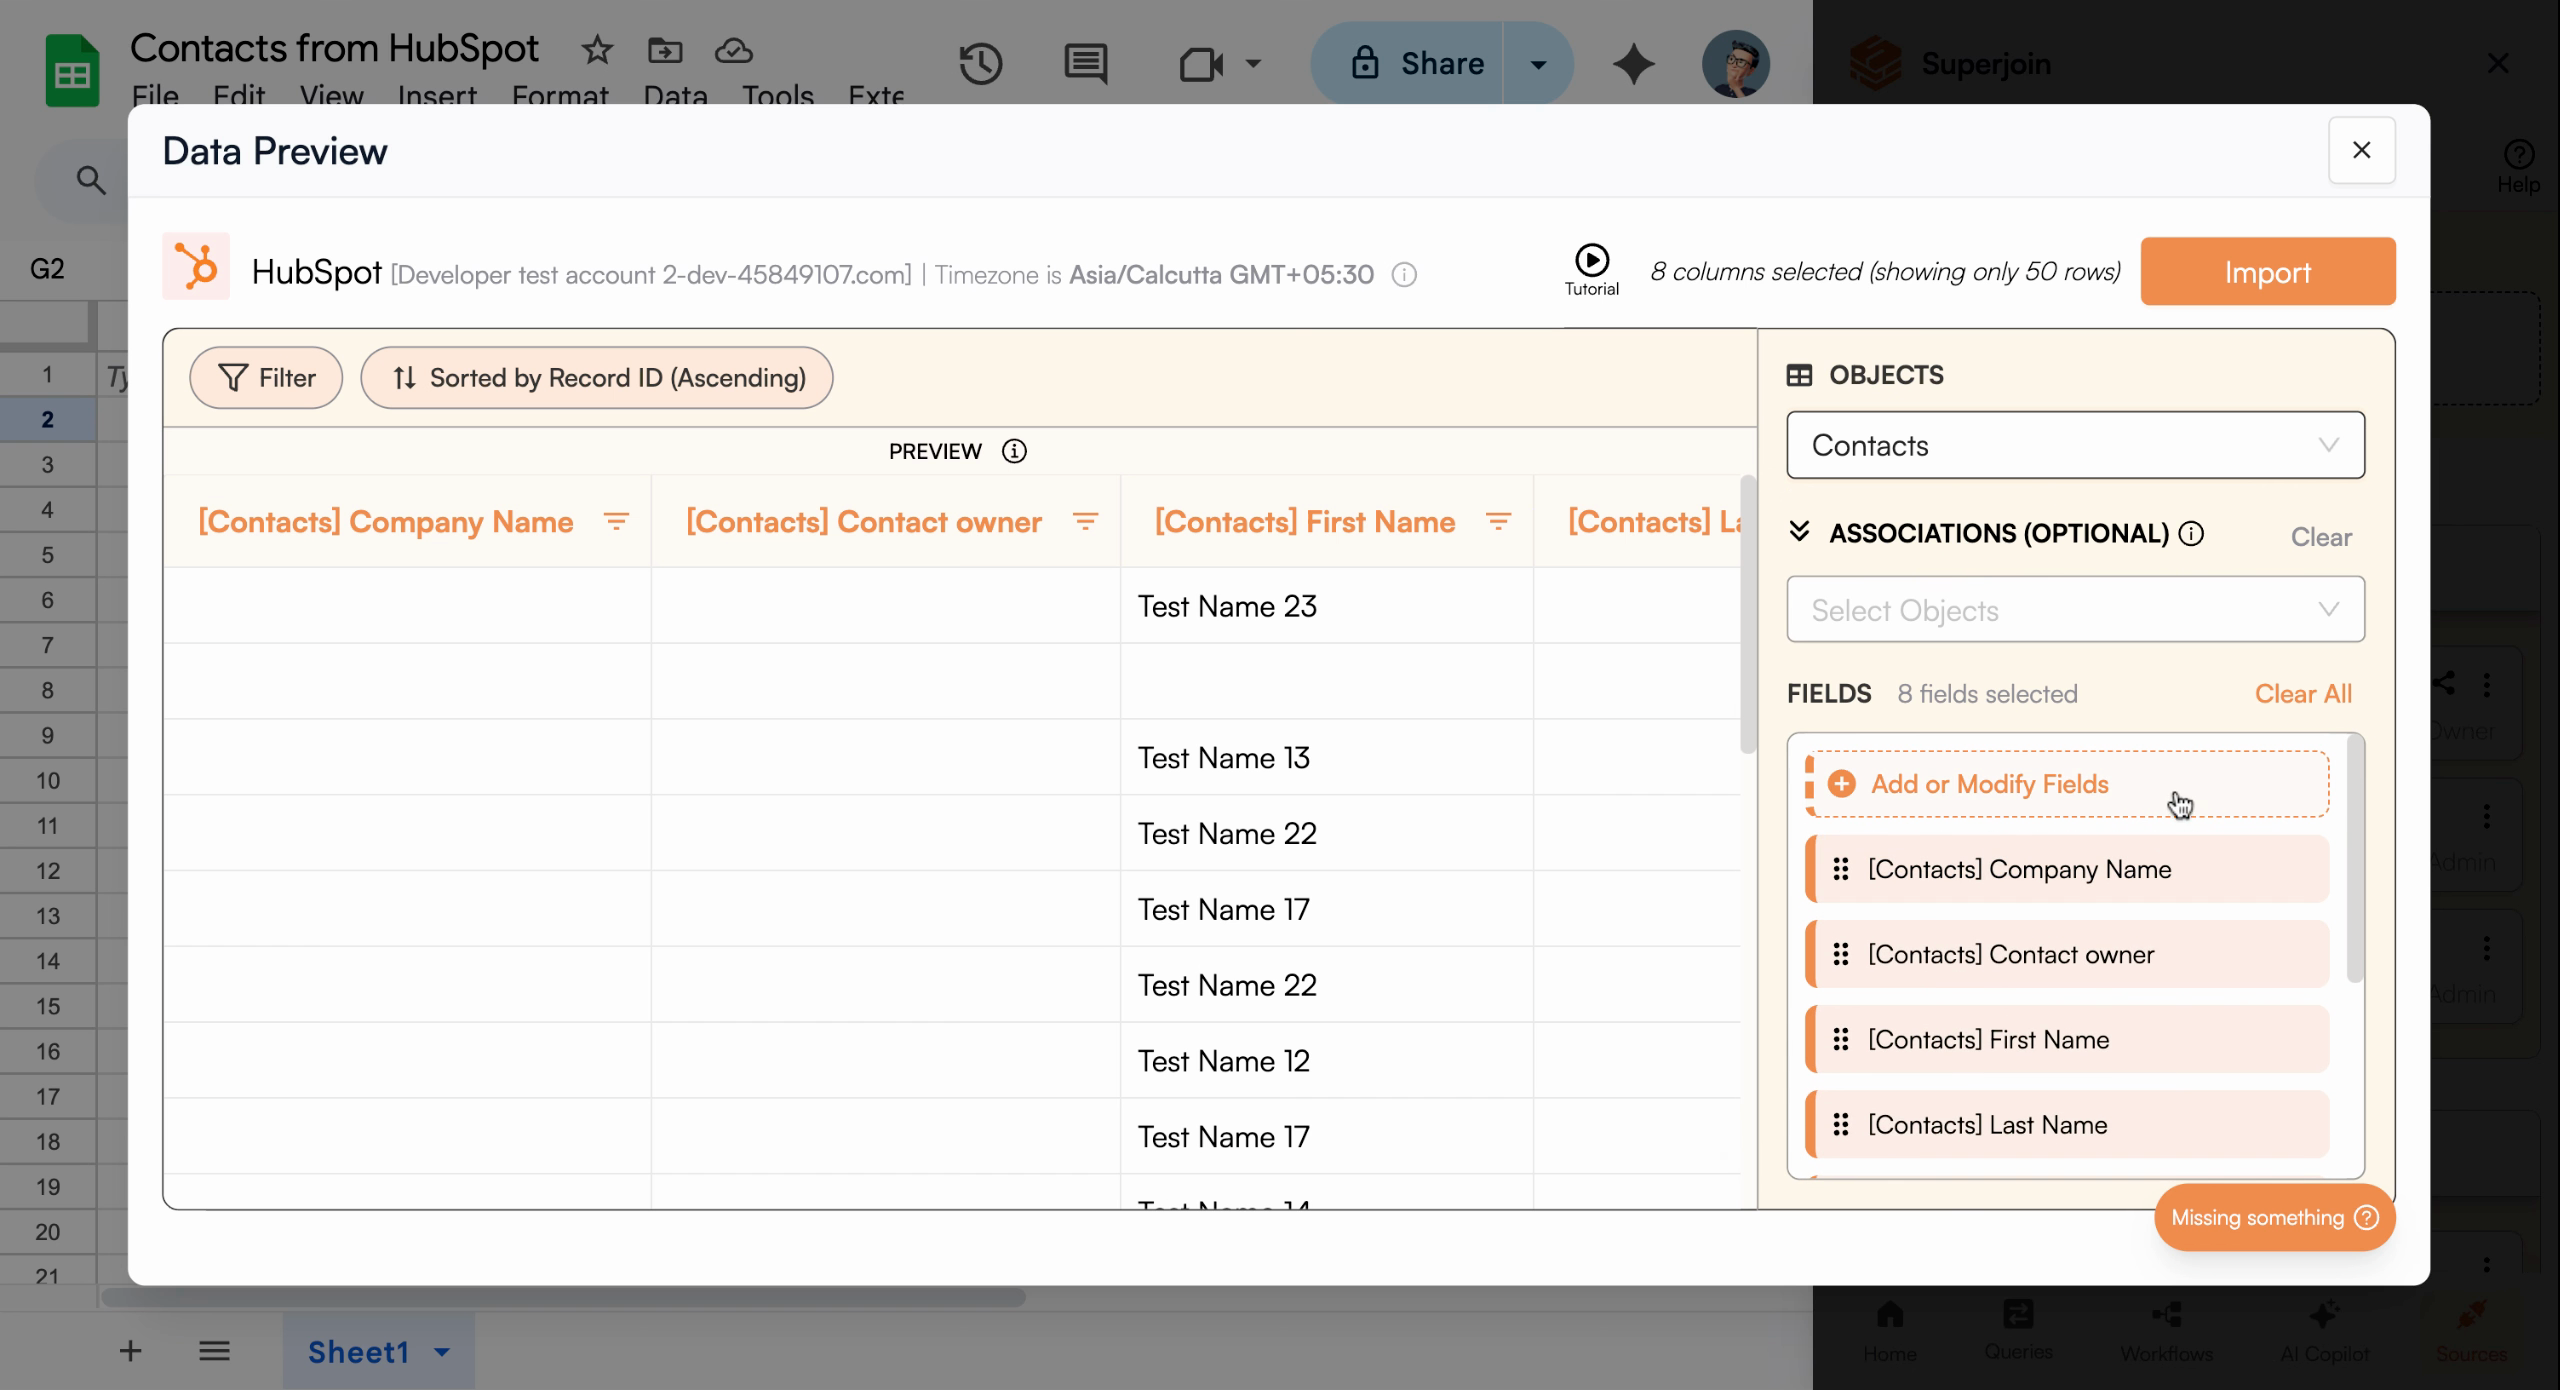
Add the columns you want to bring into your sheet—choose only what you need to keep things simple
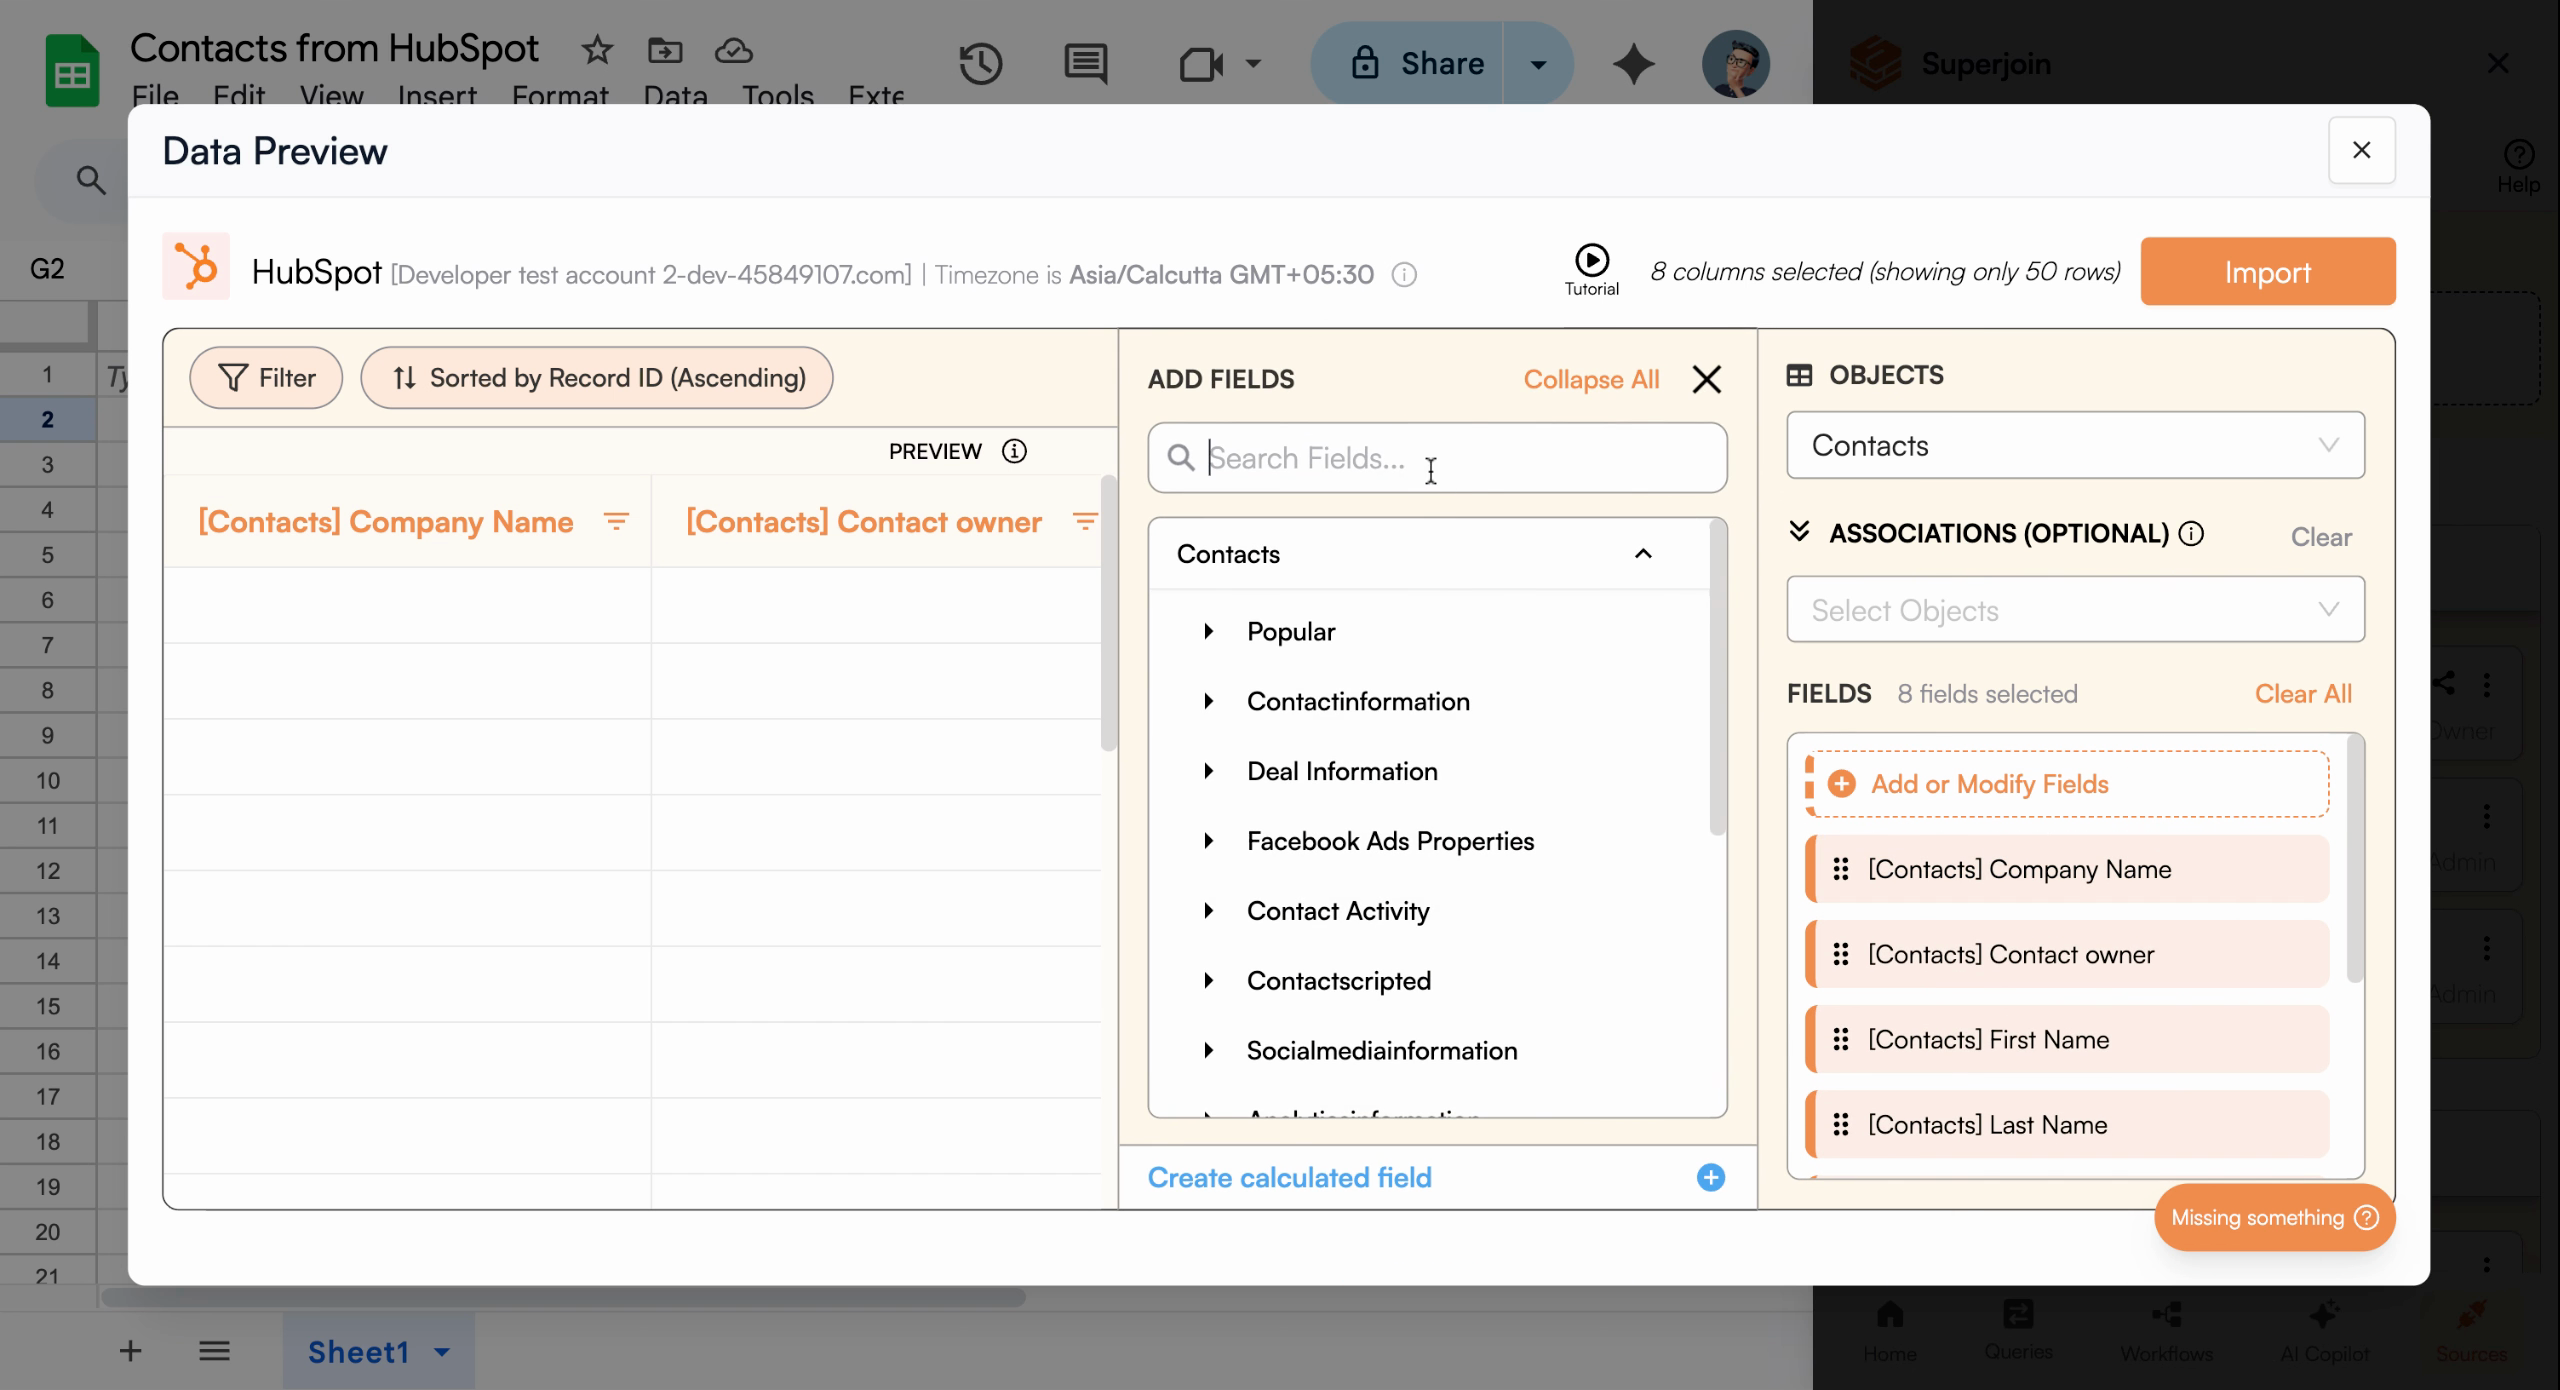
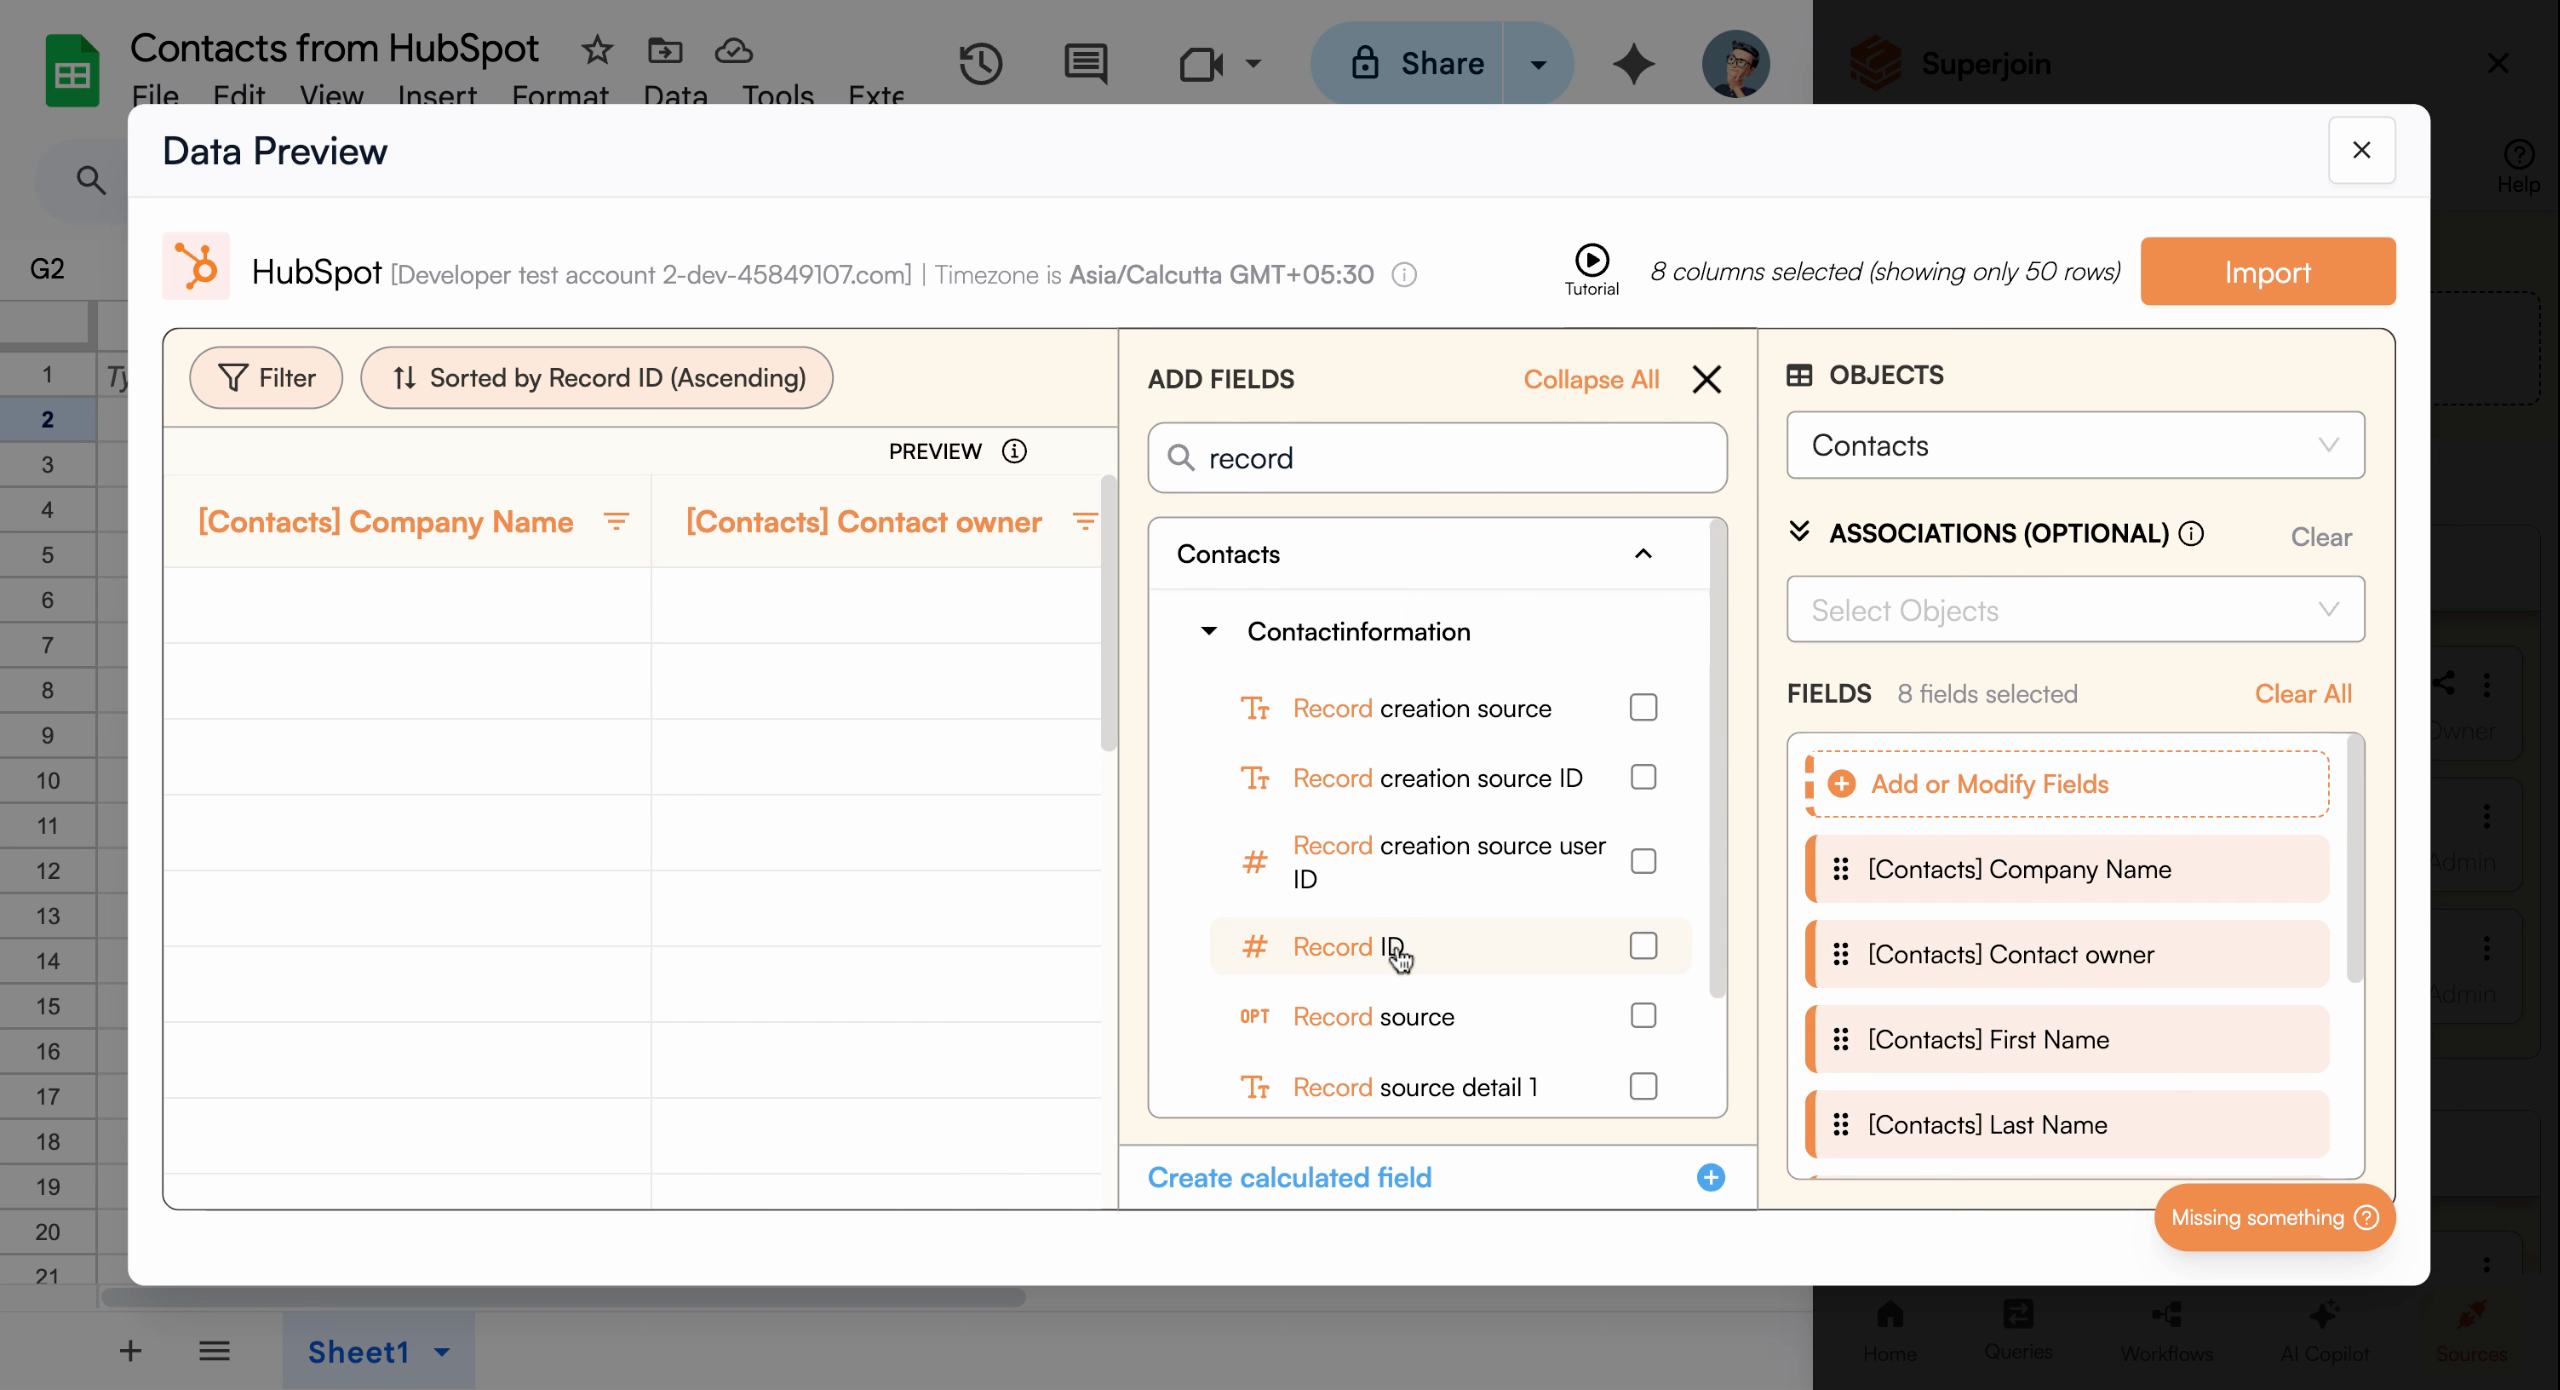
Select each column required for your project
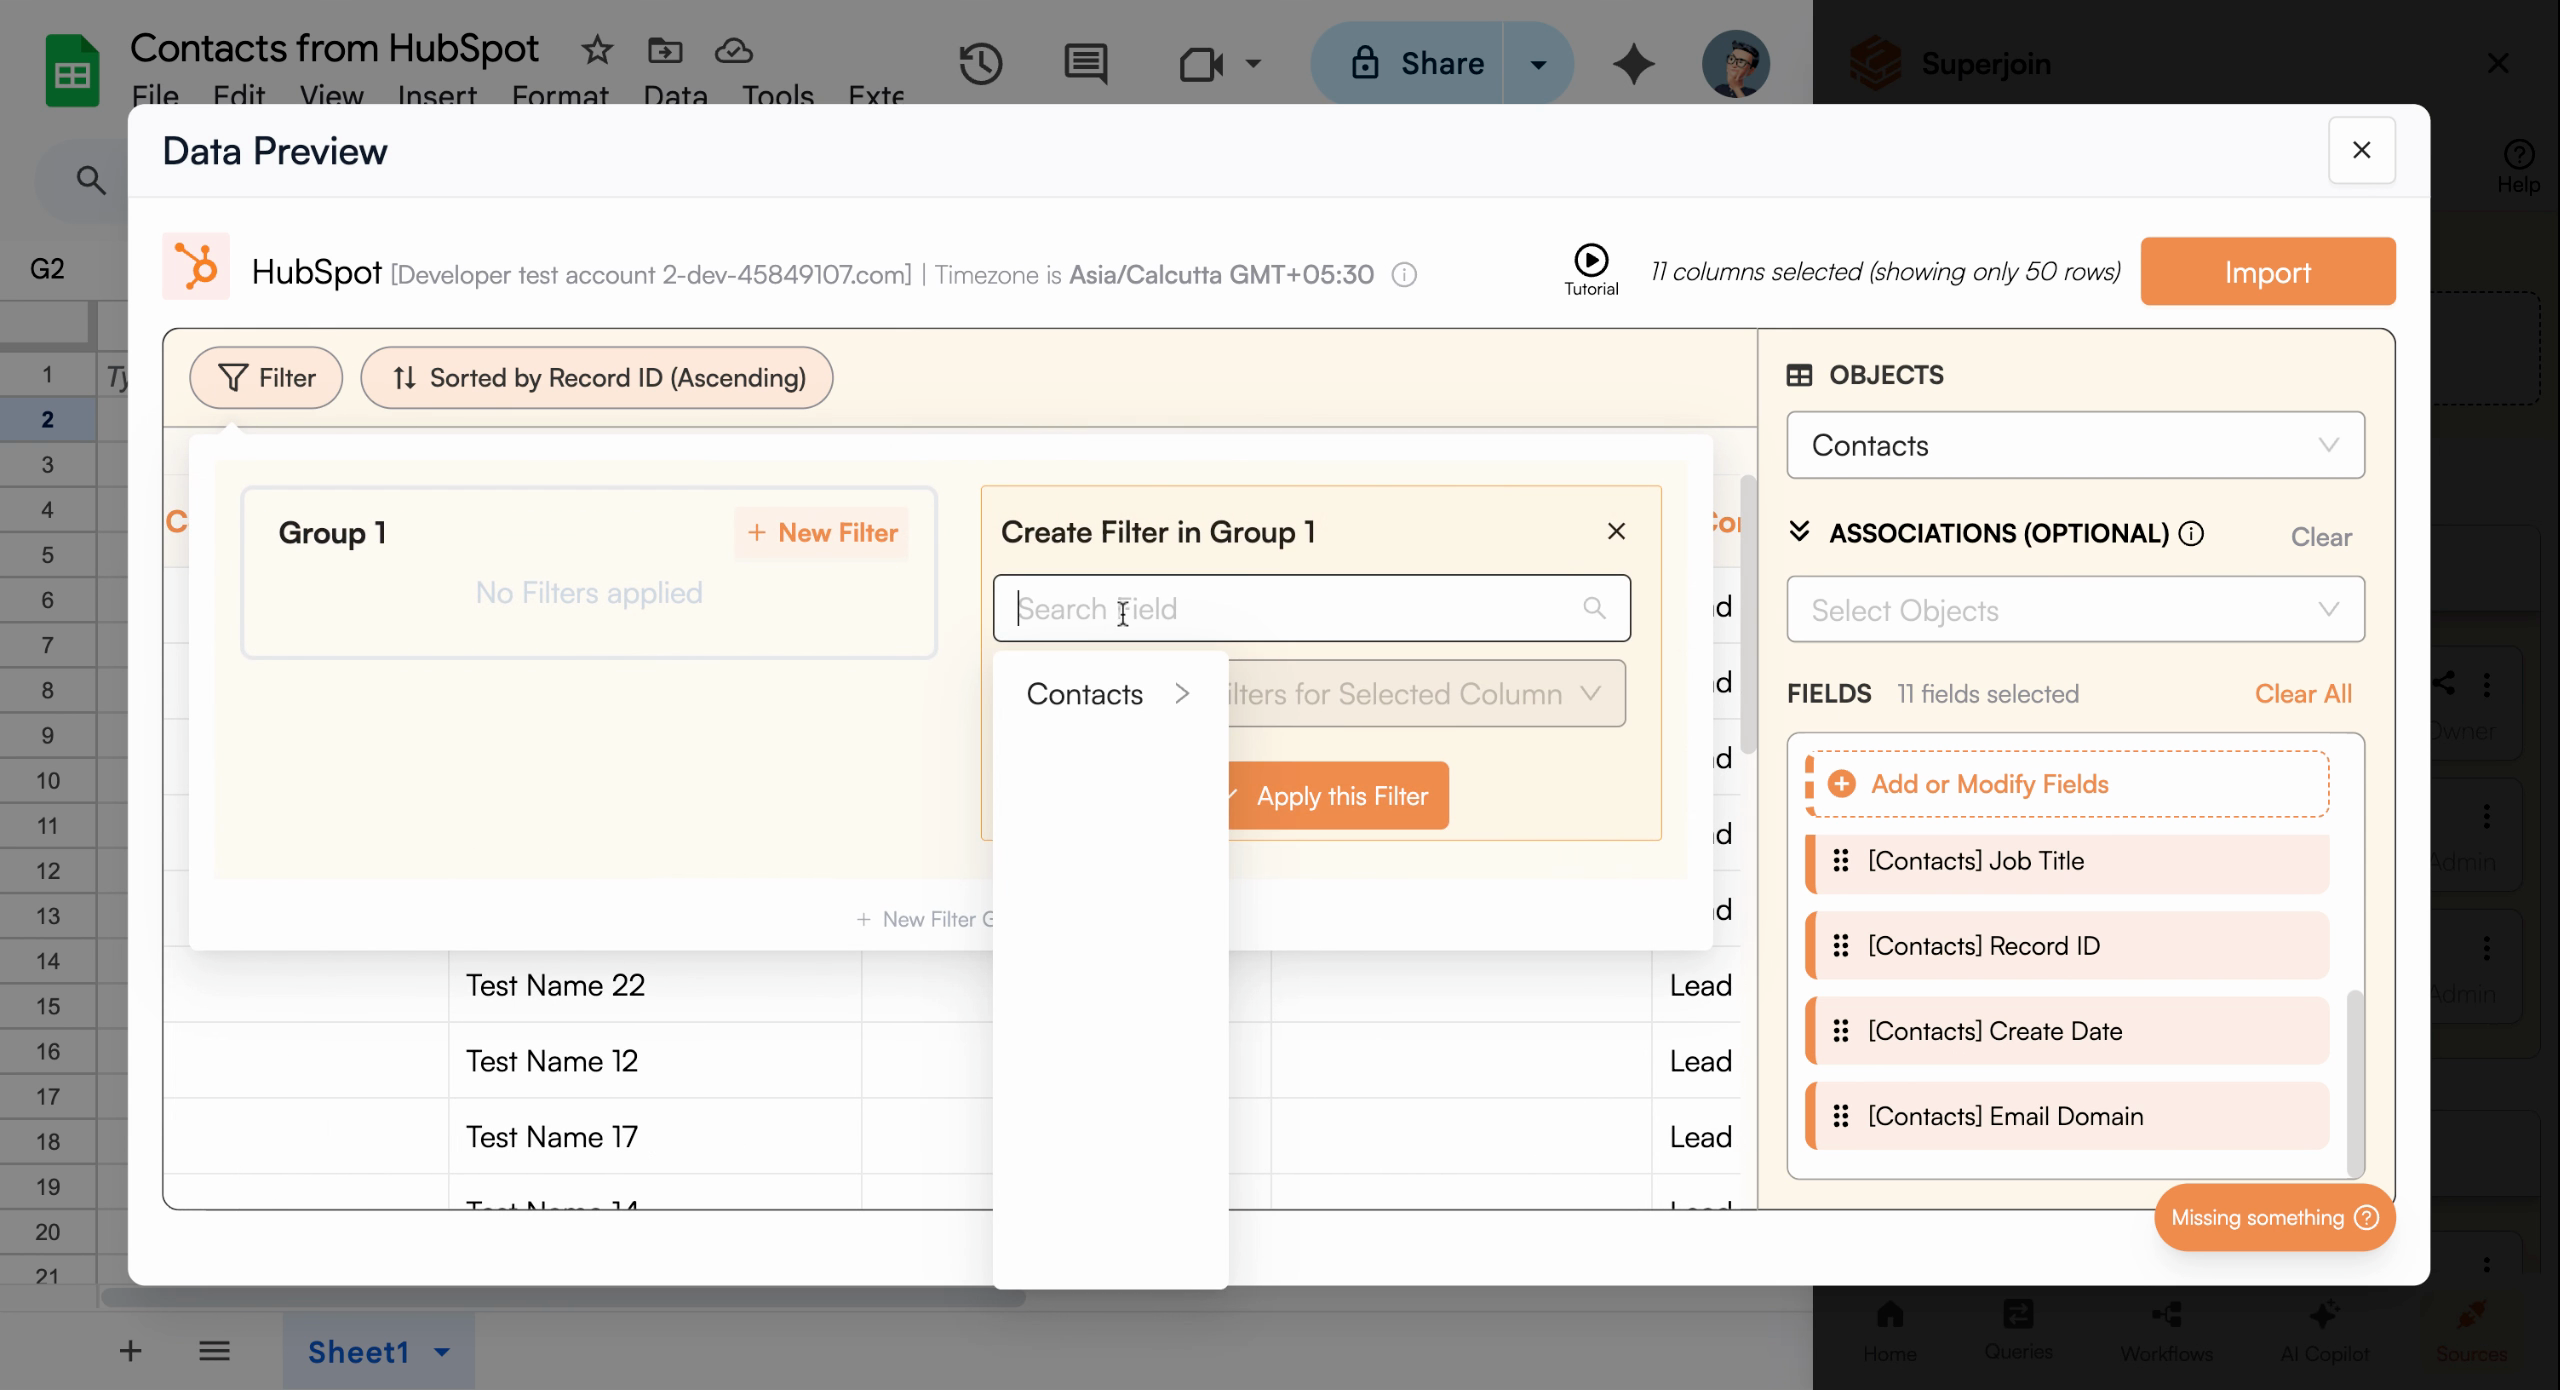
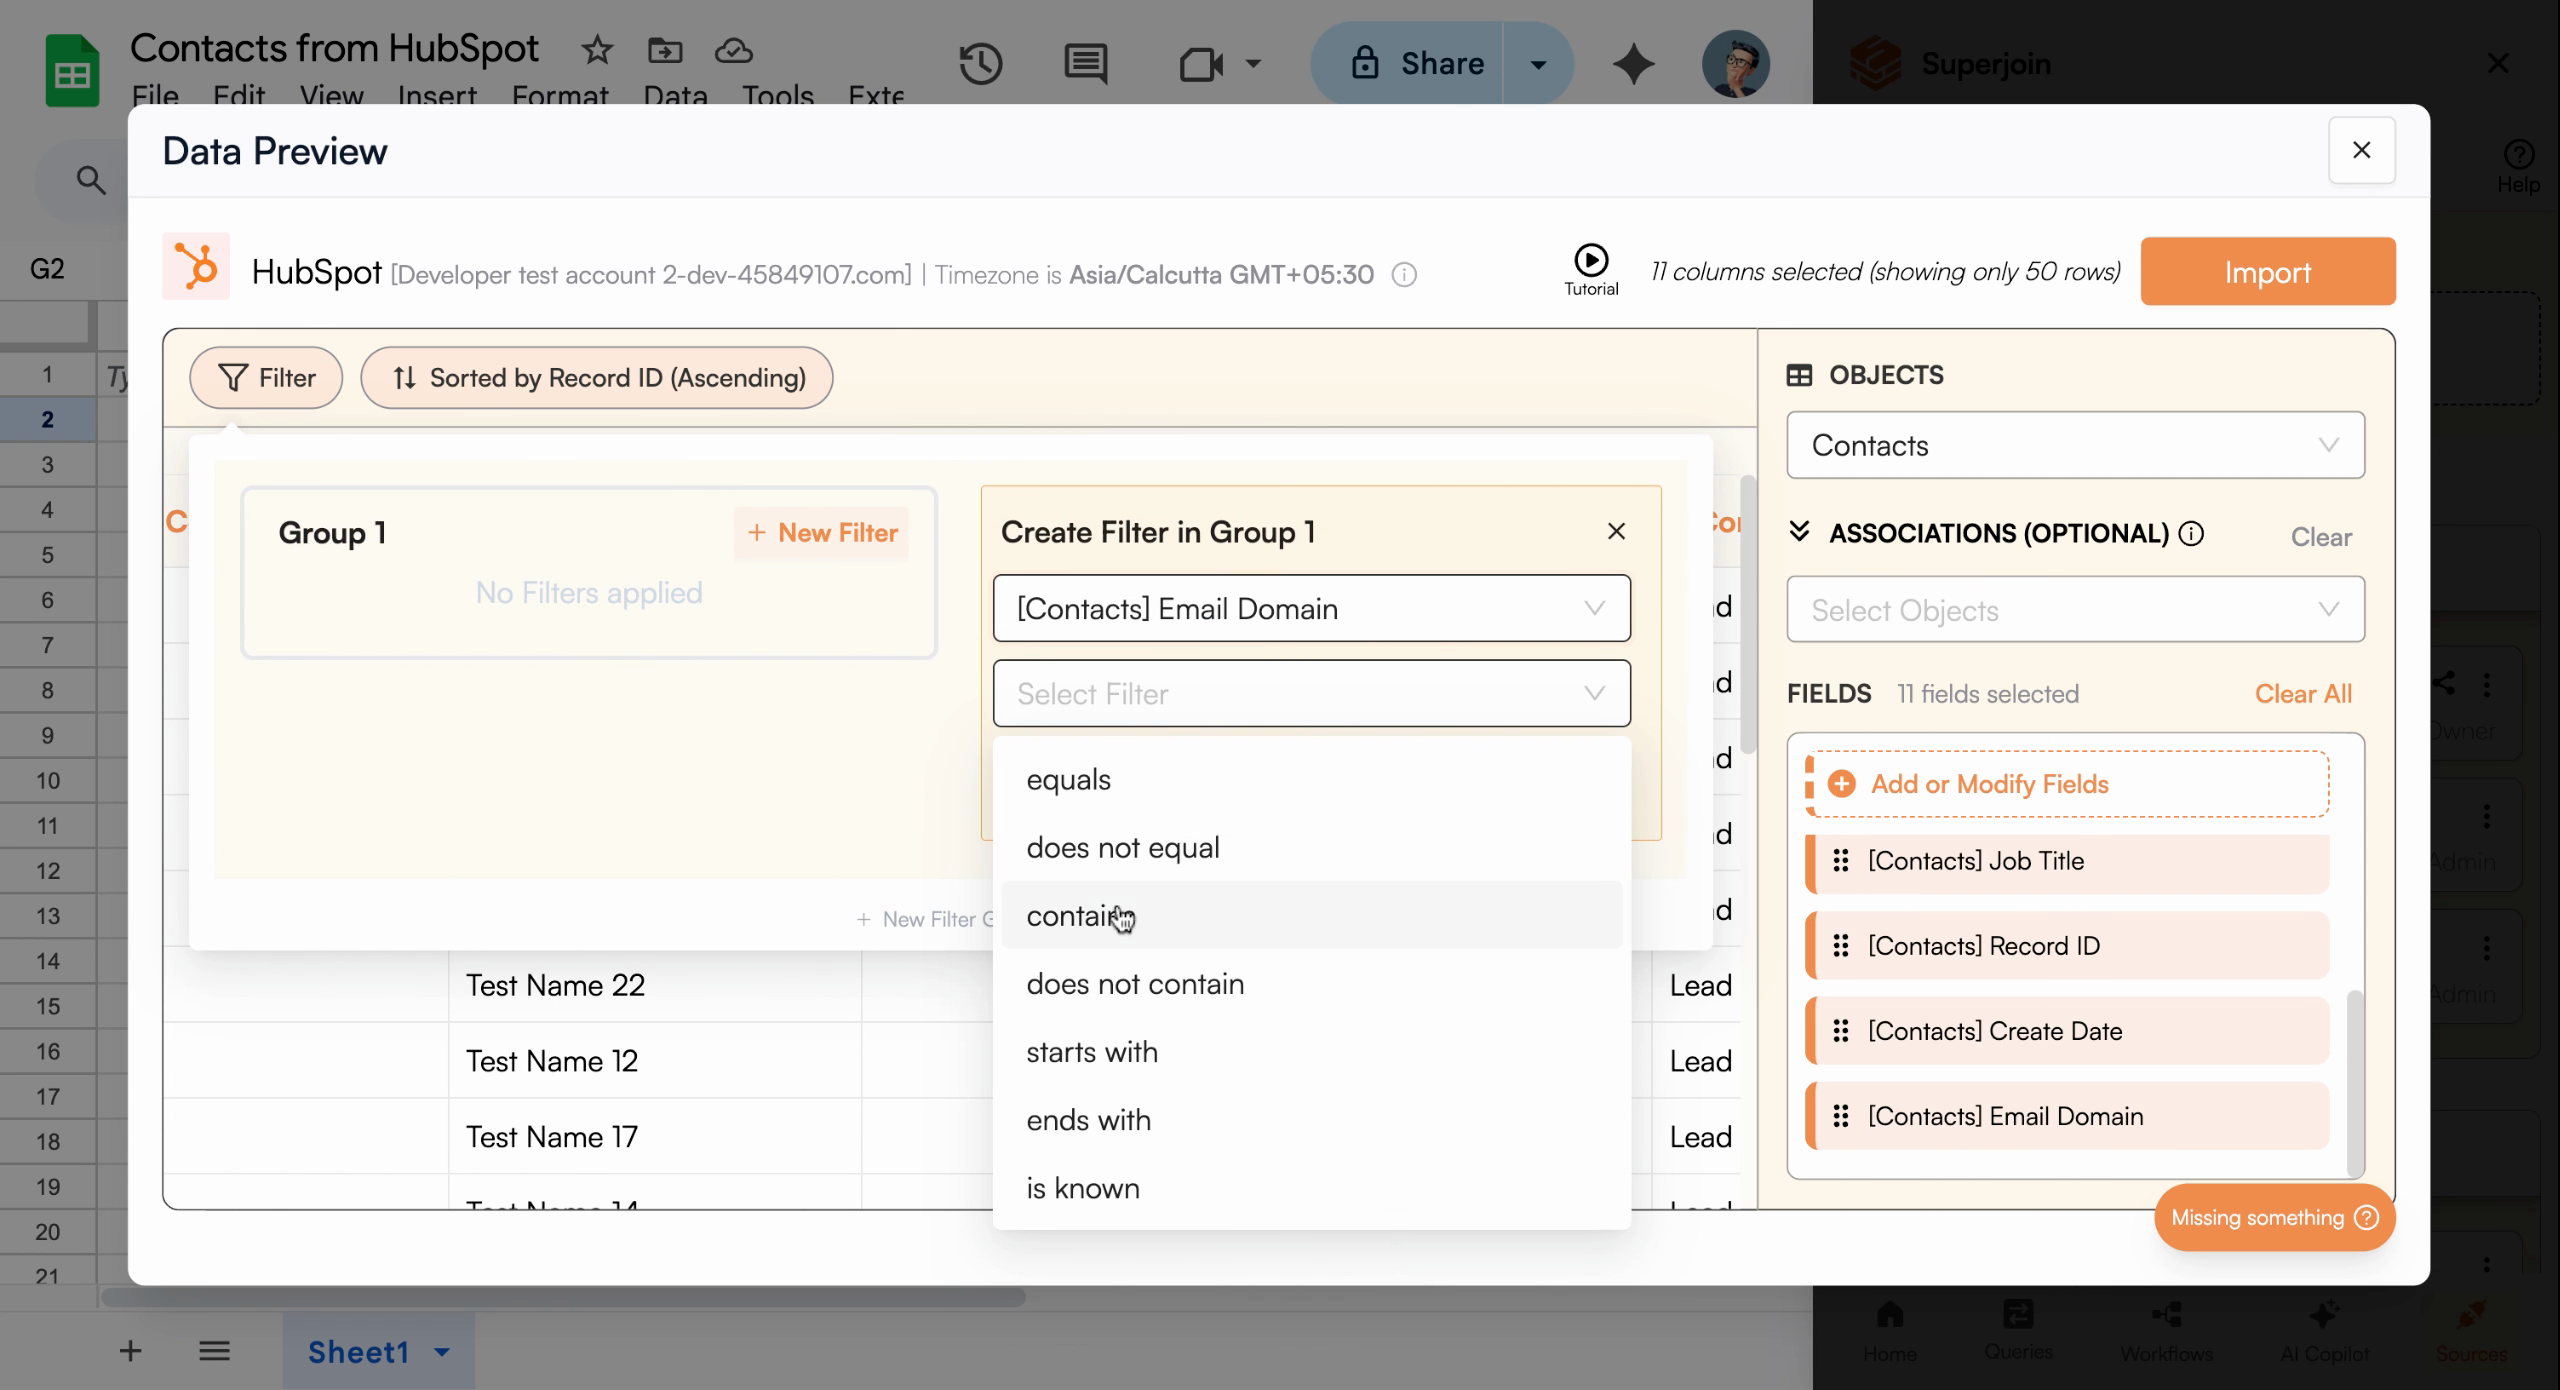
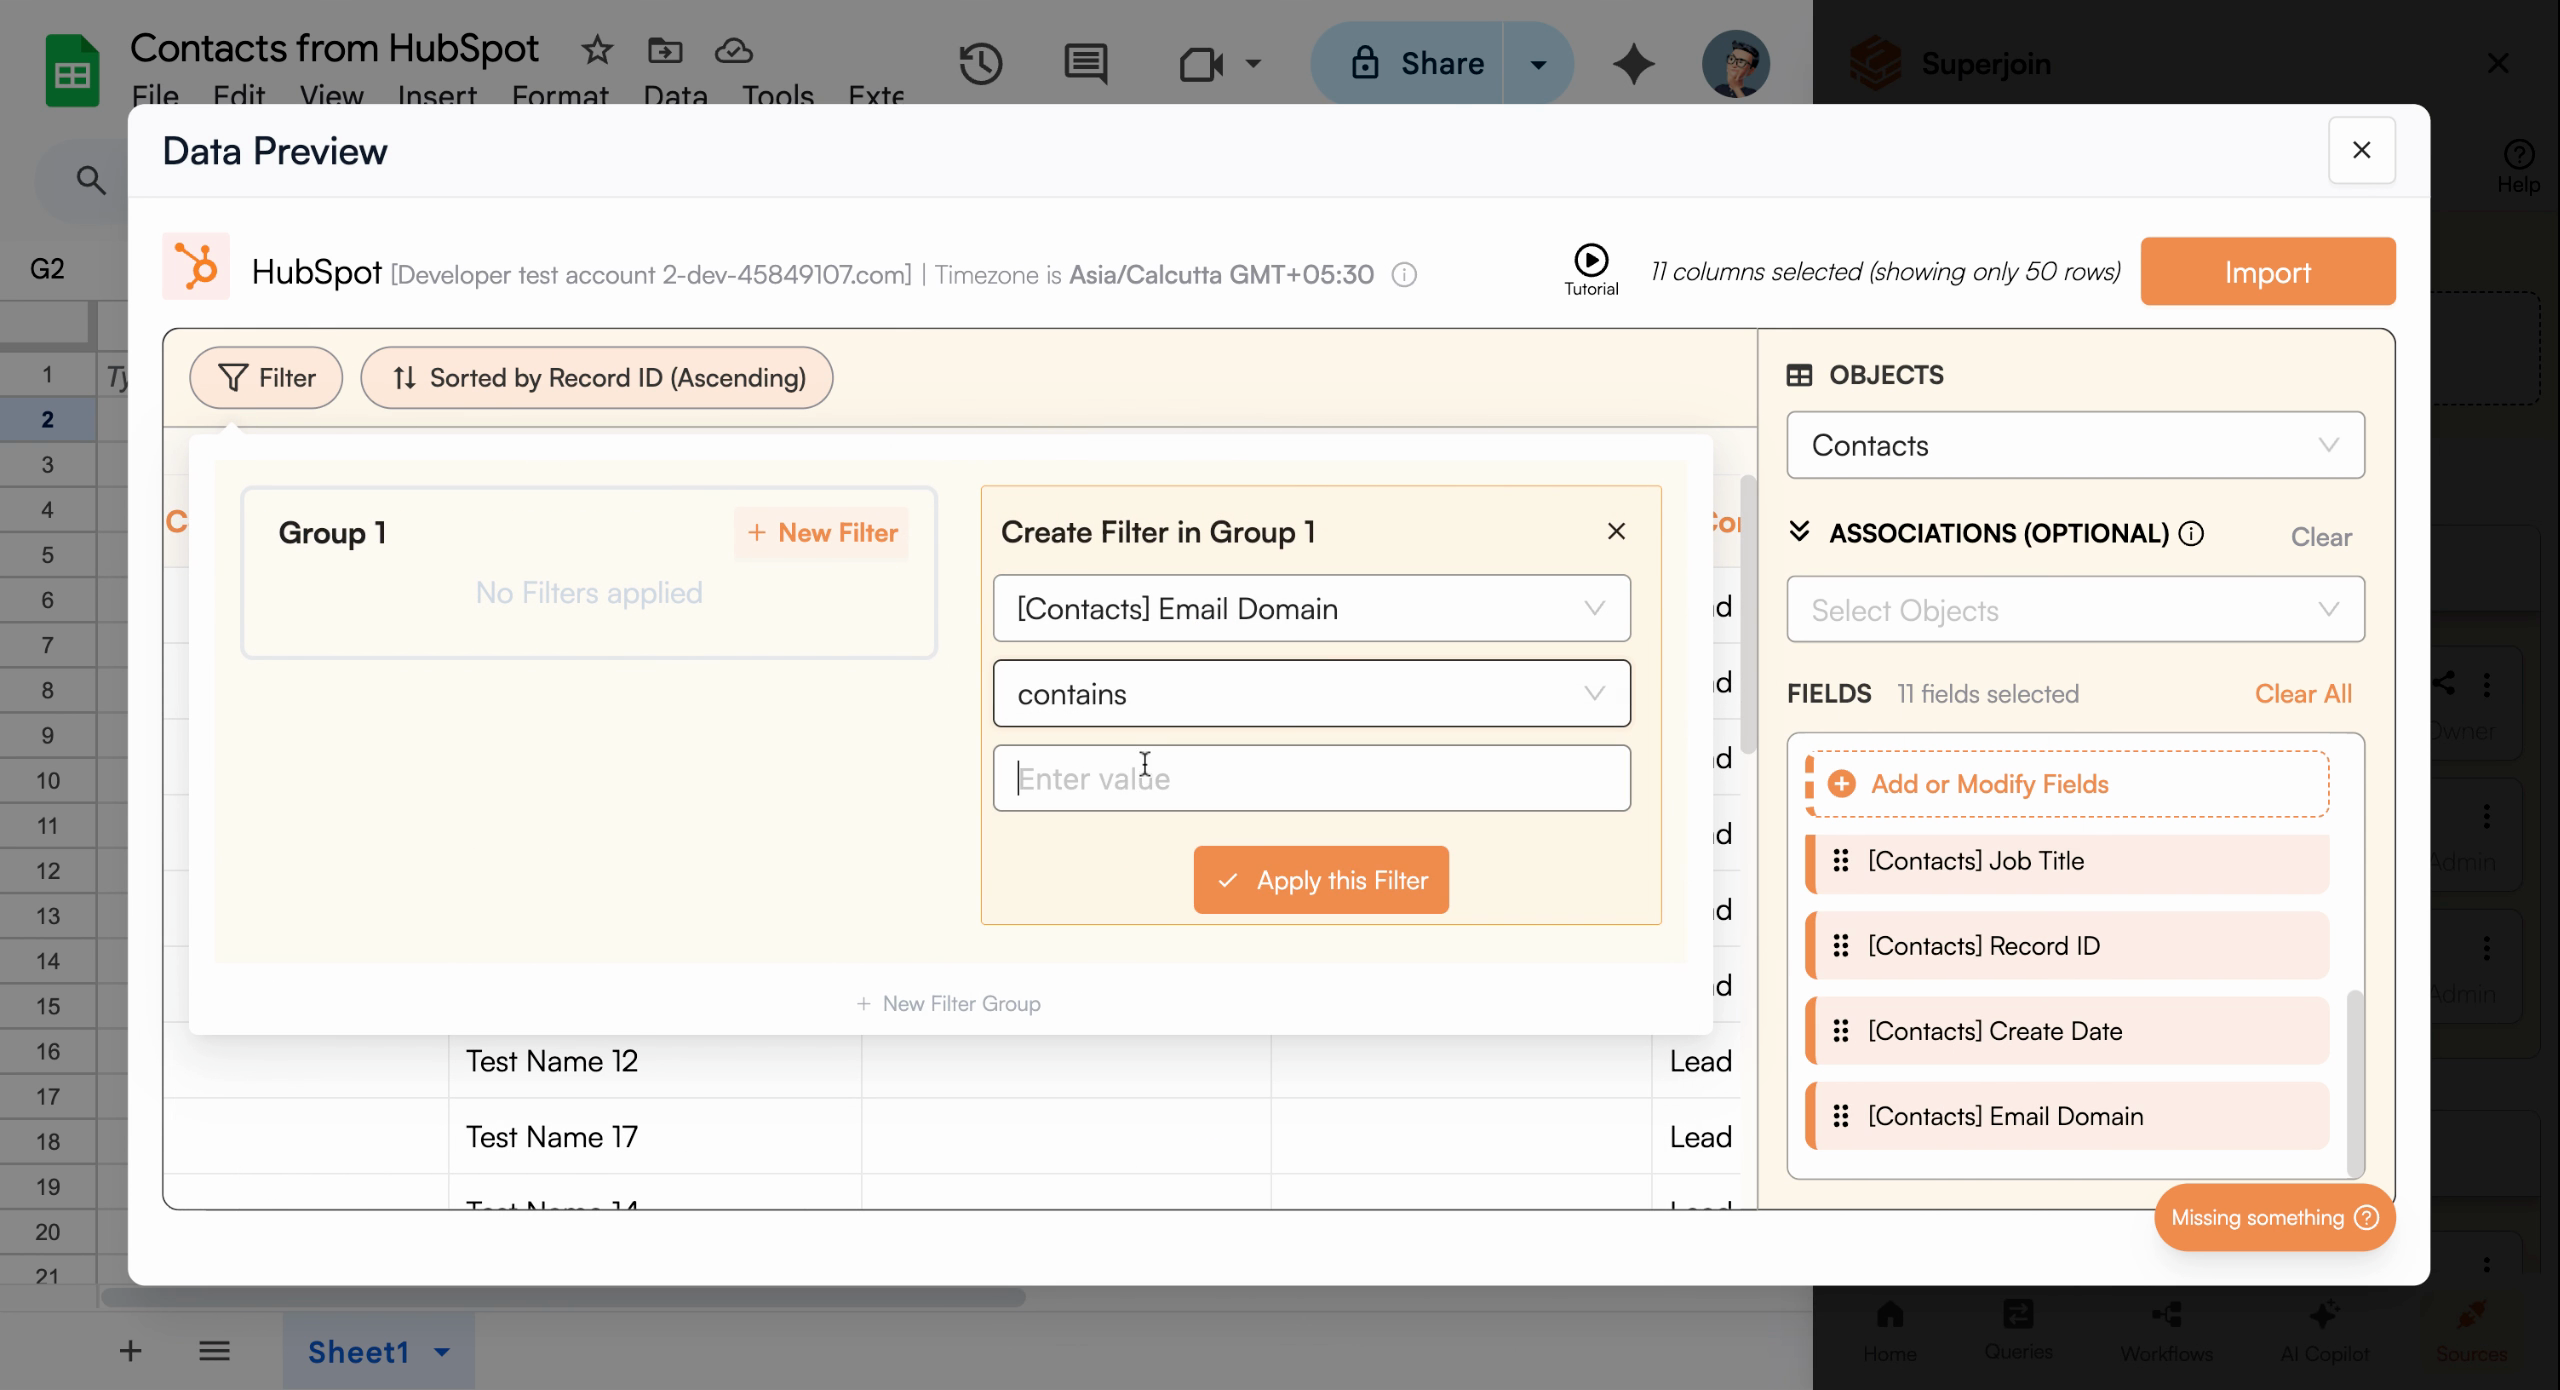
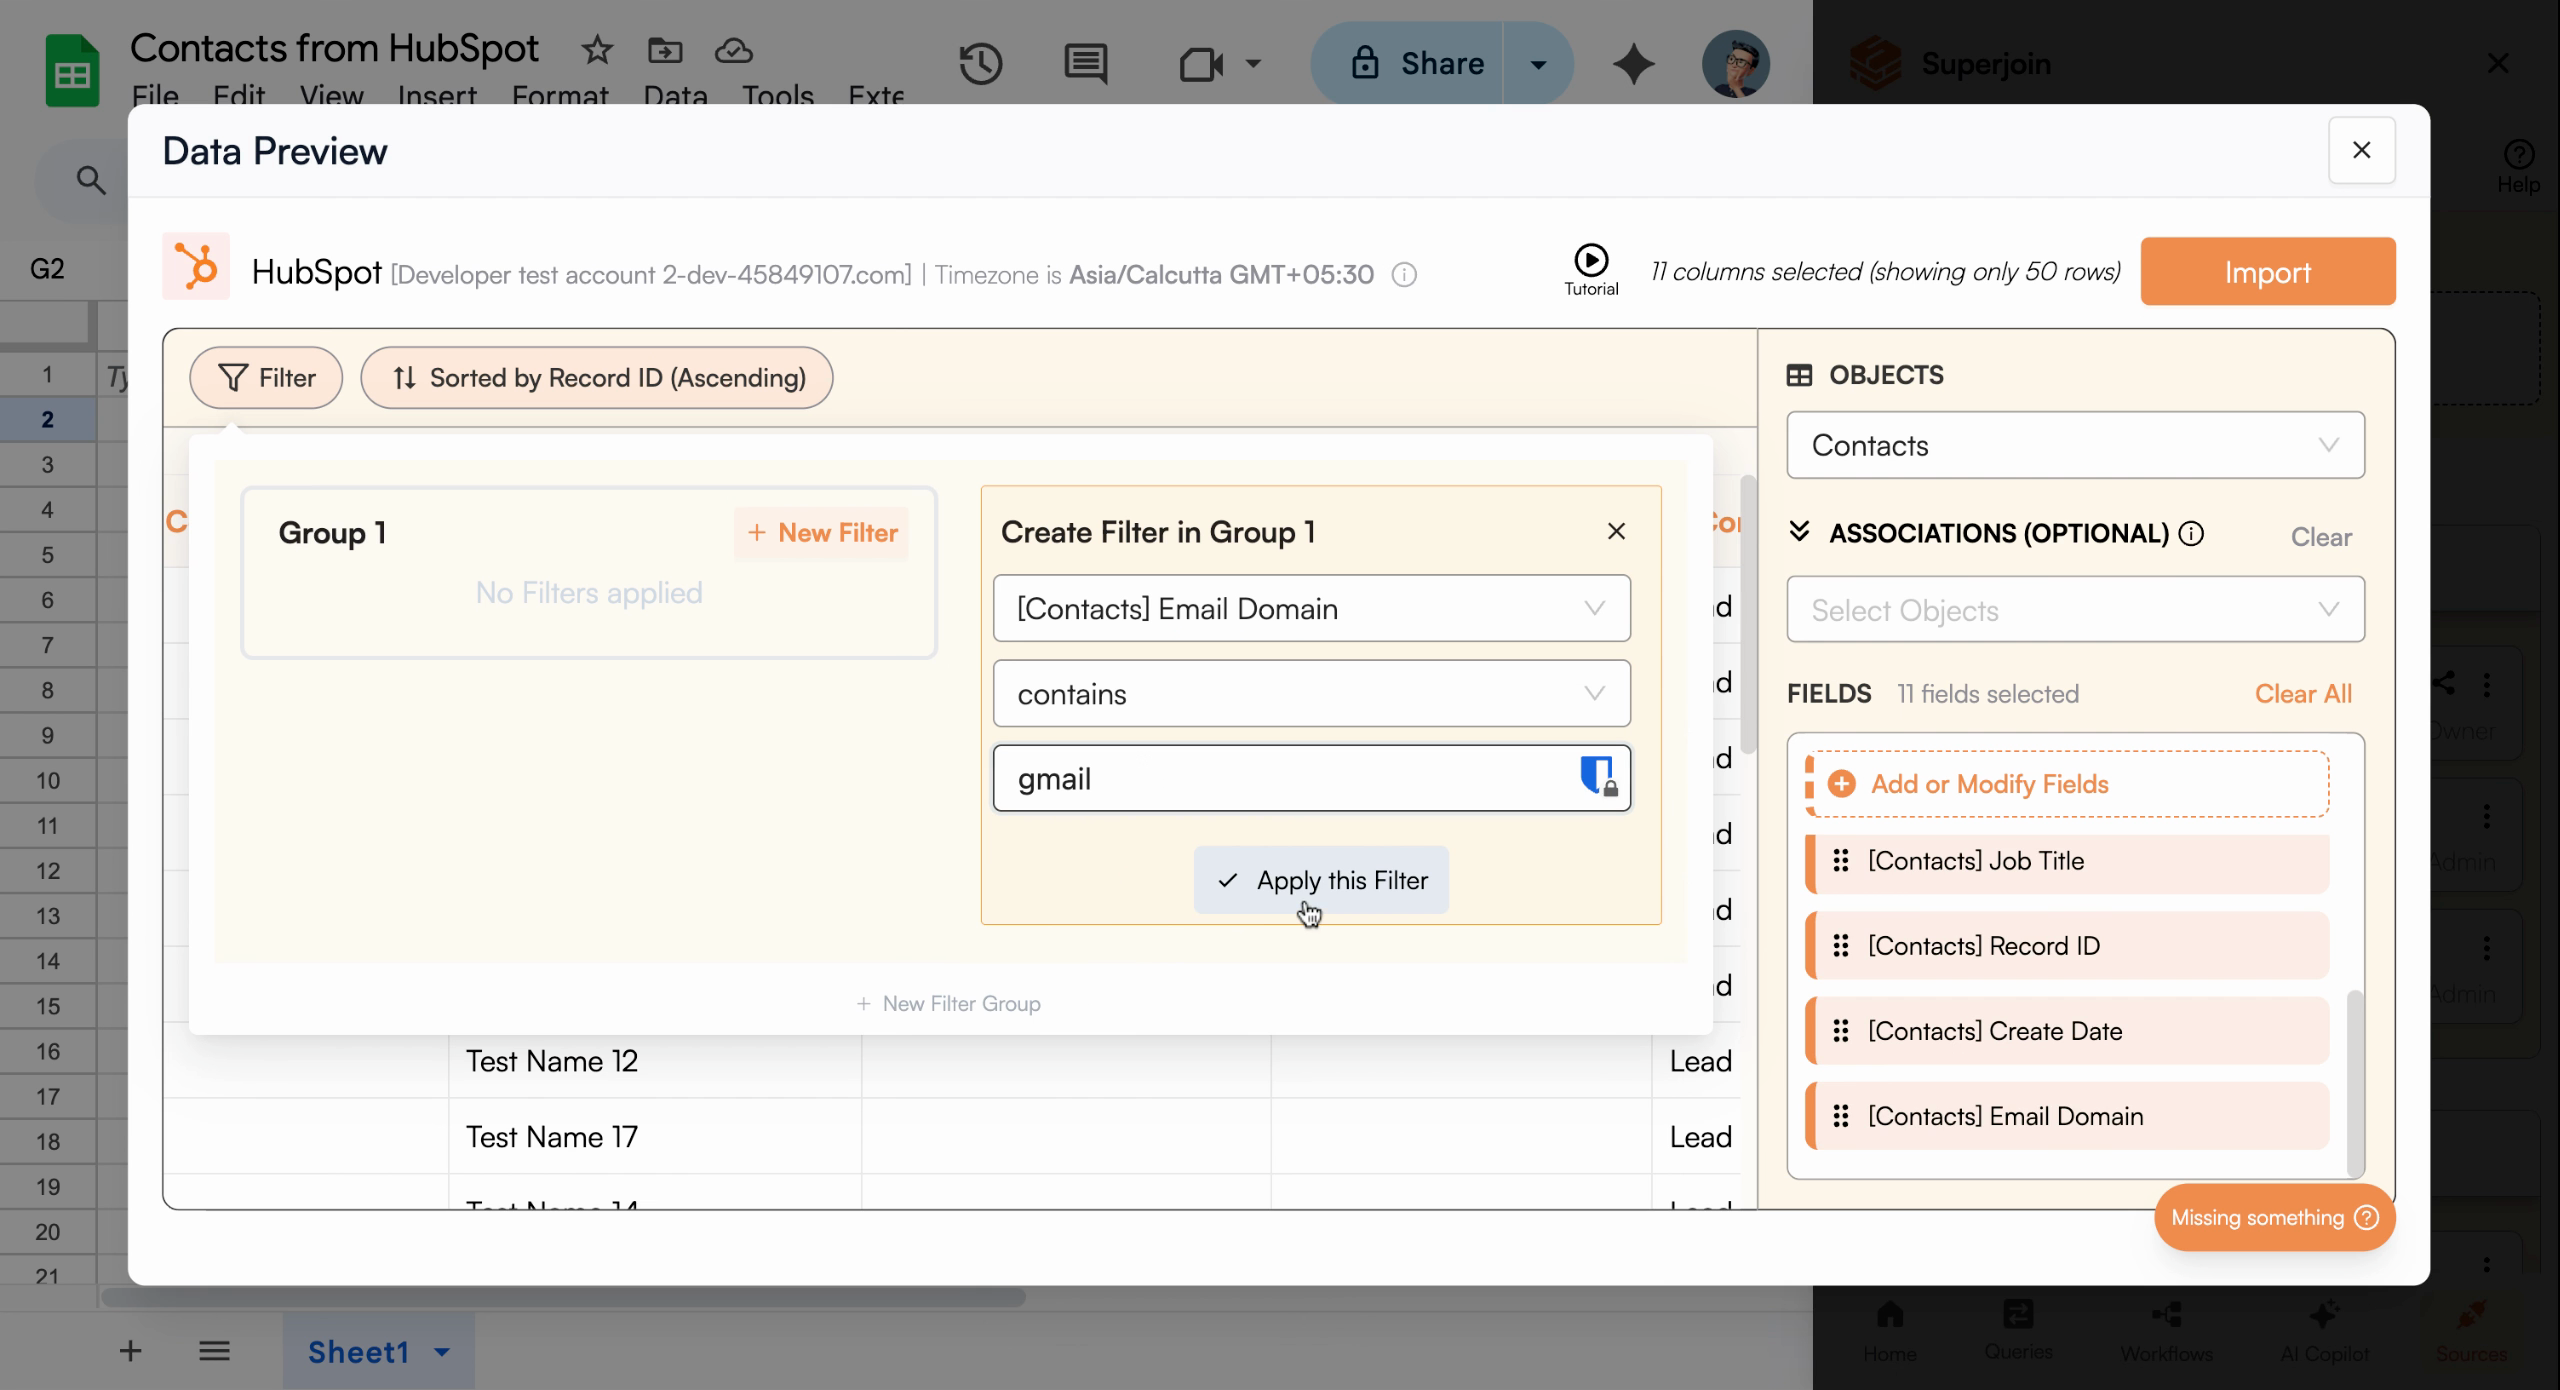
Apply Filters (Optional)
To import only a subset of your contacts, configure filters. For example, to import only contacts with Gmail email addresses, set a filter for the email domain field to include “Gmail.”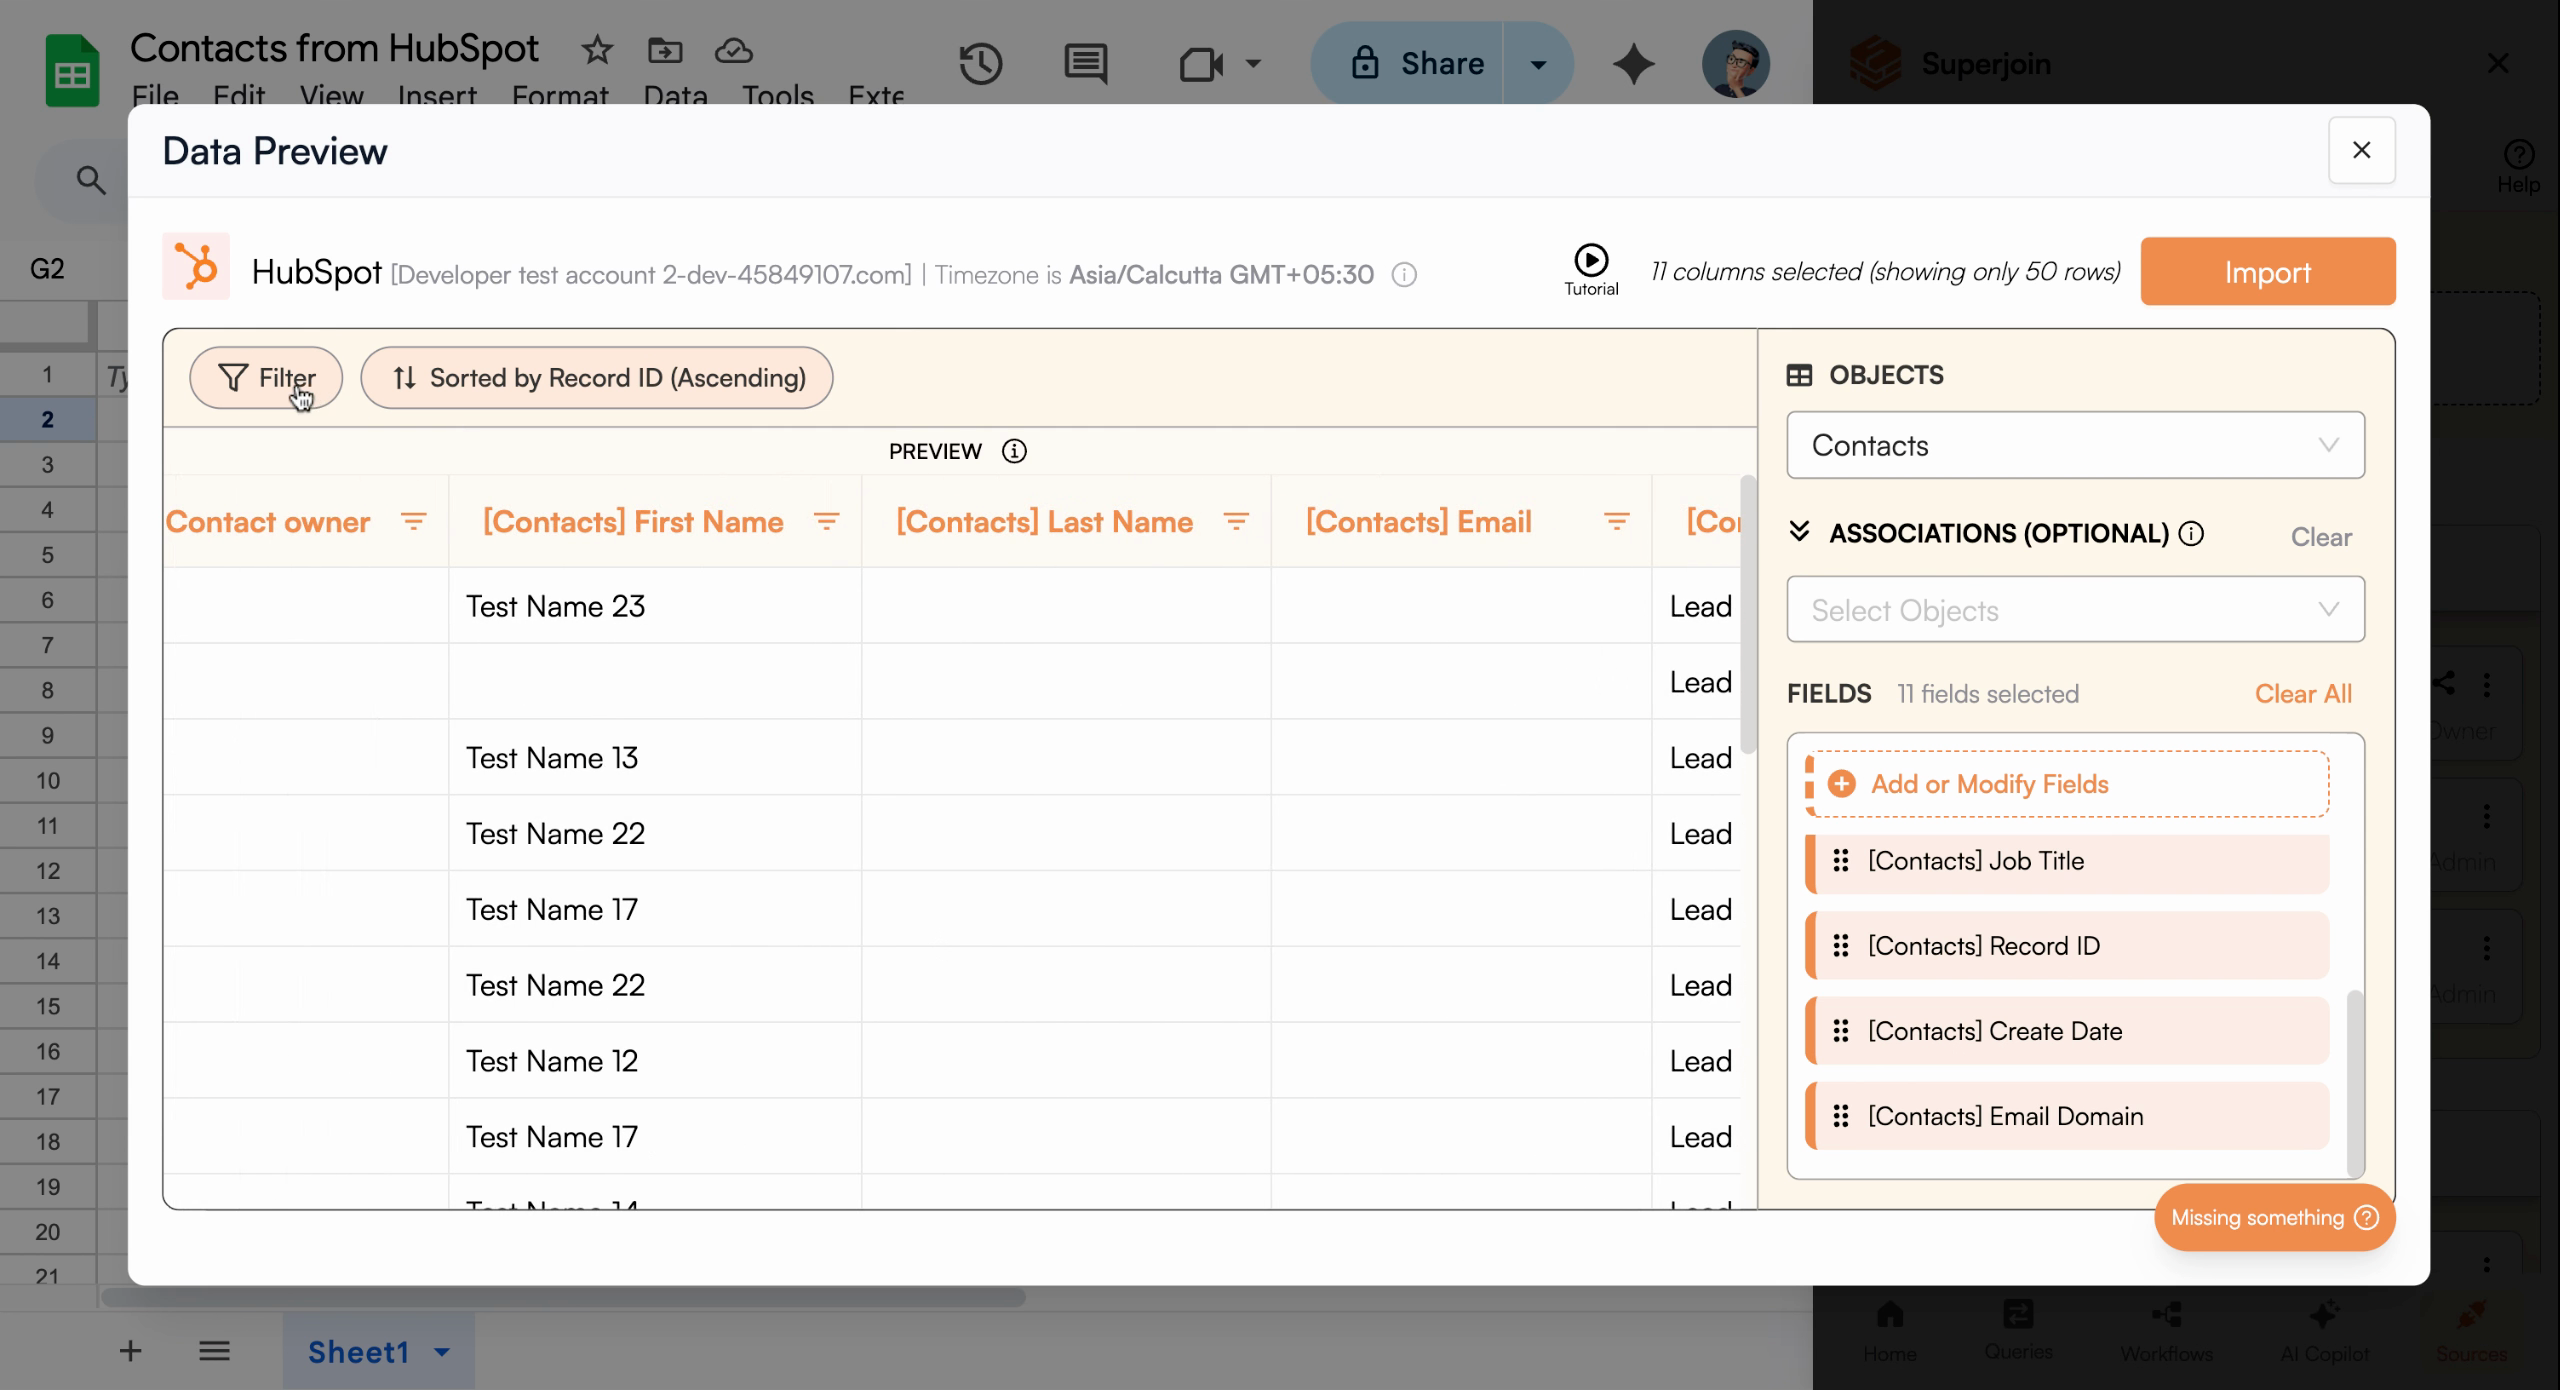
Use the filter tools to import only relevant contacts, like Gmail users
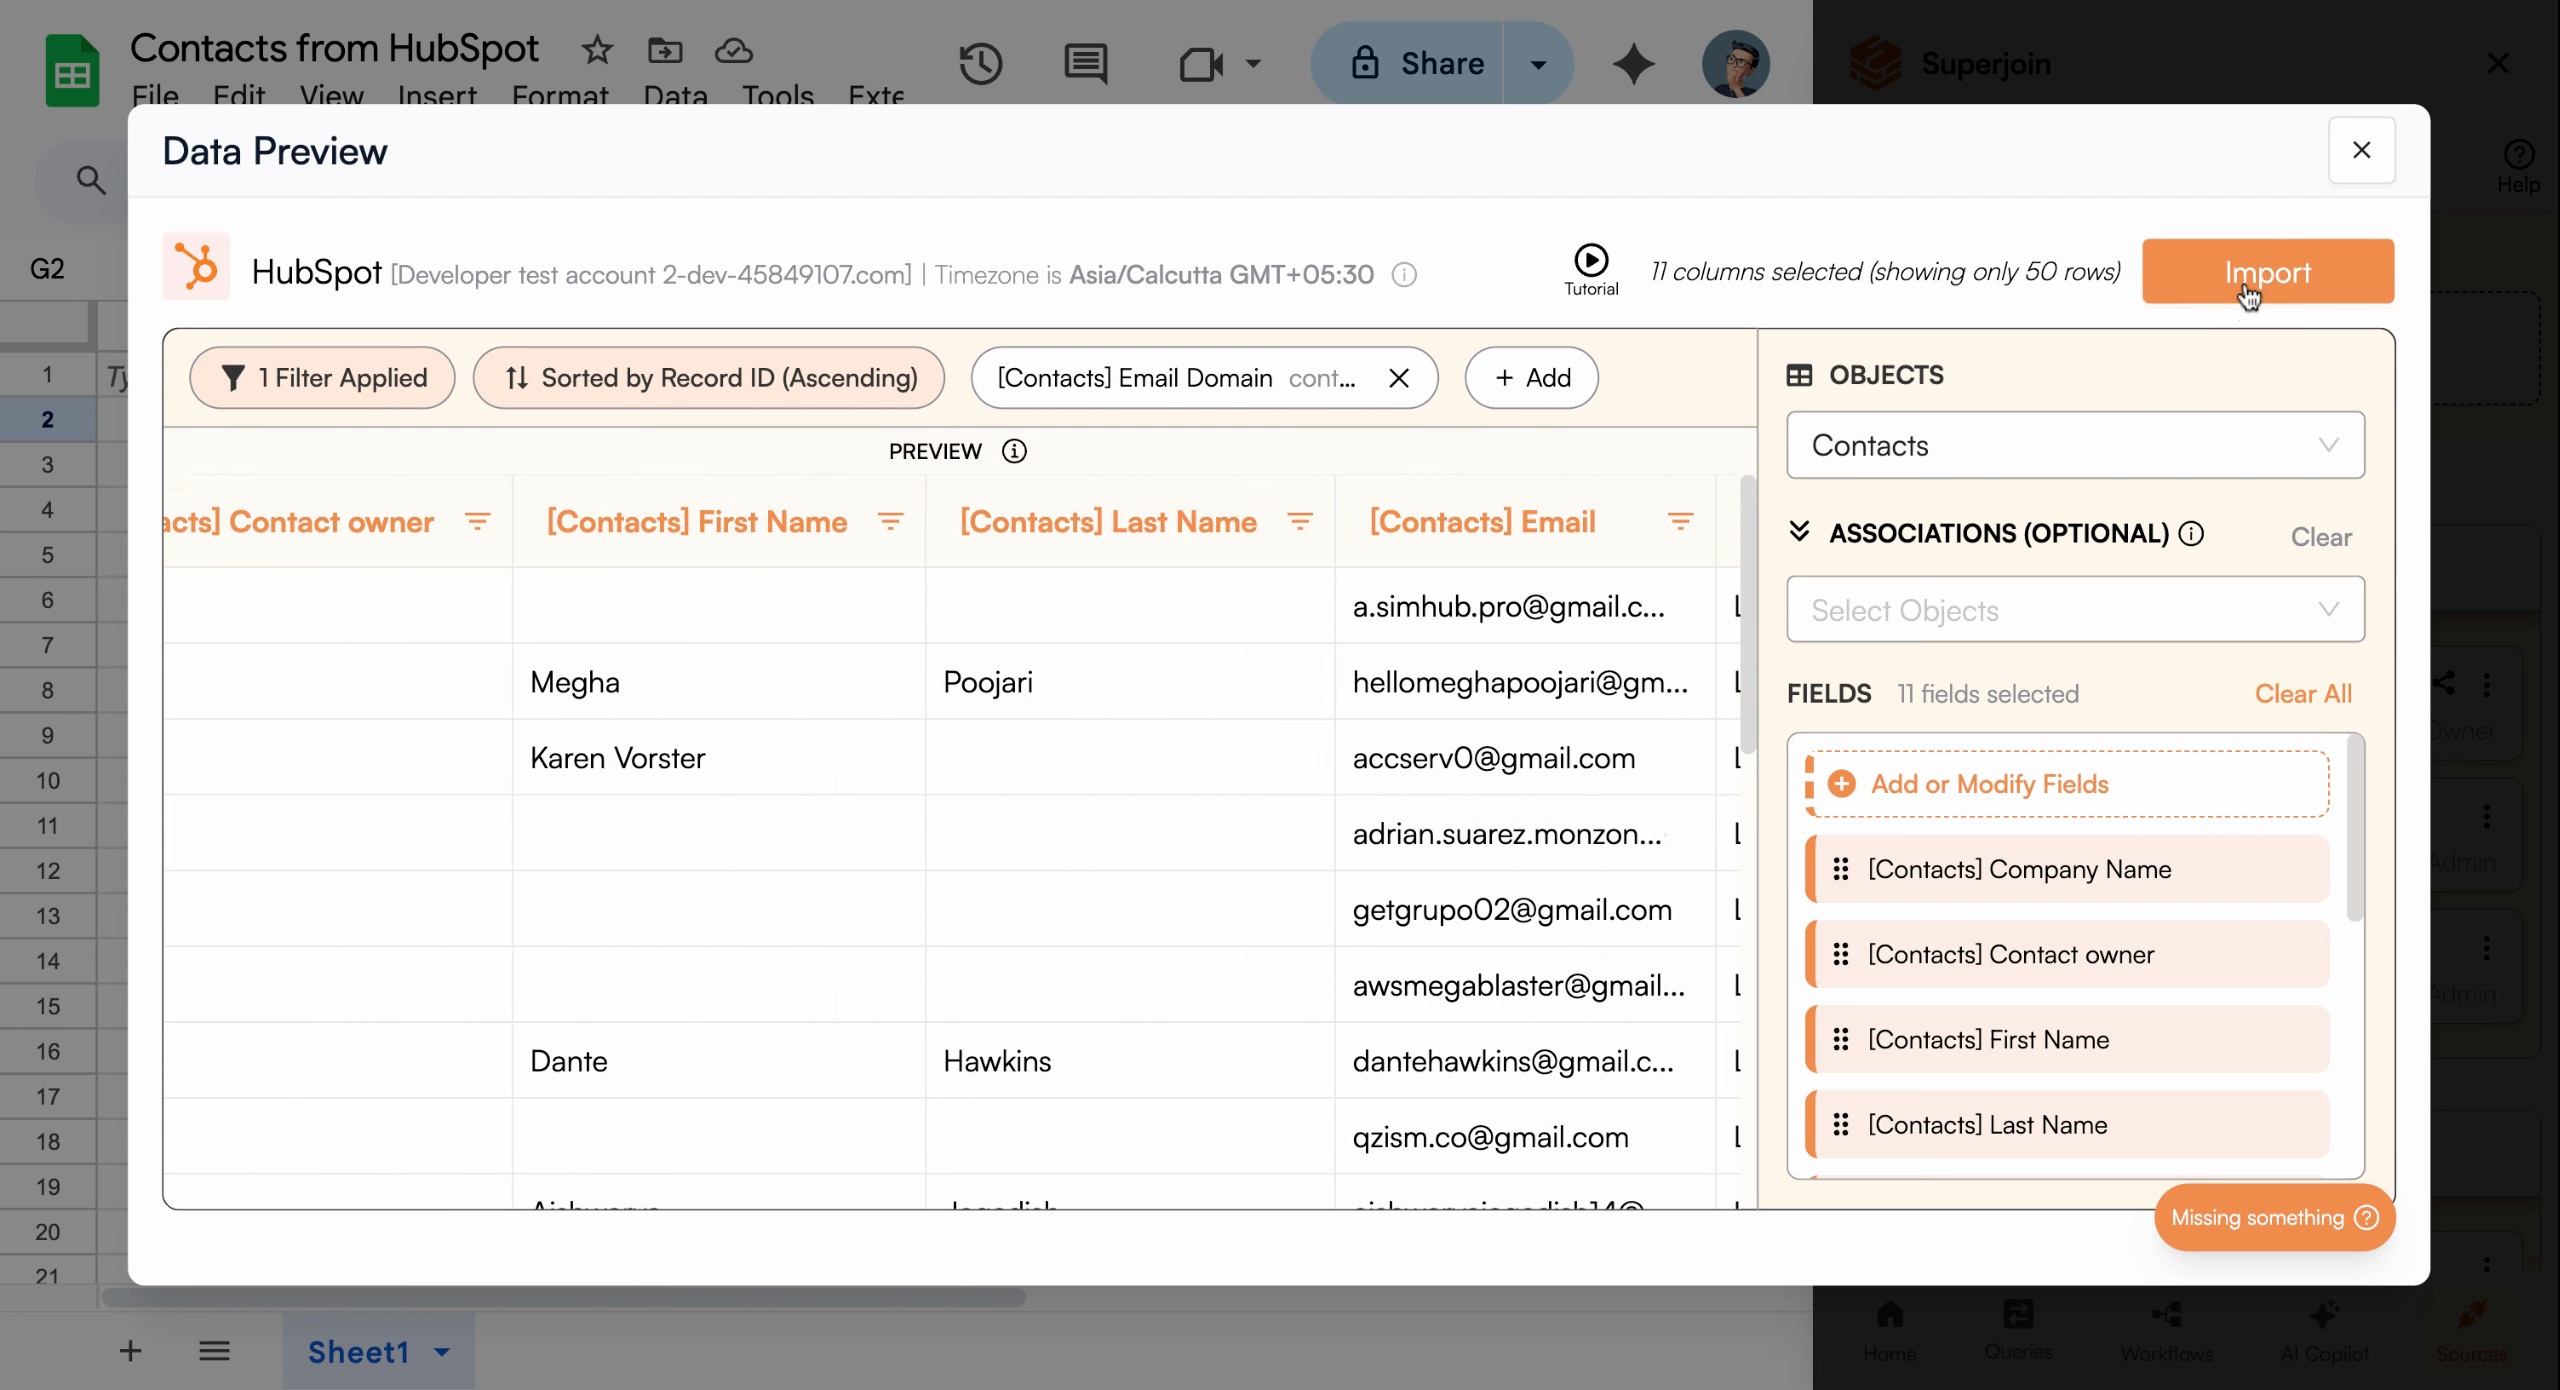
Review and Import Your Data
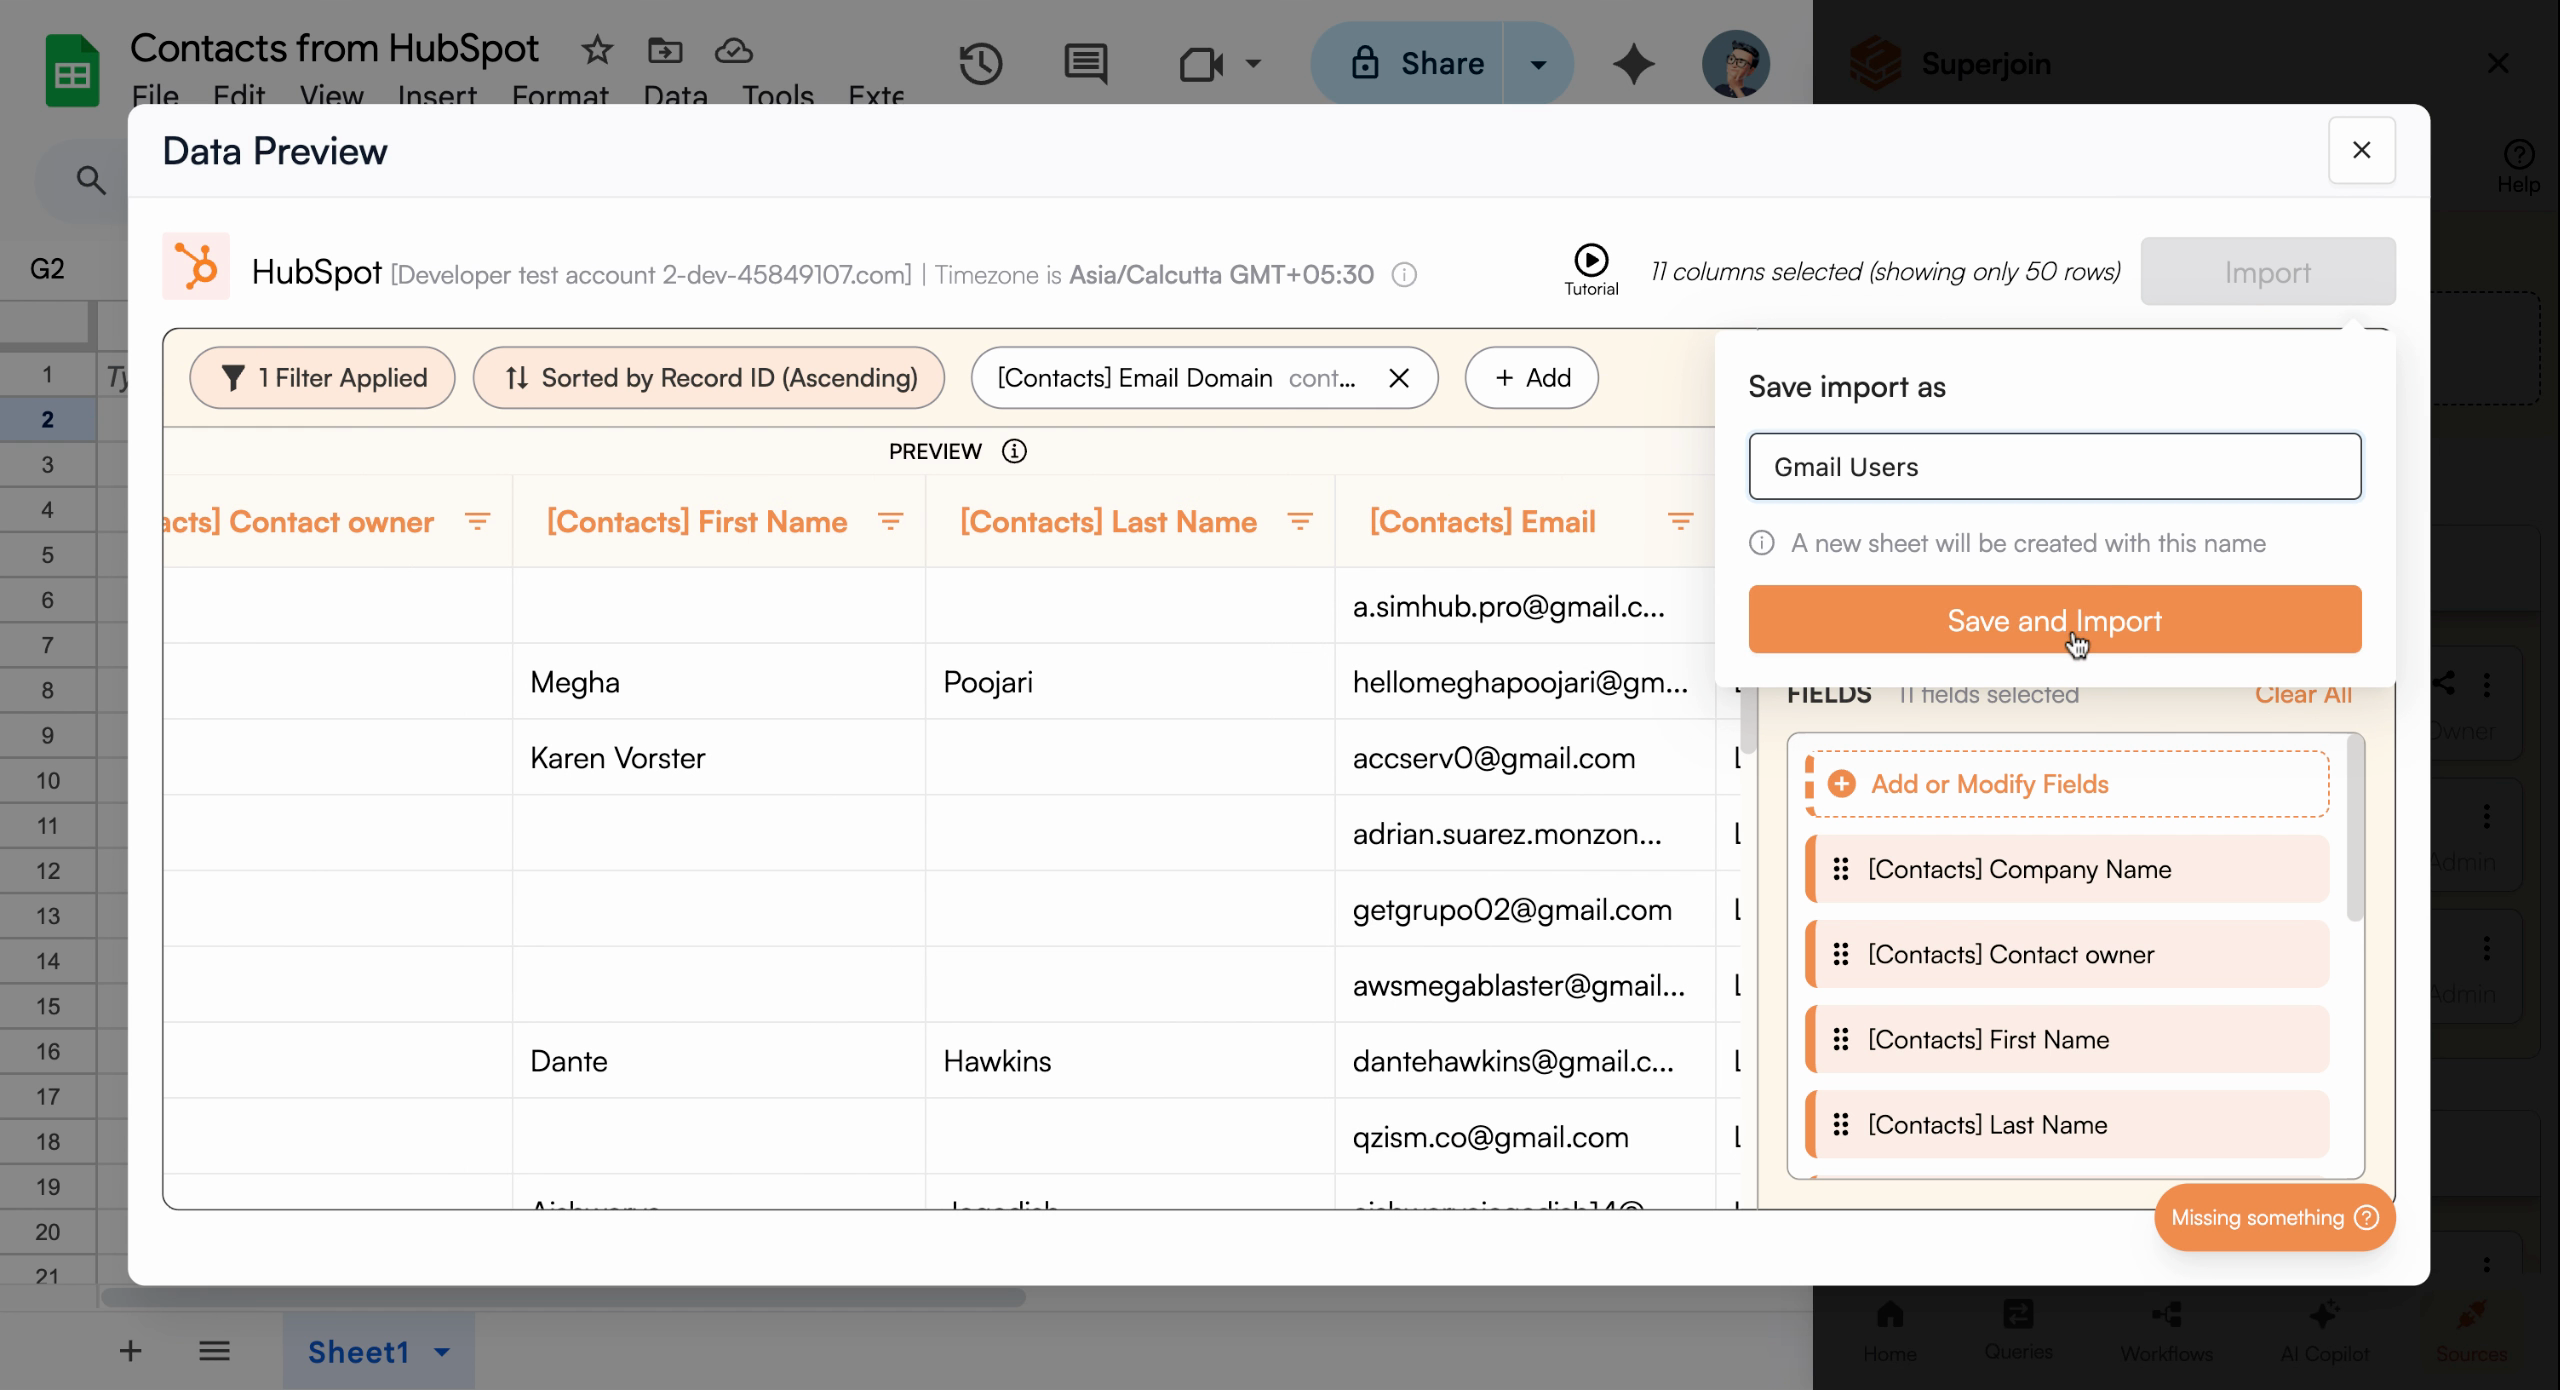
Review your selections in the data preview. When everything looks correct, click Import, enter a name for your sheet (e.g., “Gmail users”), and click Save and Import.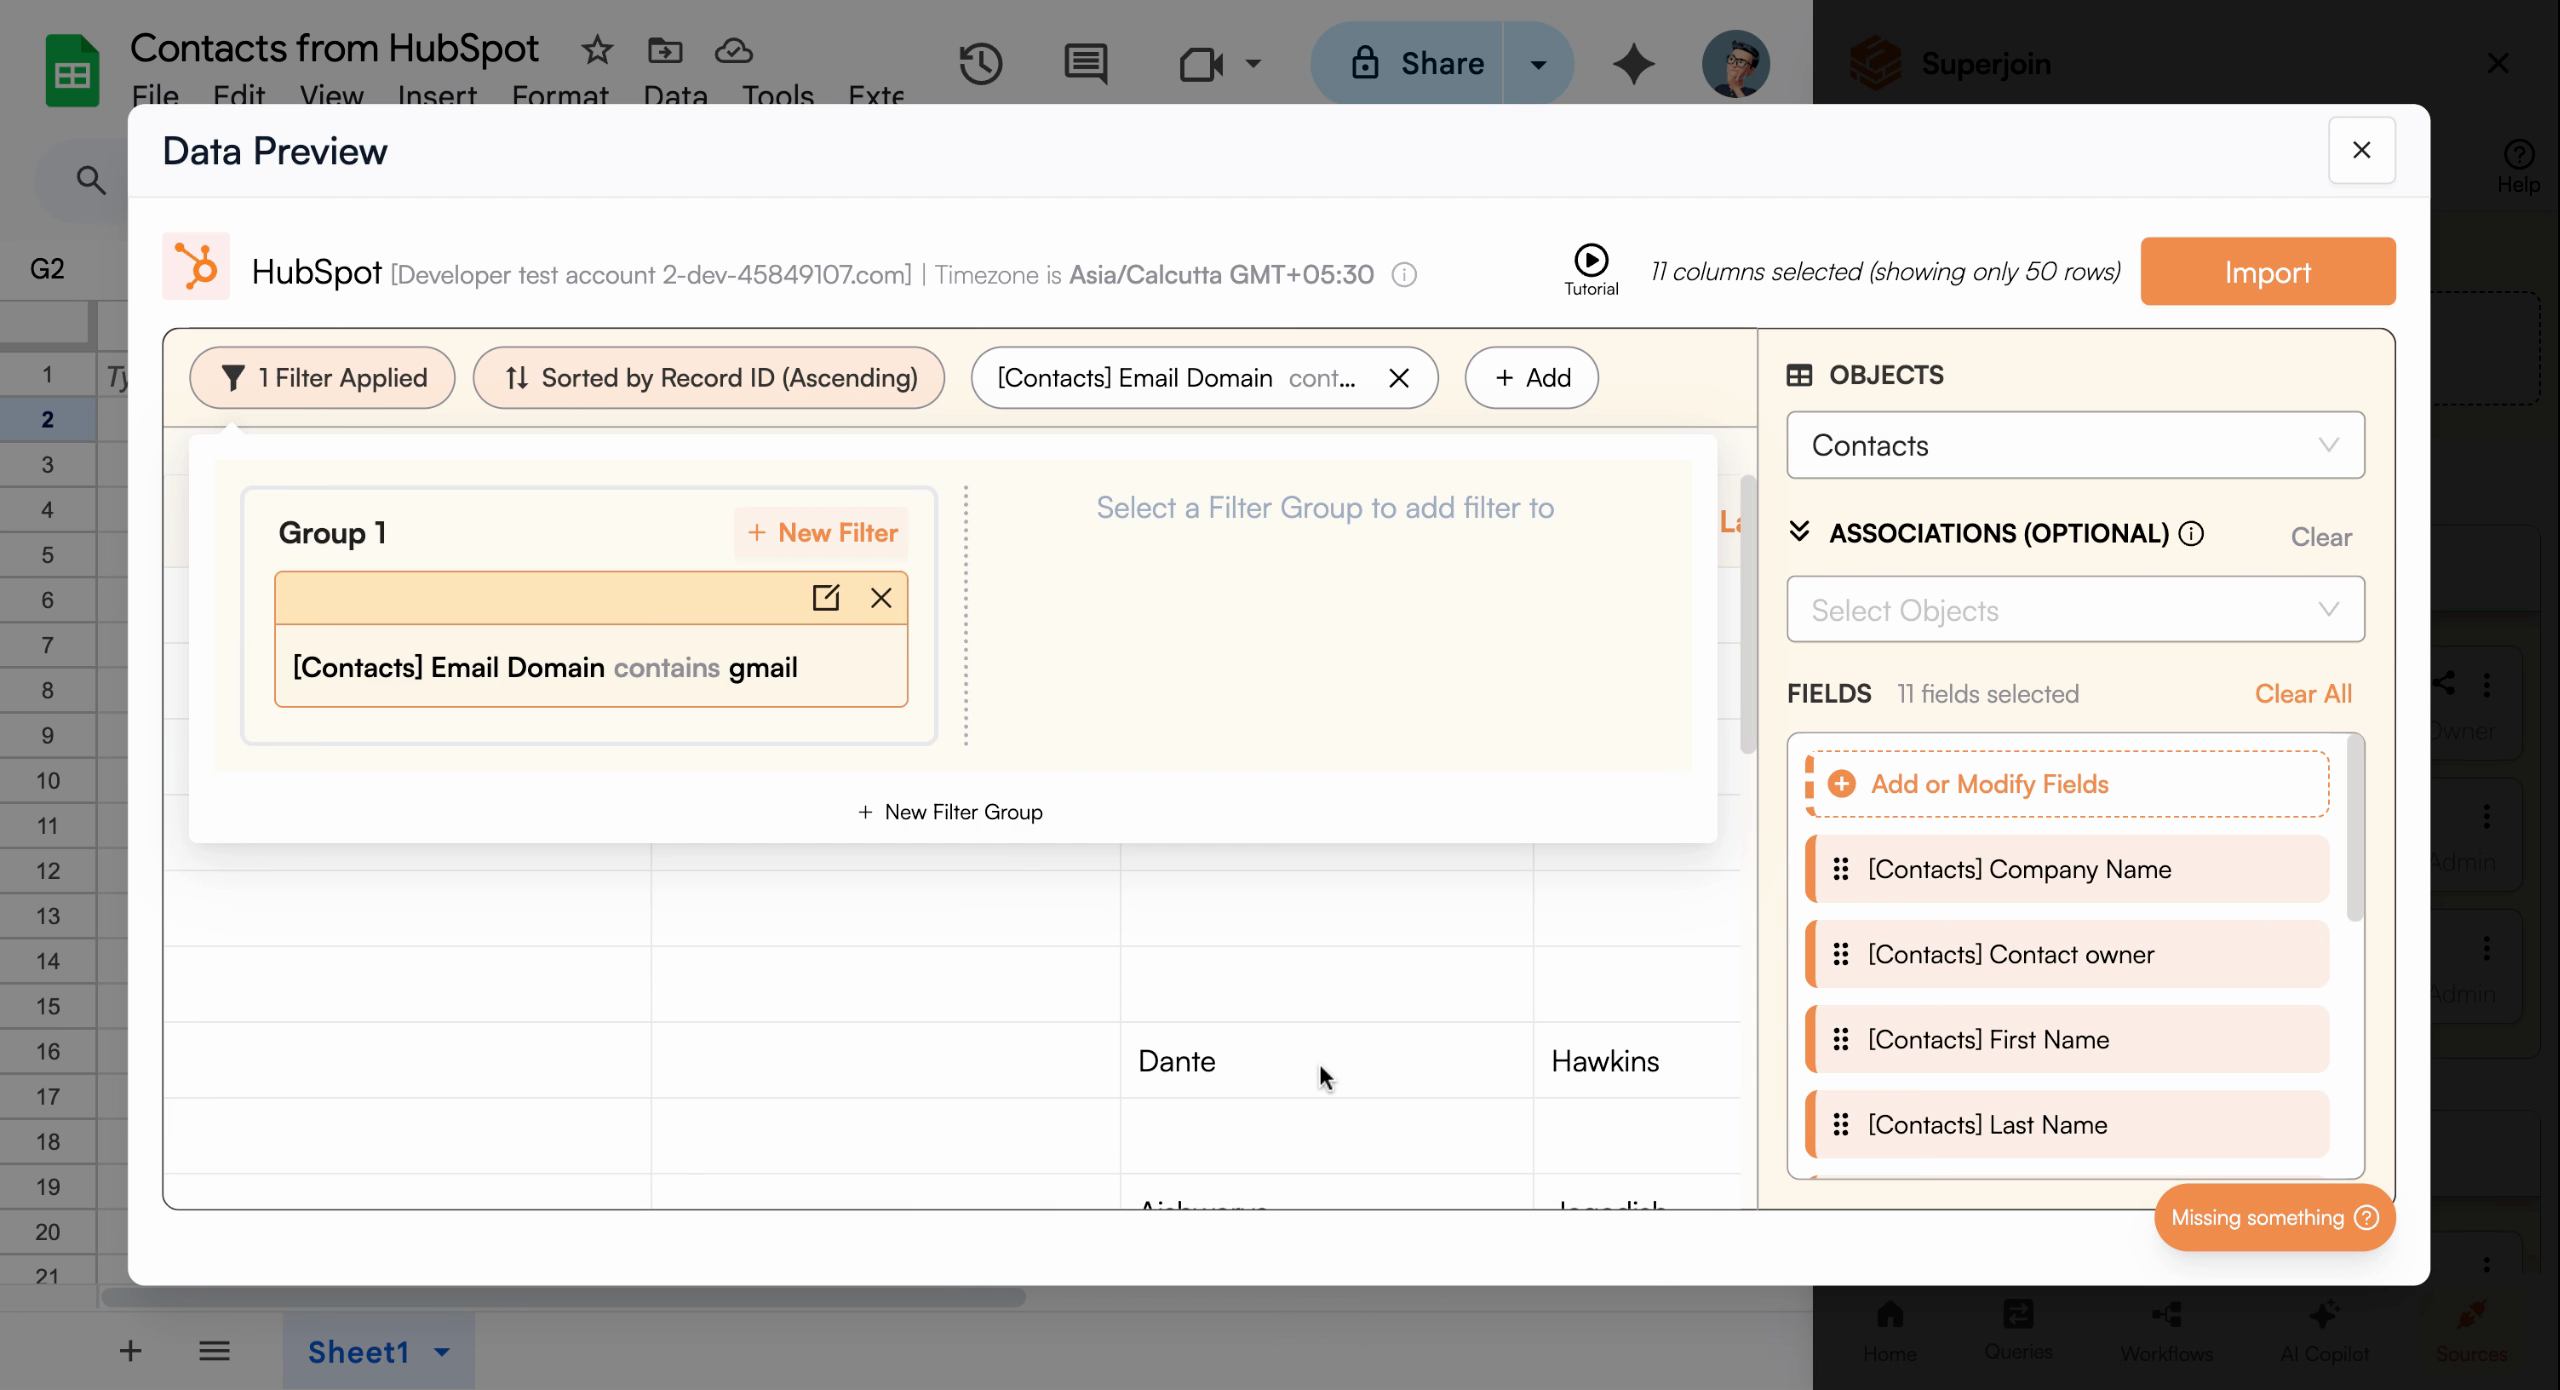
Confirm your selections and start importing your contacts
Click Cancel at any time if you need to abort the import process.
View Imported Data
After the import completes, a new sheet containing your filtered HubSpot contact data will appear in your Google Sheets file, ready for analysis or follow-ups.
Your Google Sheet now displays imported HubSpot contact data
Your HubSpot contacts are now successfully imported into Google Sheets.
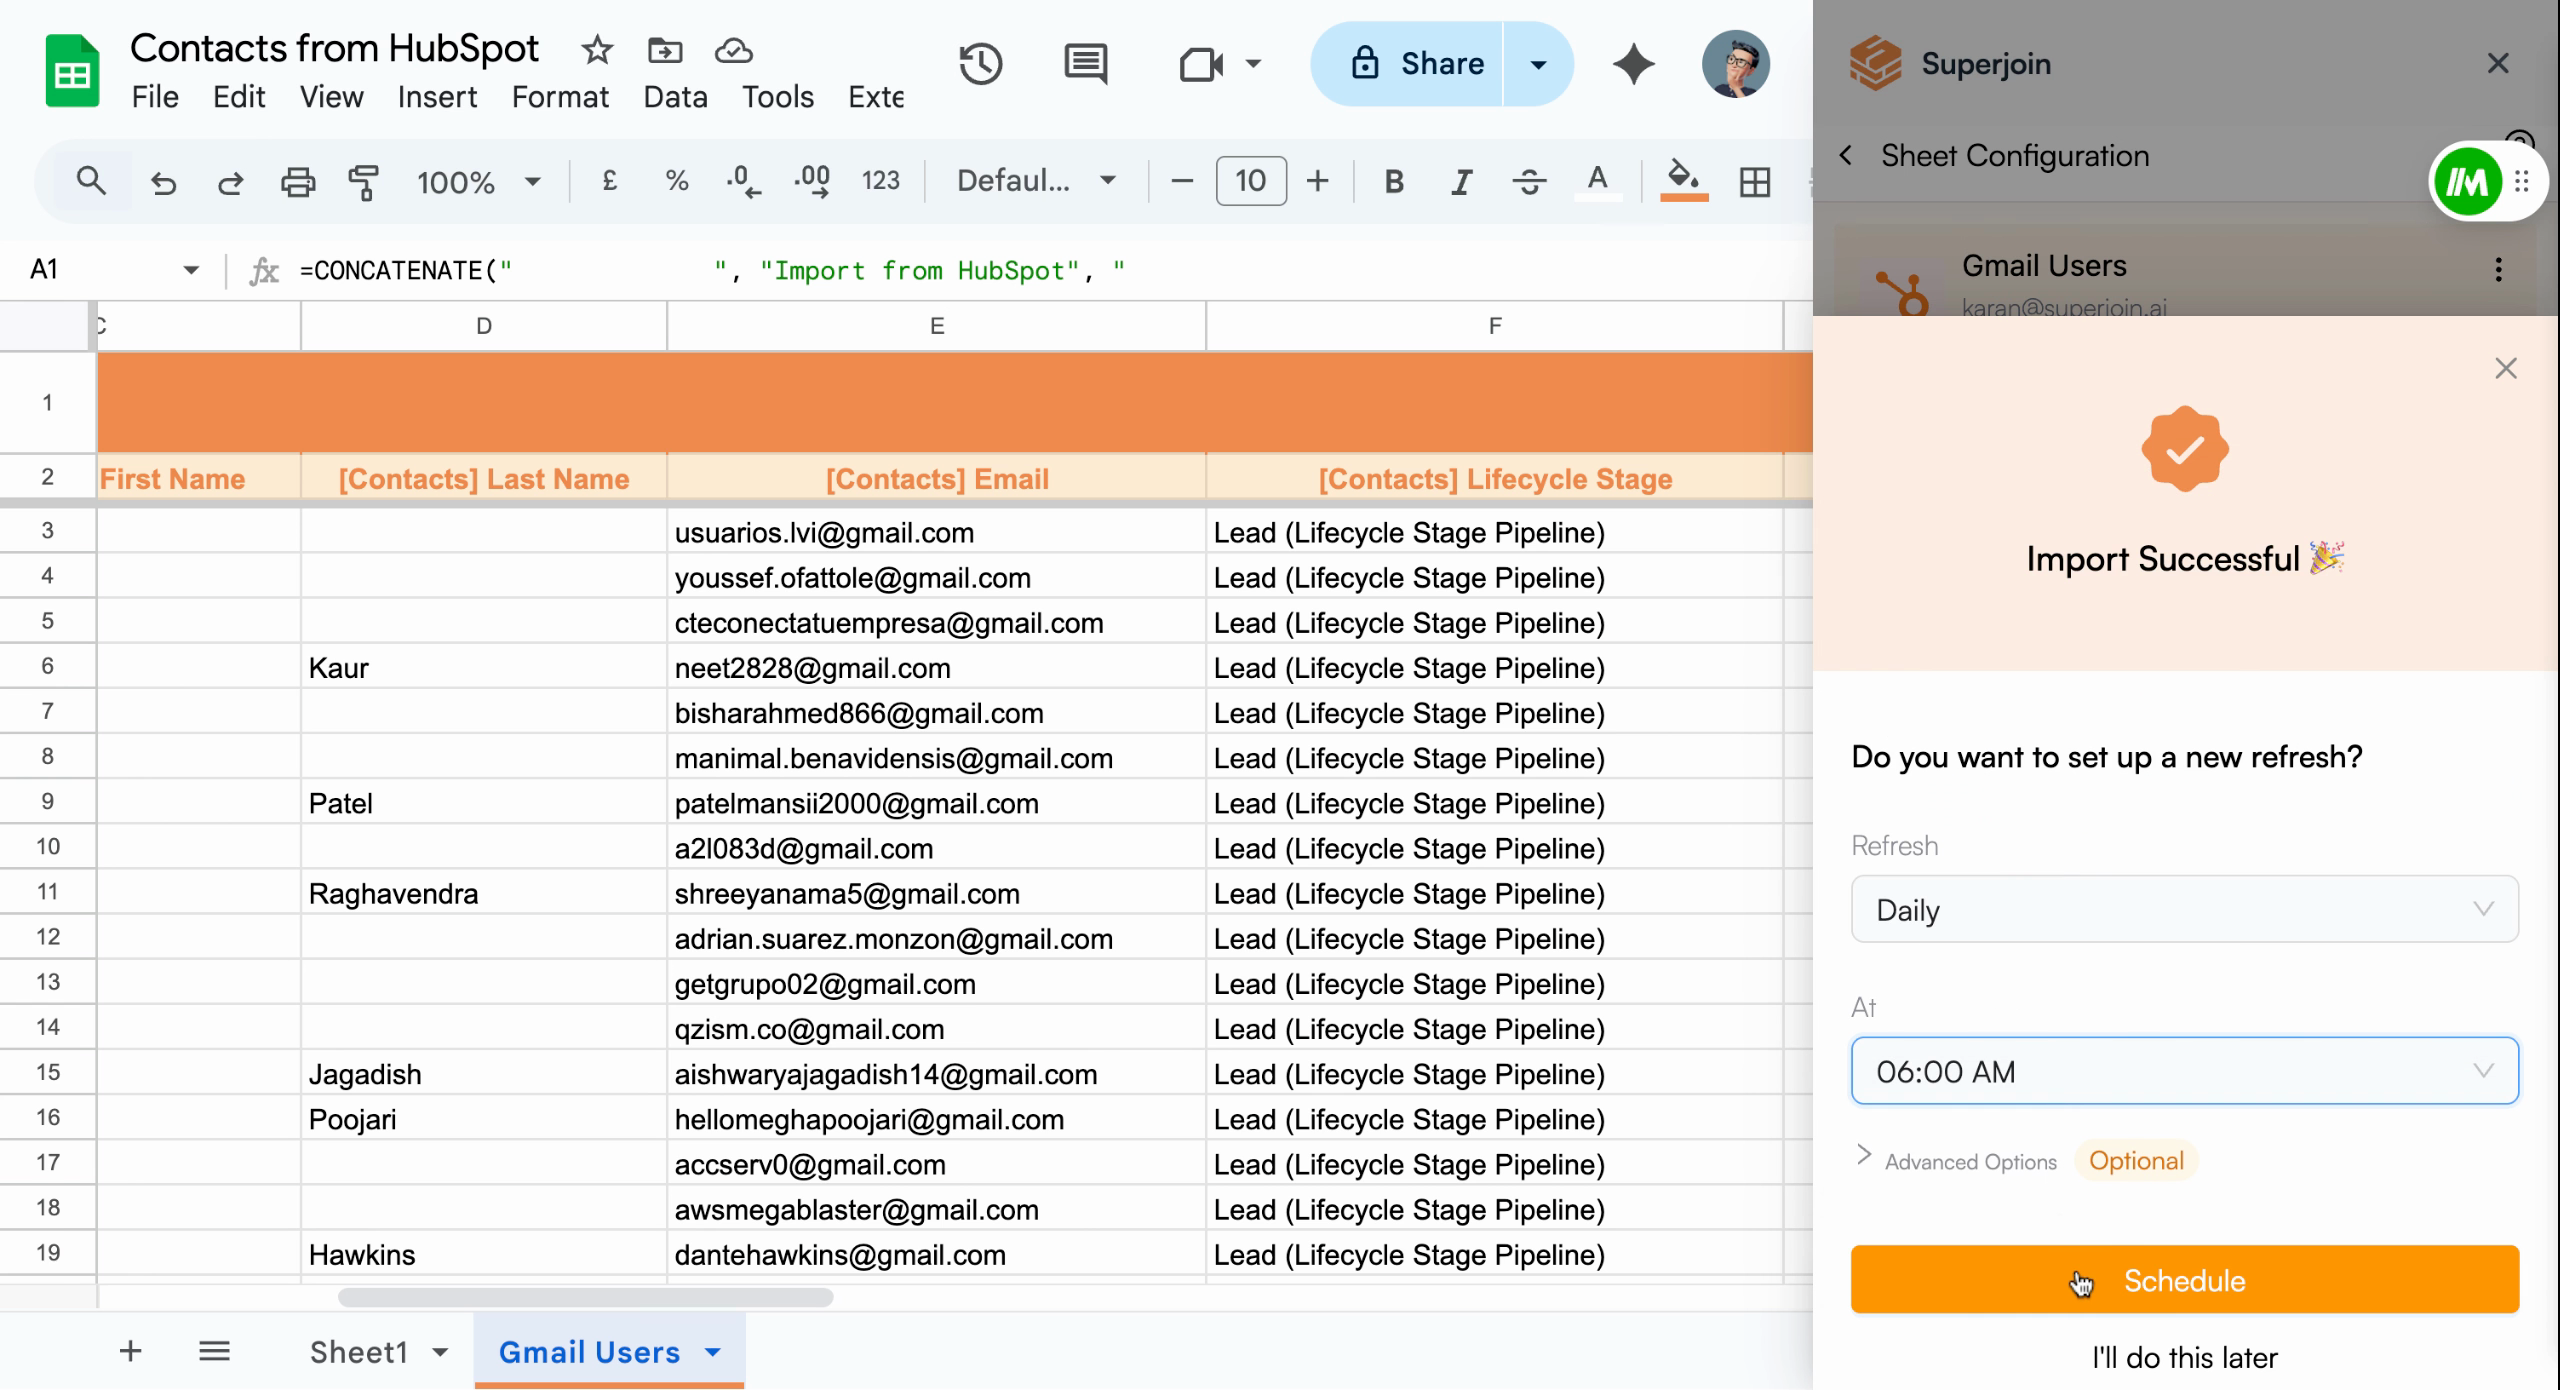
Automate with Scheduling (Optional)
Set up automatic refresh to keep your contact list current. Configure the sheet to update hourly, daily, weekly, or monthly. For example, schedule daily updates at 6:00 AM by adjusting the scheduling settings and clicking Schedule.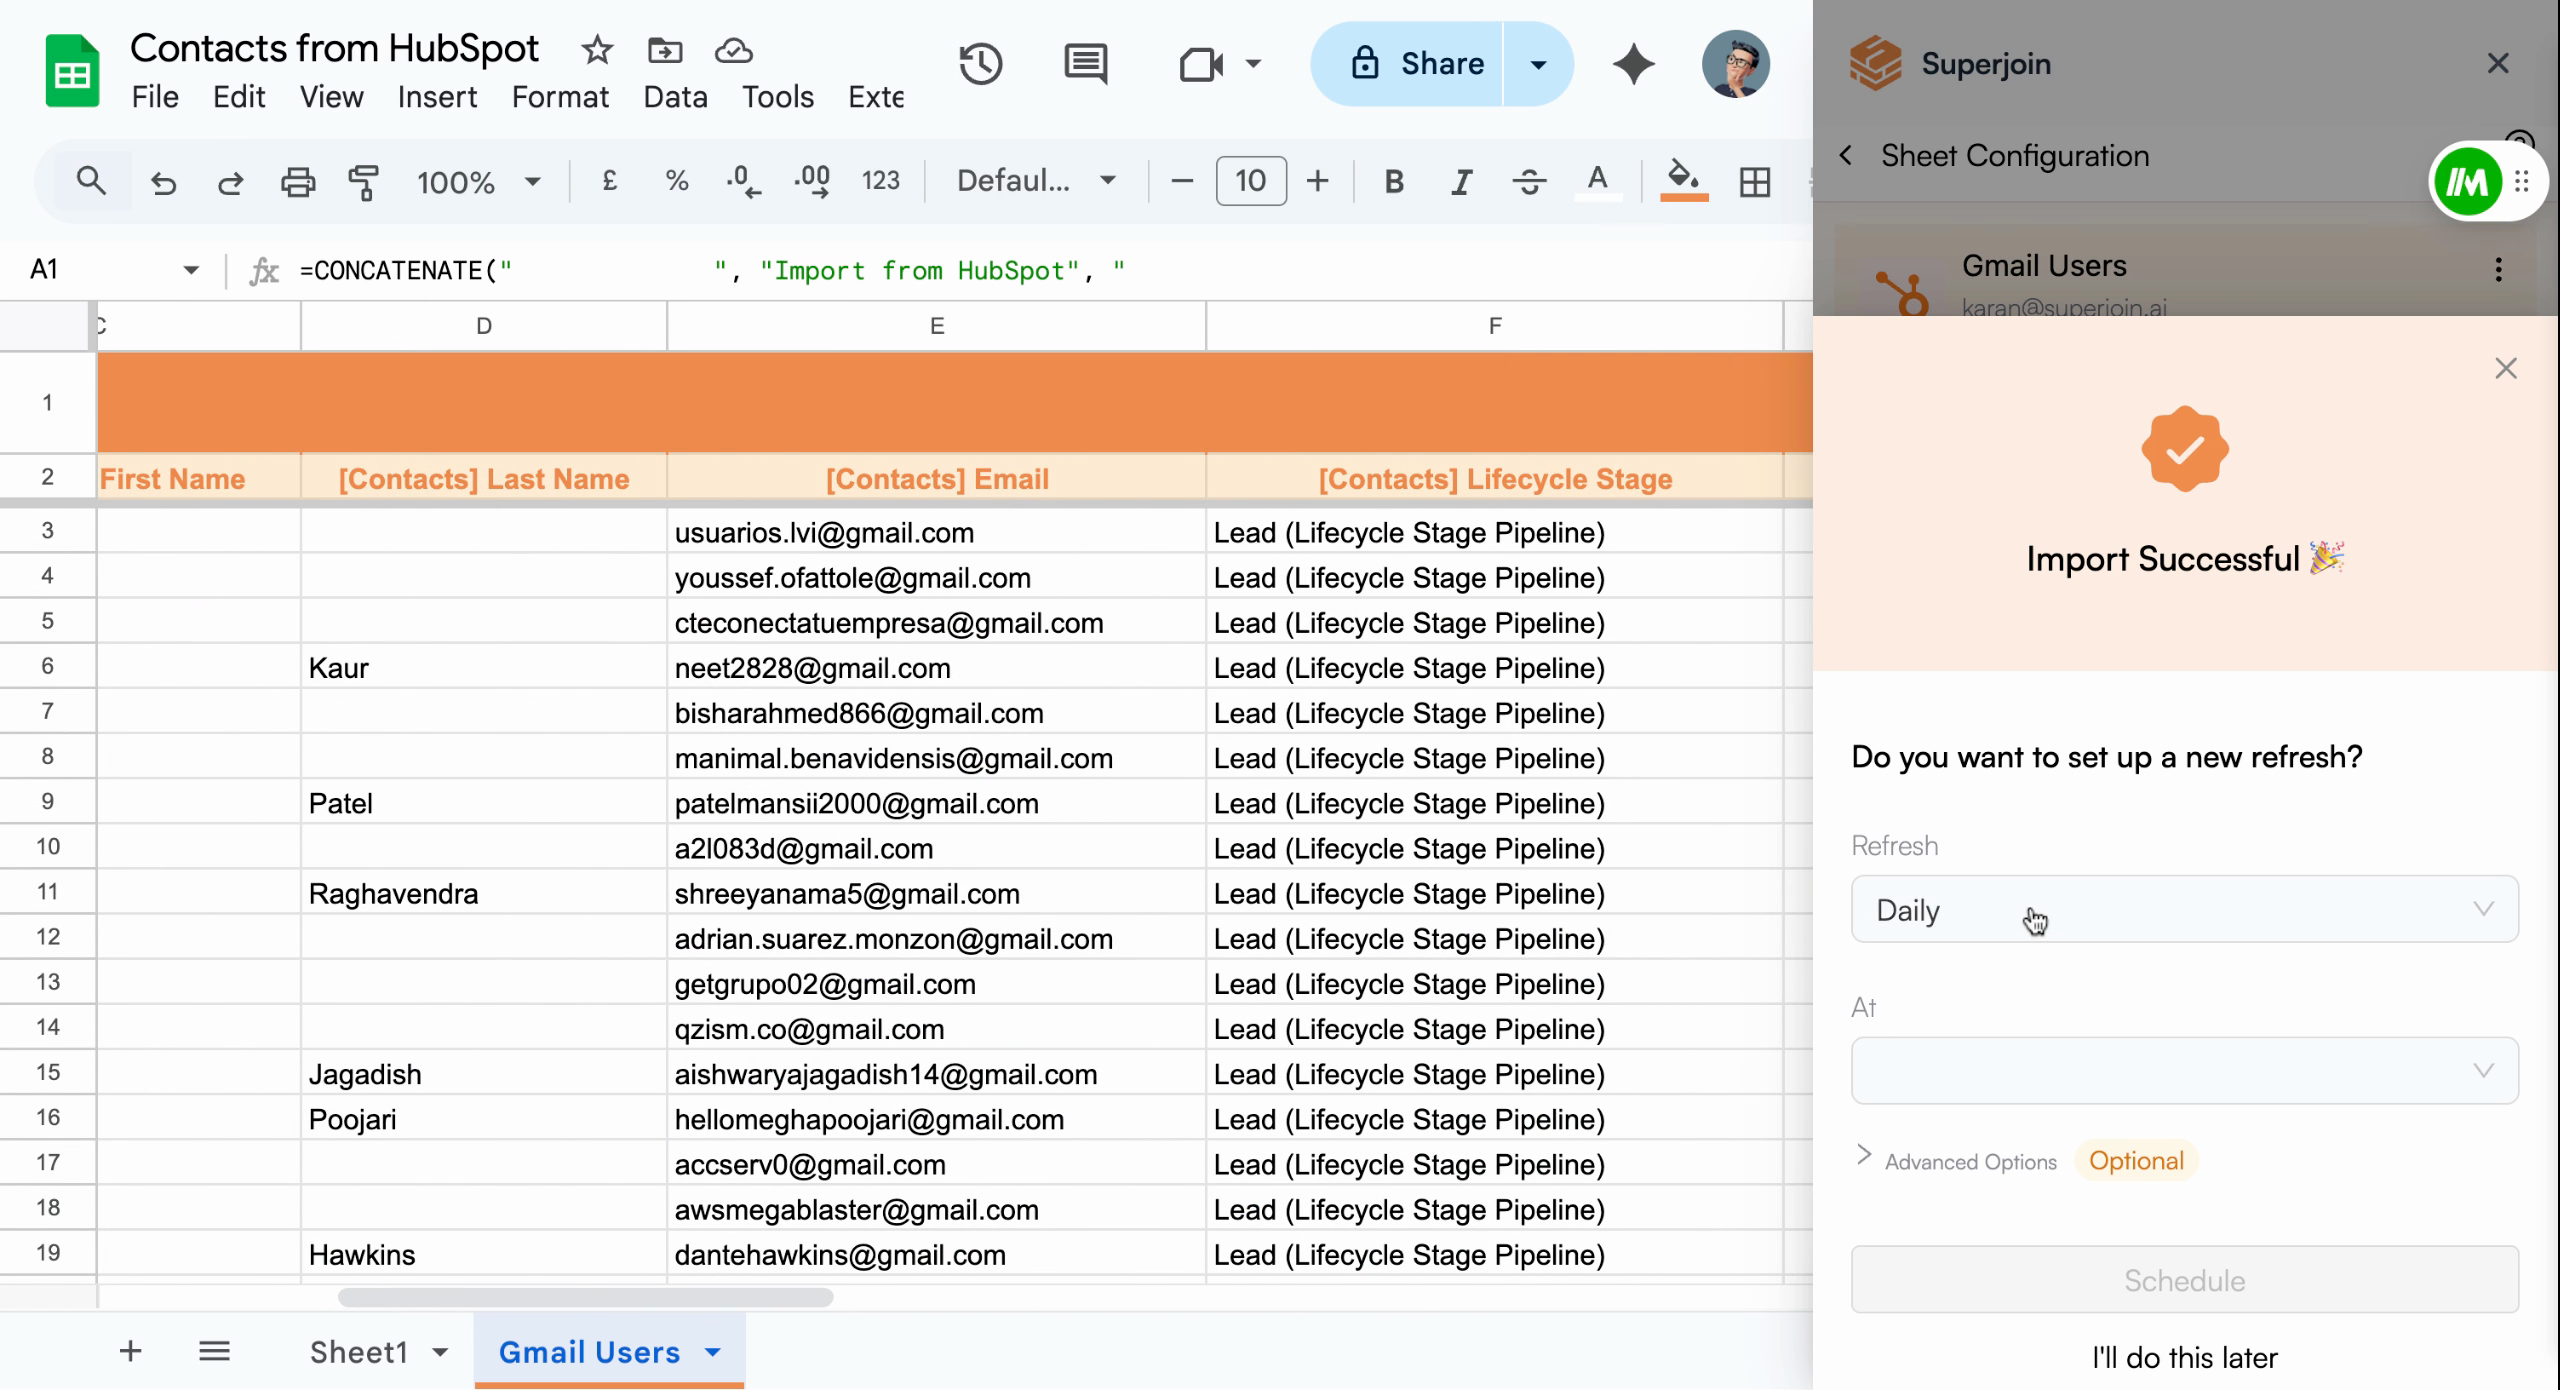
Configure and enable auto-refresh according to your workflow needs

Scheduled refreshes ensure your spreadsheet always reflects the latest data
from HubSpot without manual intervention.