Step-by-step walkthrough: How to connect Redshift to Google Sheets
Launch Superjoin
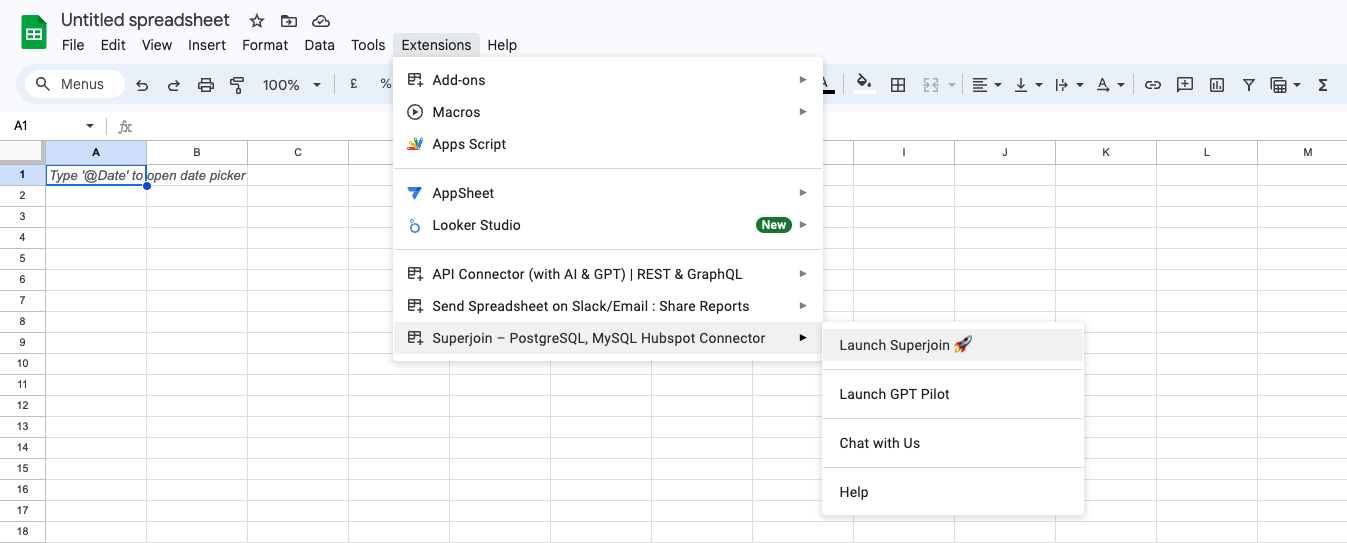
Once Superjoin is installed, navigate to the 
Extensions menu tab in Google Sheets. Launch Superjoin from here. You should now see Superjoin running as a side panel on the right side of your screen.
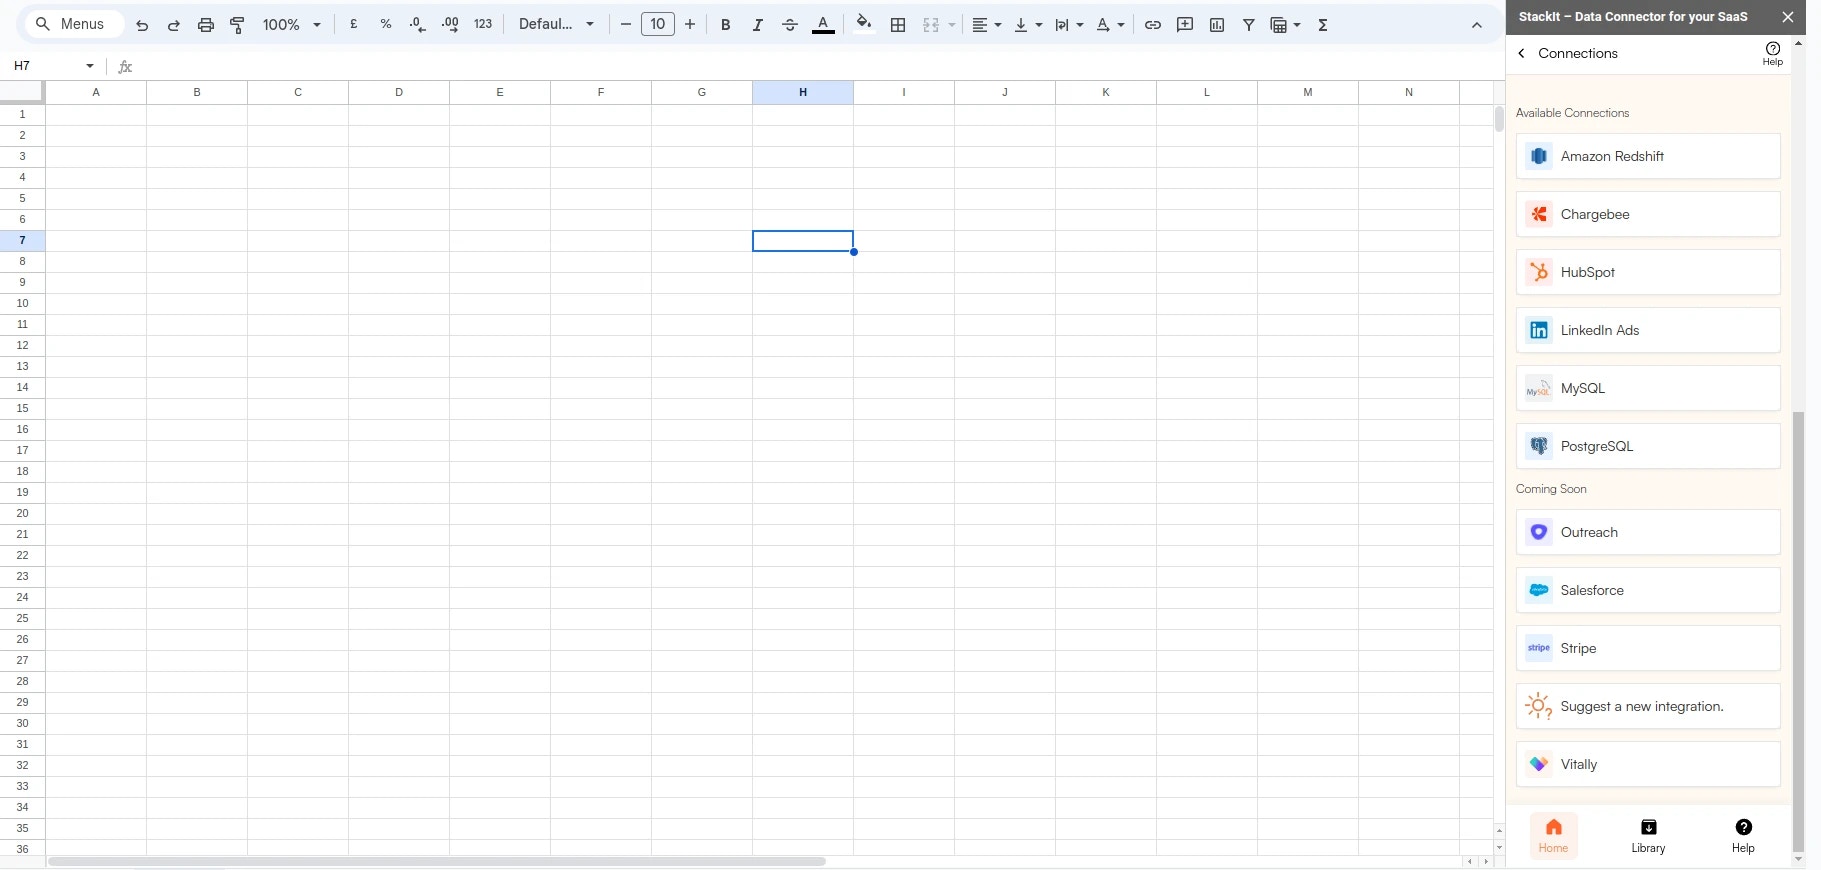
Connect your Redshift Database
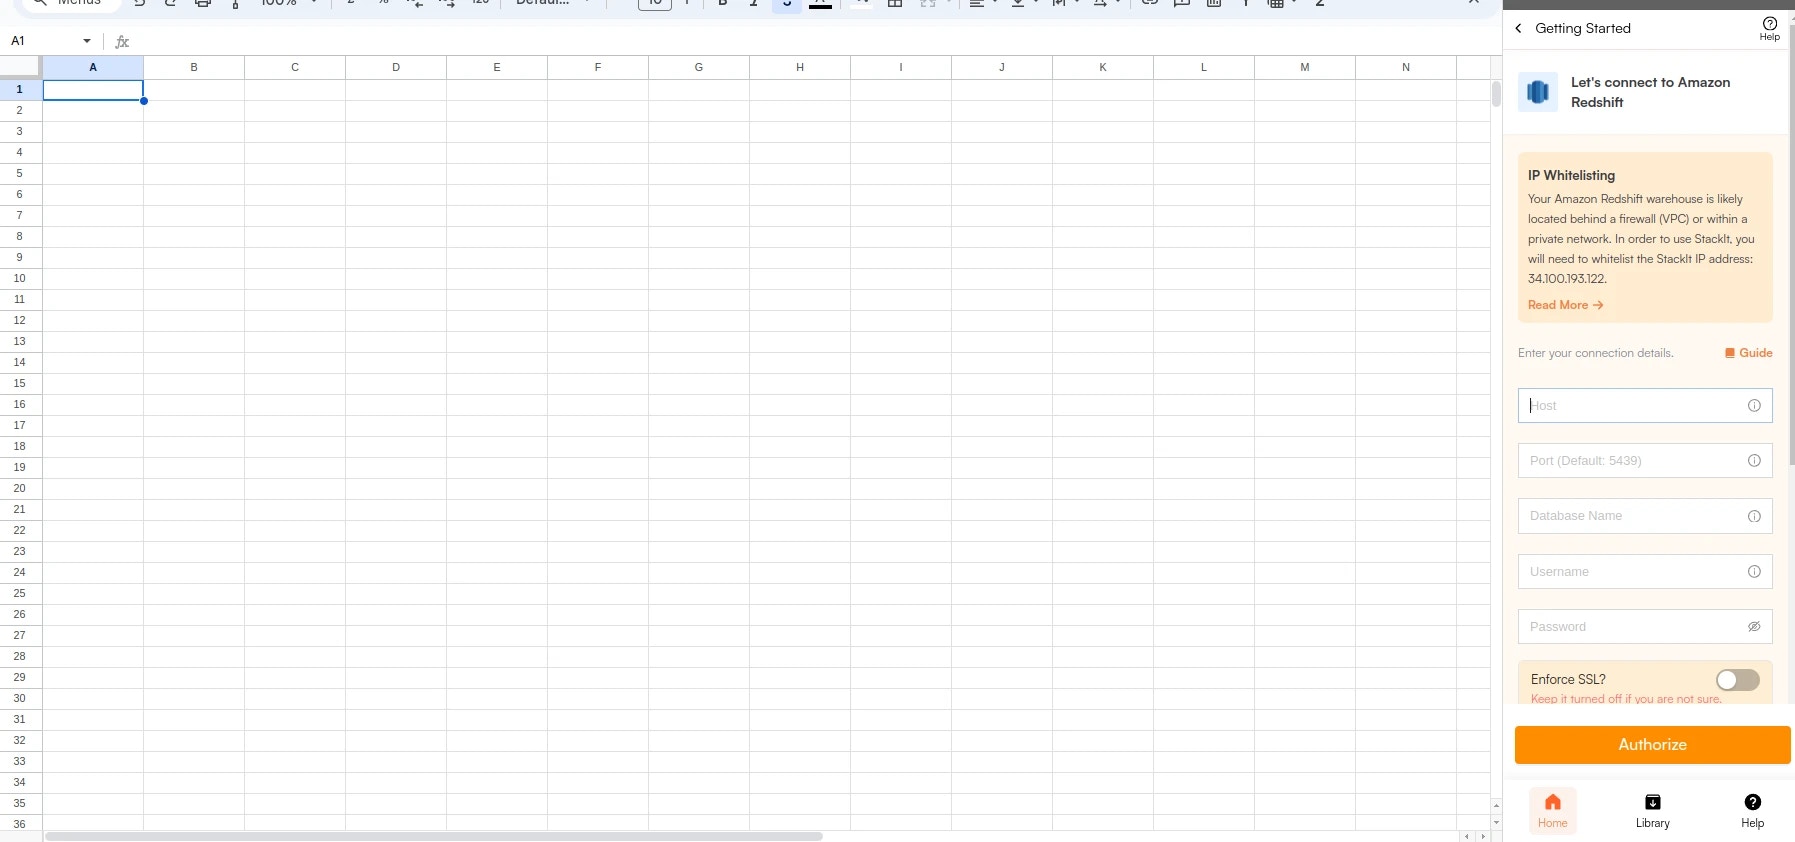
Enter your connection details.

| Field | Description | Example |
|---|---|---|
| Host | This is the endpoint of your Redshift cluster, which acts as the host for connection purposes. | your-cluster-name.123456789012.us-west-2.redshift.amazonaws.com |
| Port | Use the specific port for your Redshift database. | Default is 5439 |
| Database | Specify the name of the database within your Redshift cluster that you want to query. | mydatabase |
| User | Enter the username for connecting to your Redshift database. | awsuser |
| Password | Provide the password corresponding to the specified user. | password123 |

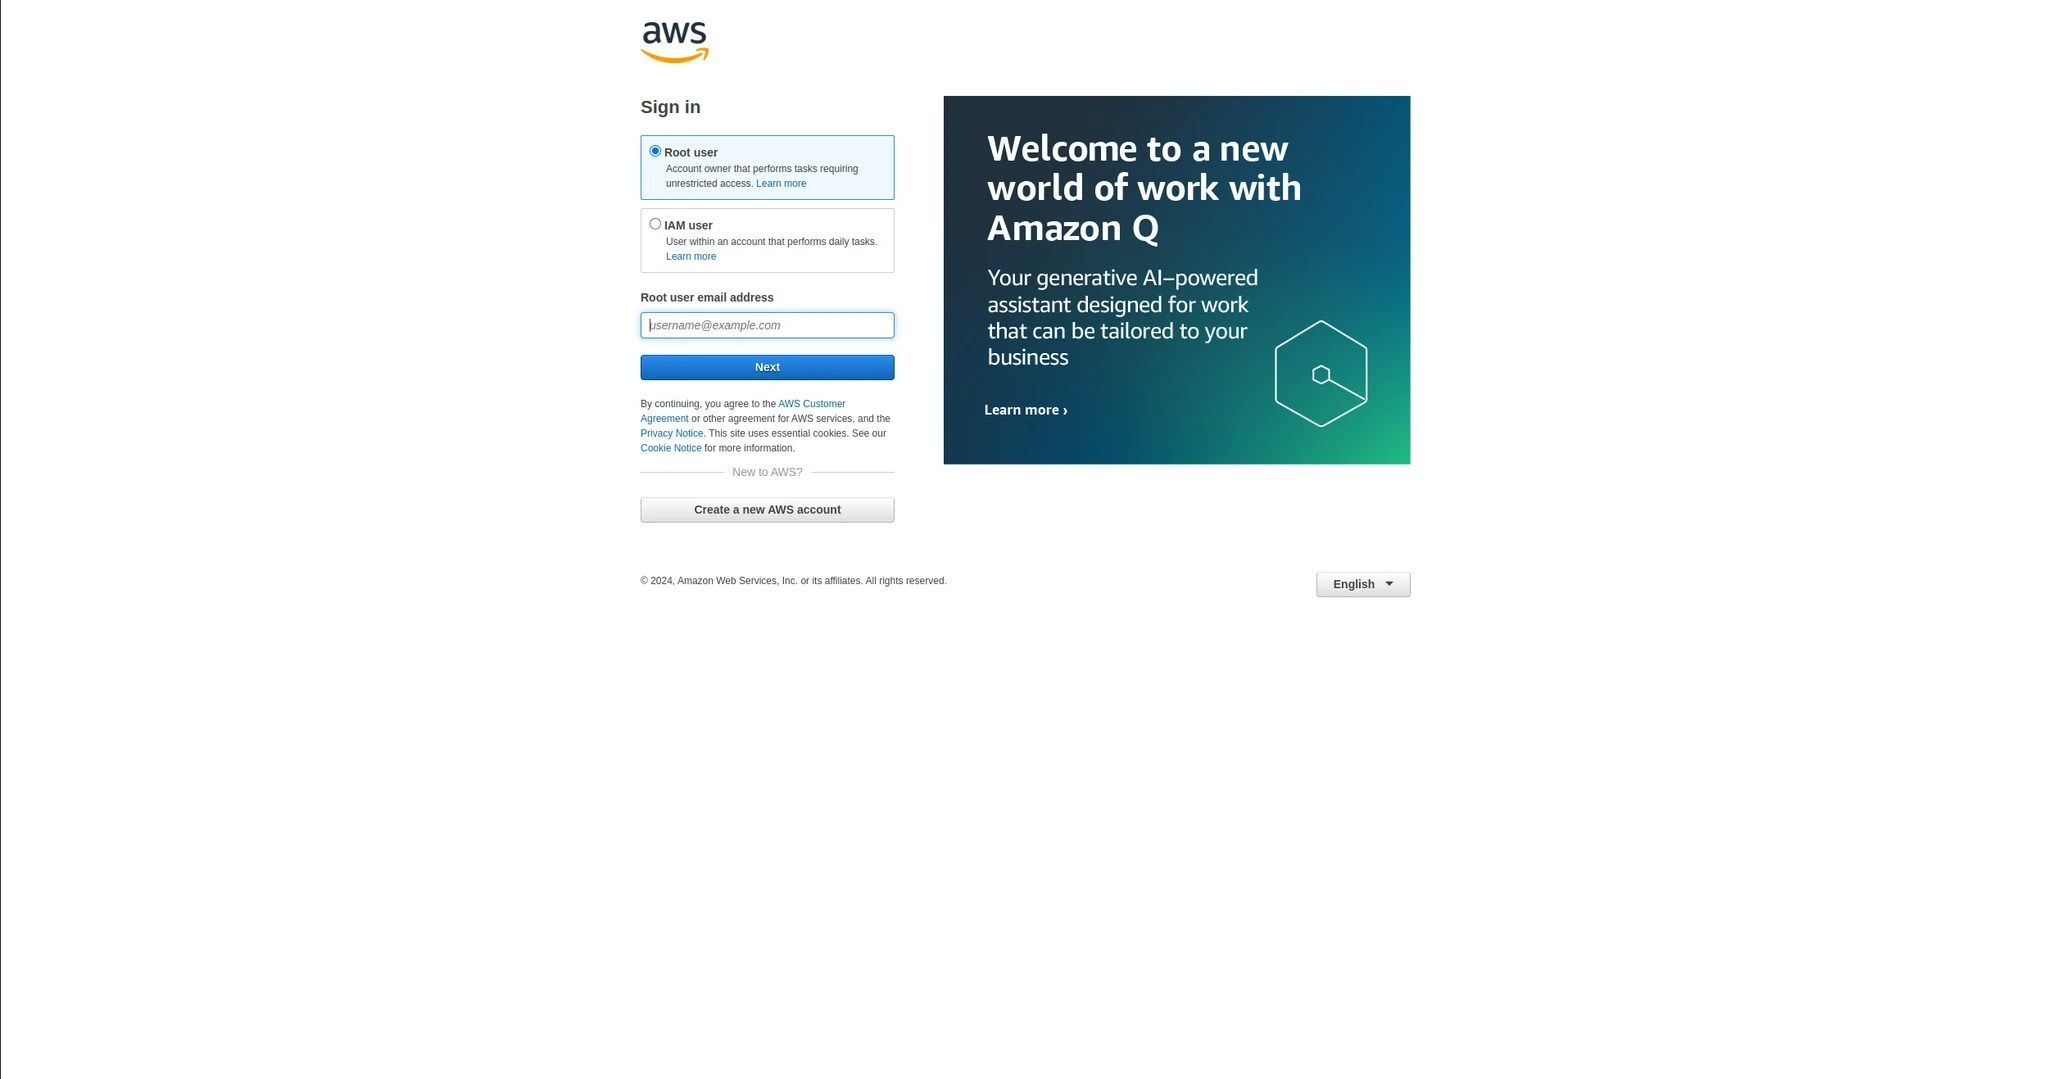
Select the workspace
Select your workspace to view its details.In the Workspace Configuration tab, you can find the Endpoint and Port information.


Enable SSL
Implementing SSL for your database connections is a critical step toward securing your data. By following the specific steps you can protect your database from unauthorized access and ensure that your data remains confidential and intact during transmission.

