Step-by-step guide to import data from Salesforce to Google Sheets or Microsoft Excel using SOQL
After connecting your account, a data preview window will appear. Here, navigate to the SOQL
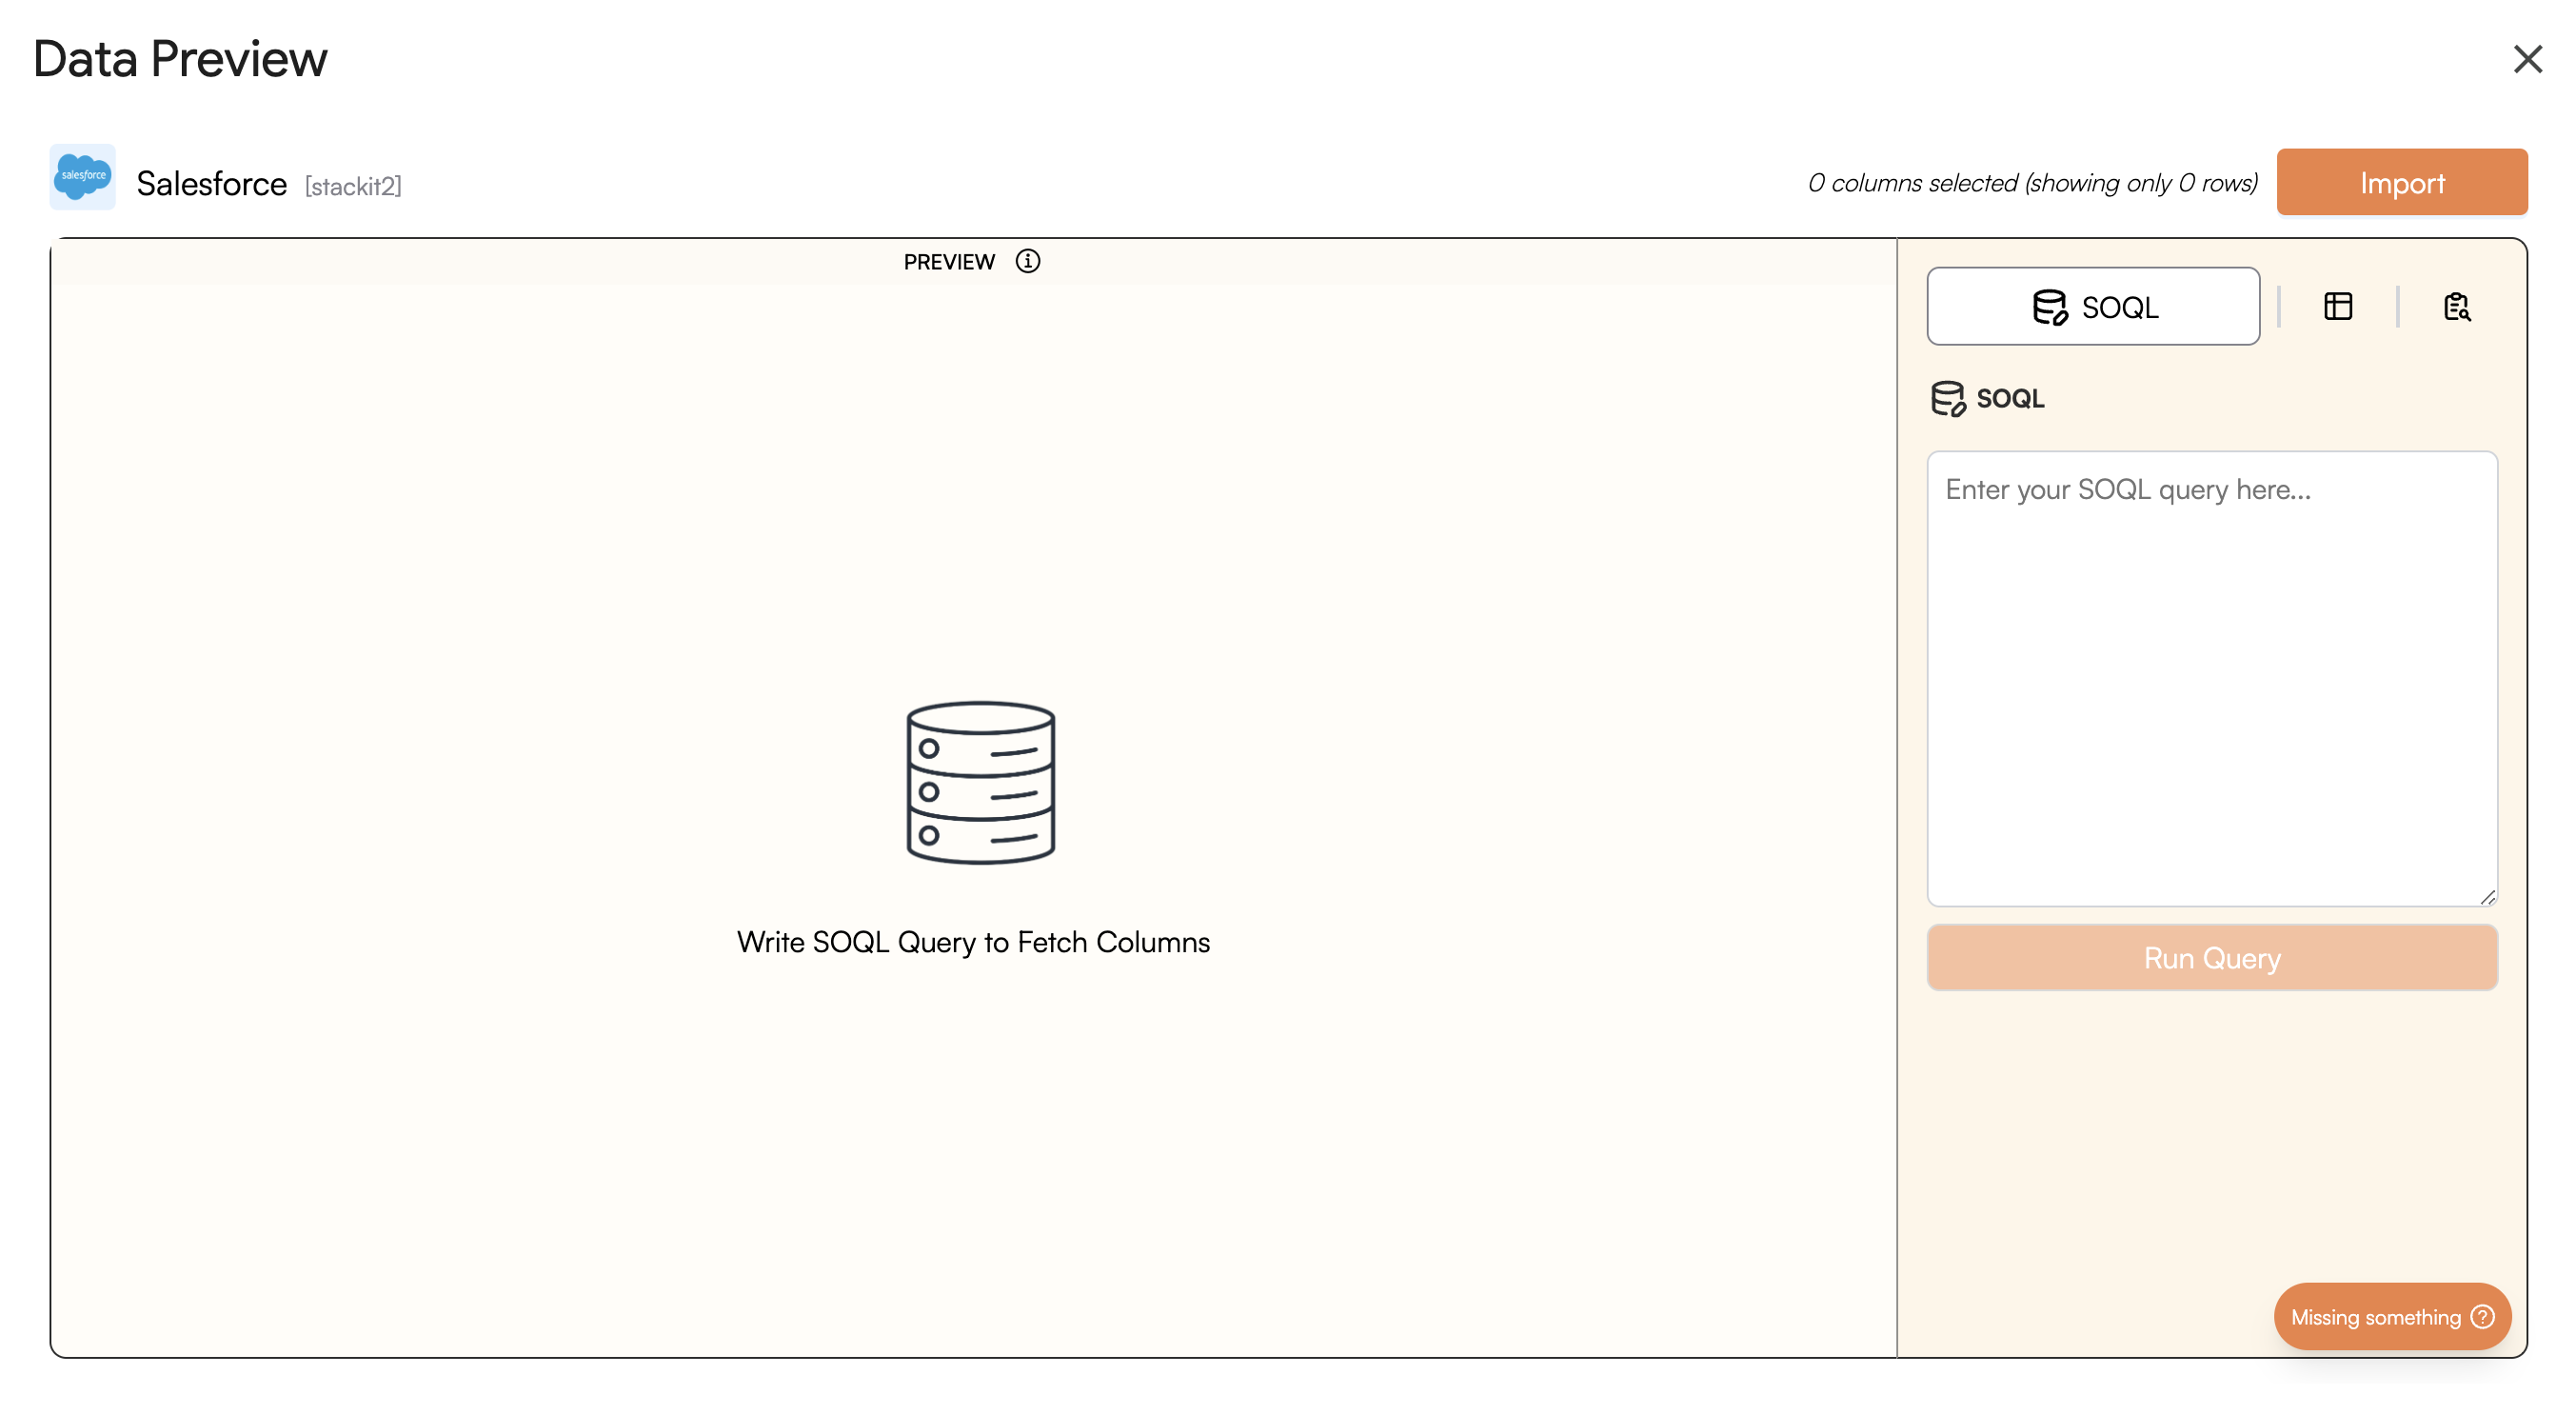
tab where you can craft your own SOQL
to import.
Here, you can write your own SOQL
query to fetch the data you want to import. You can make use of autocomplete for commonly used keywords.
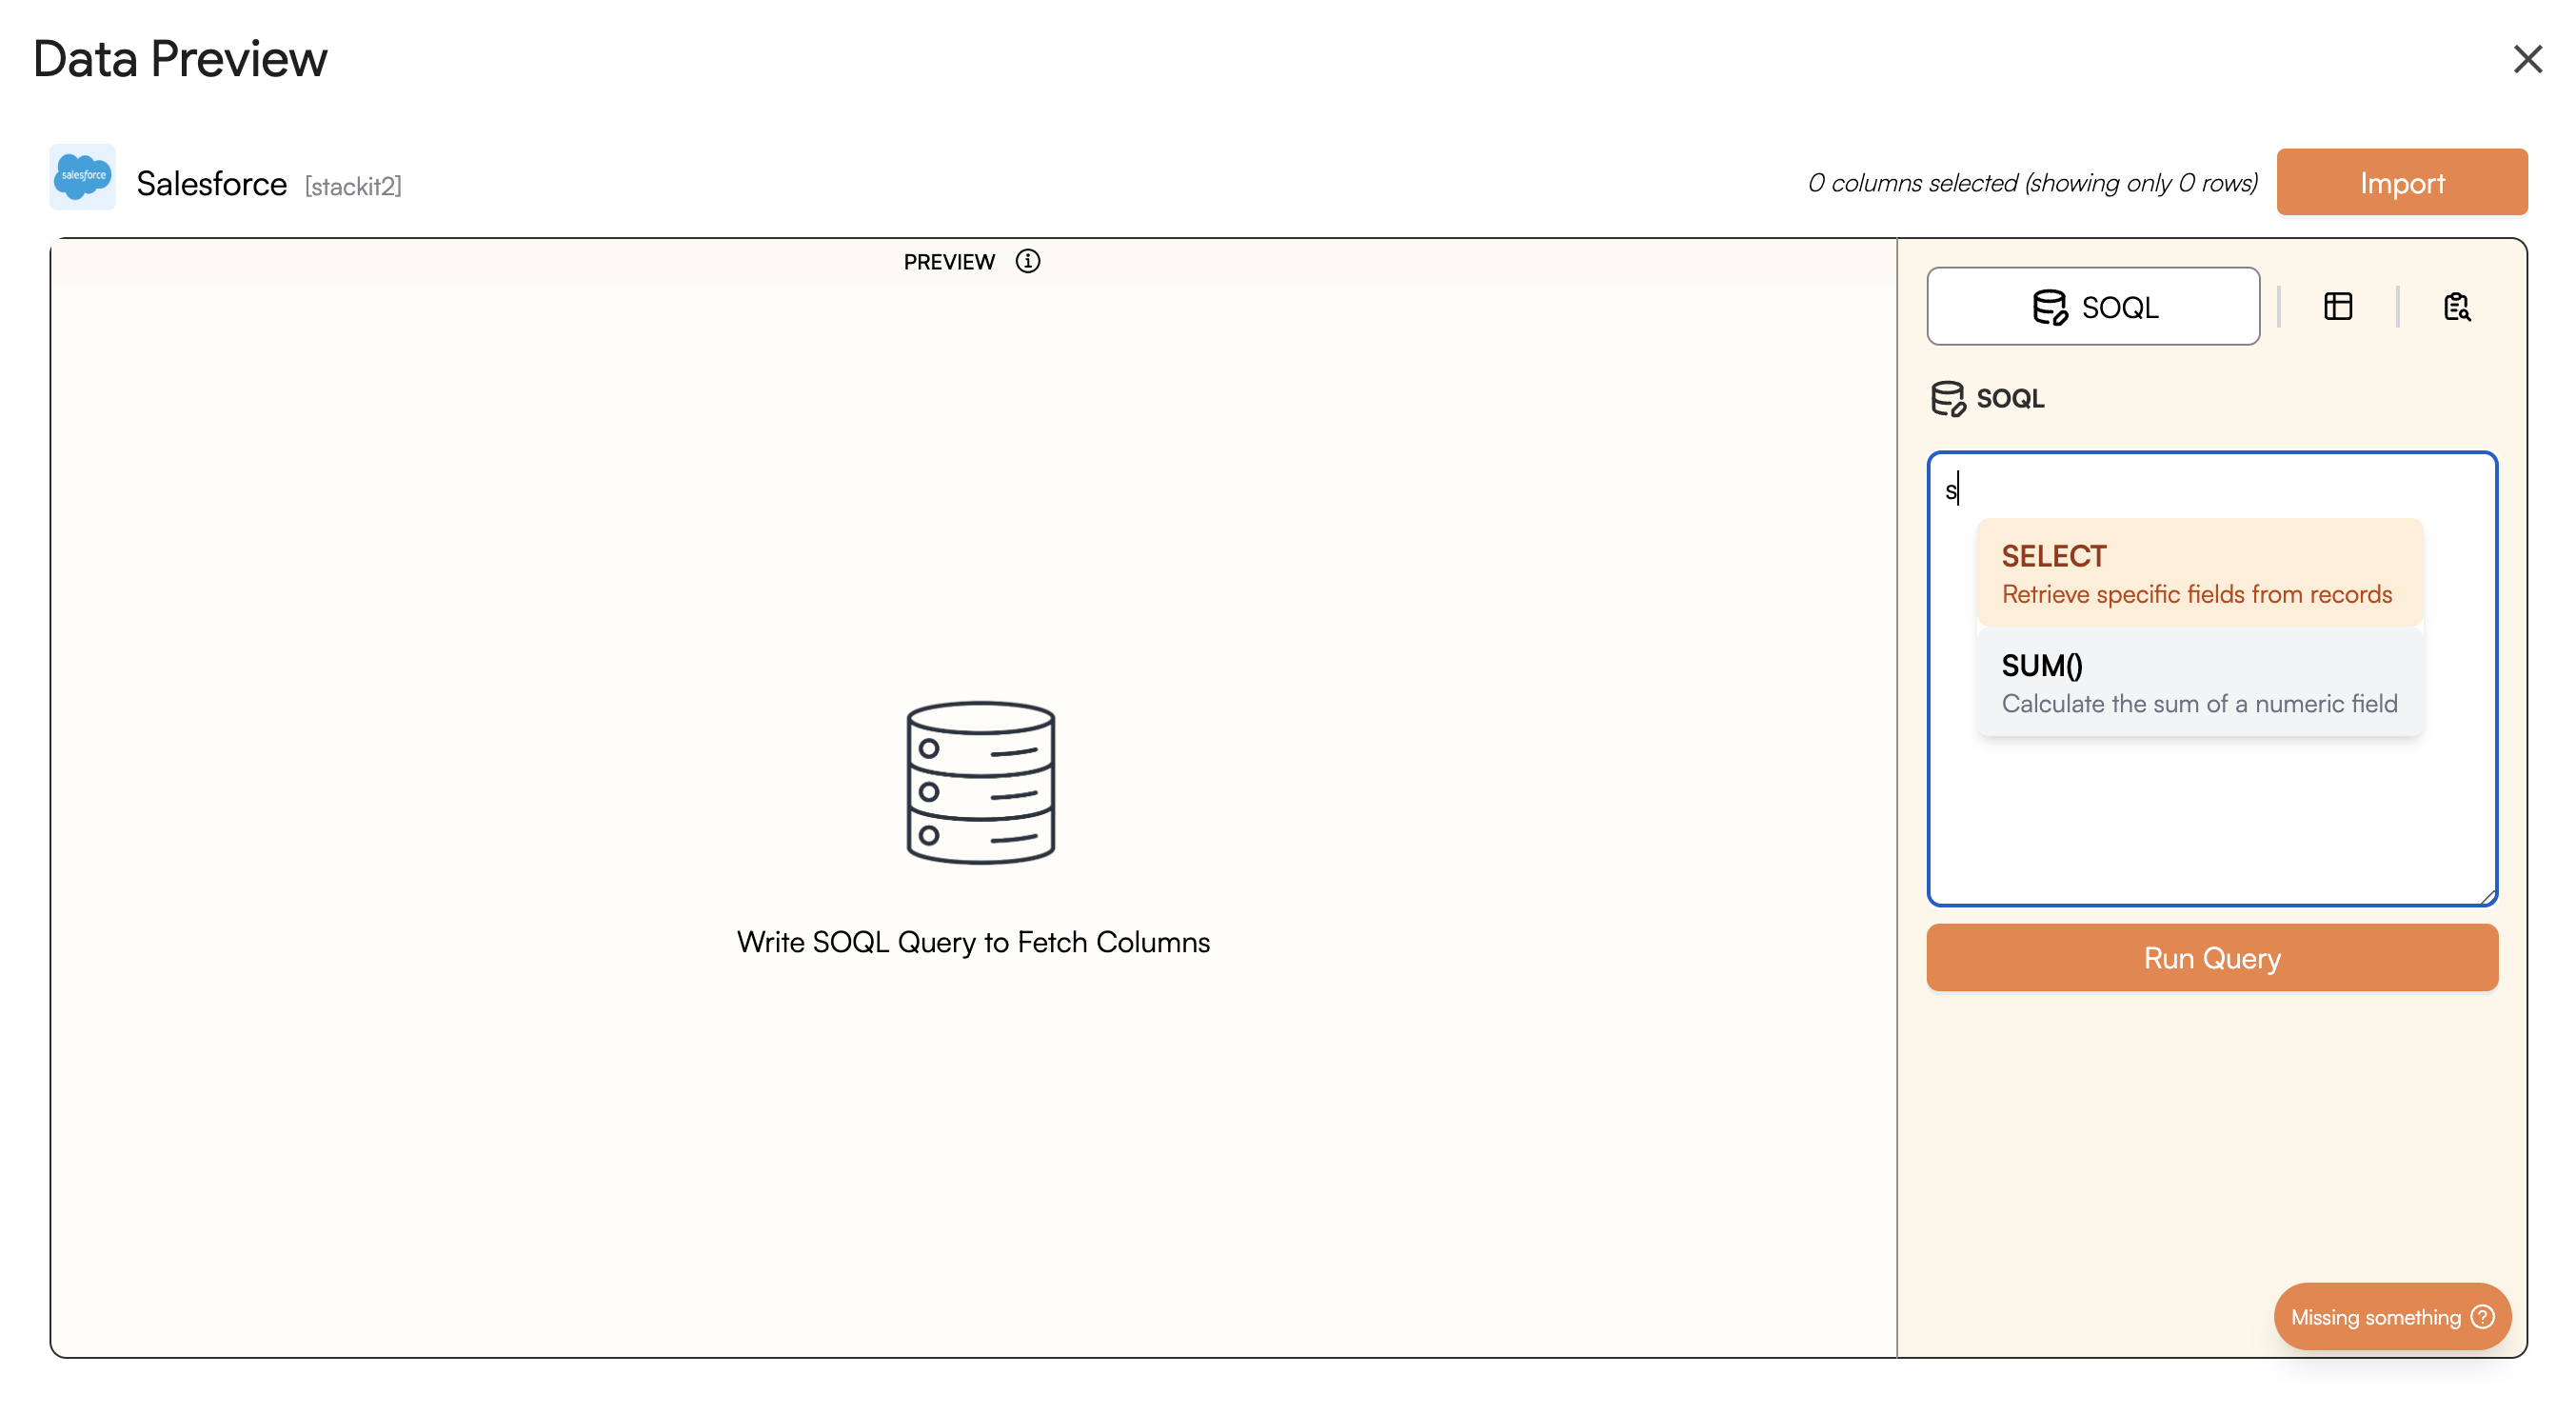
After creating your query, click on Run Query
to preview the data that will be imported.
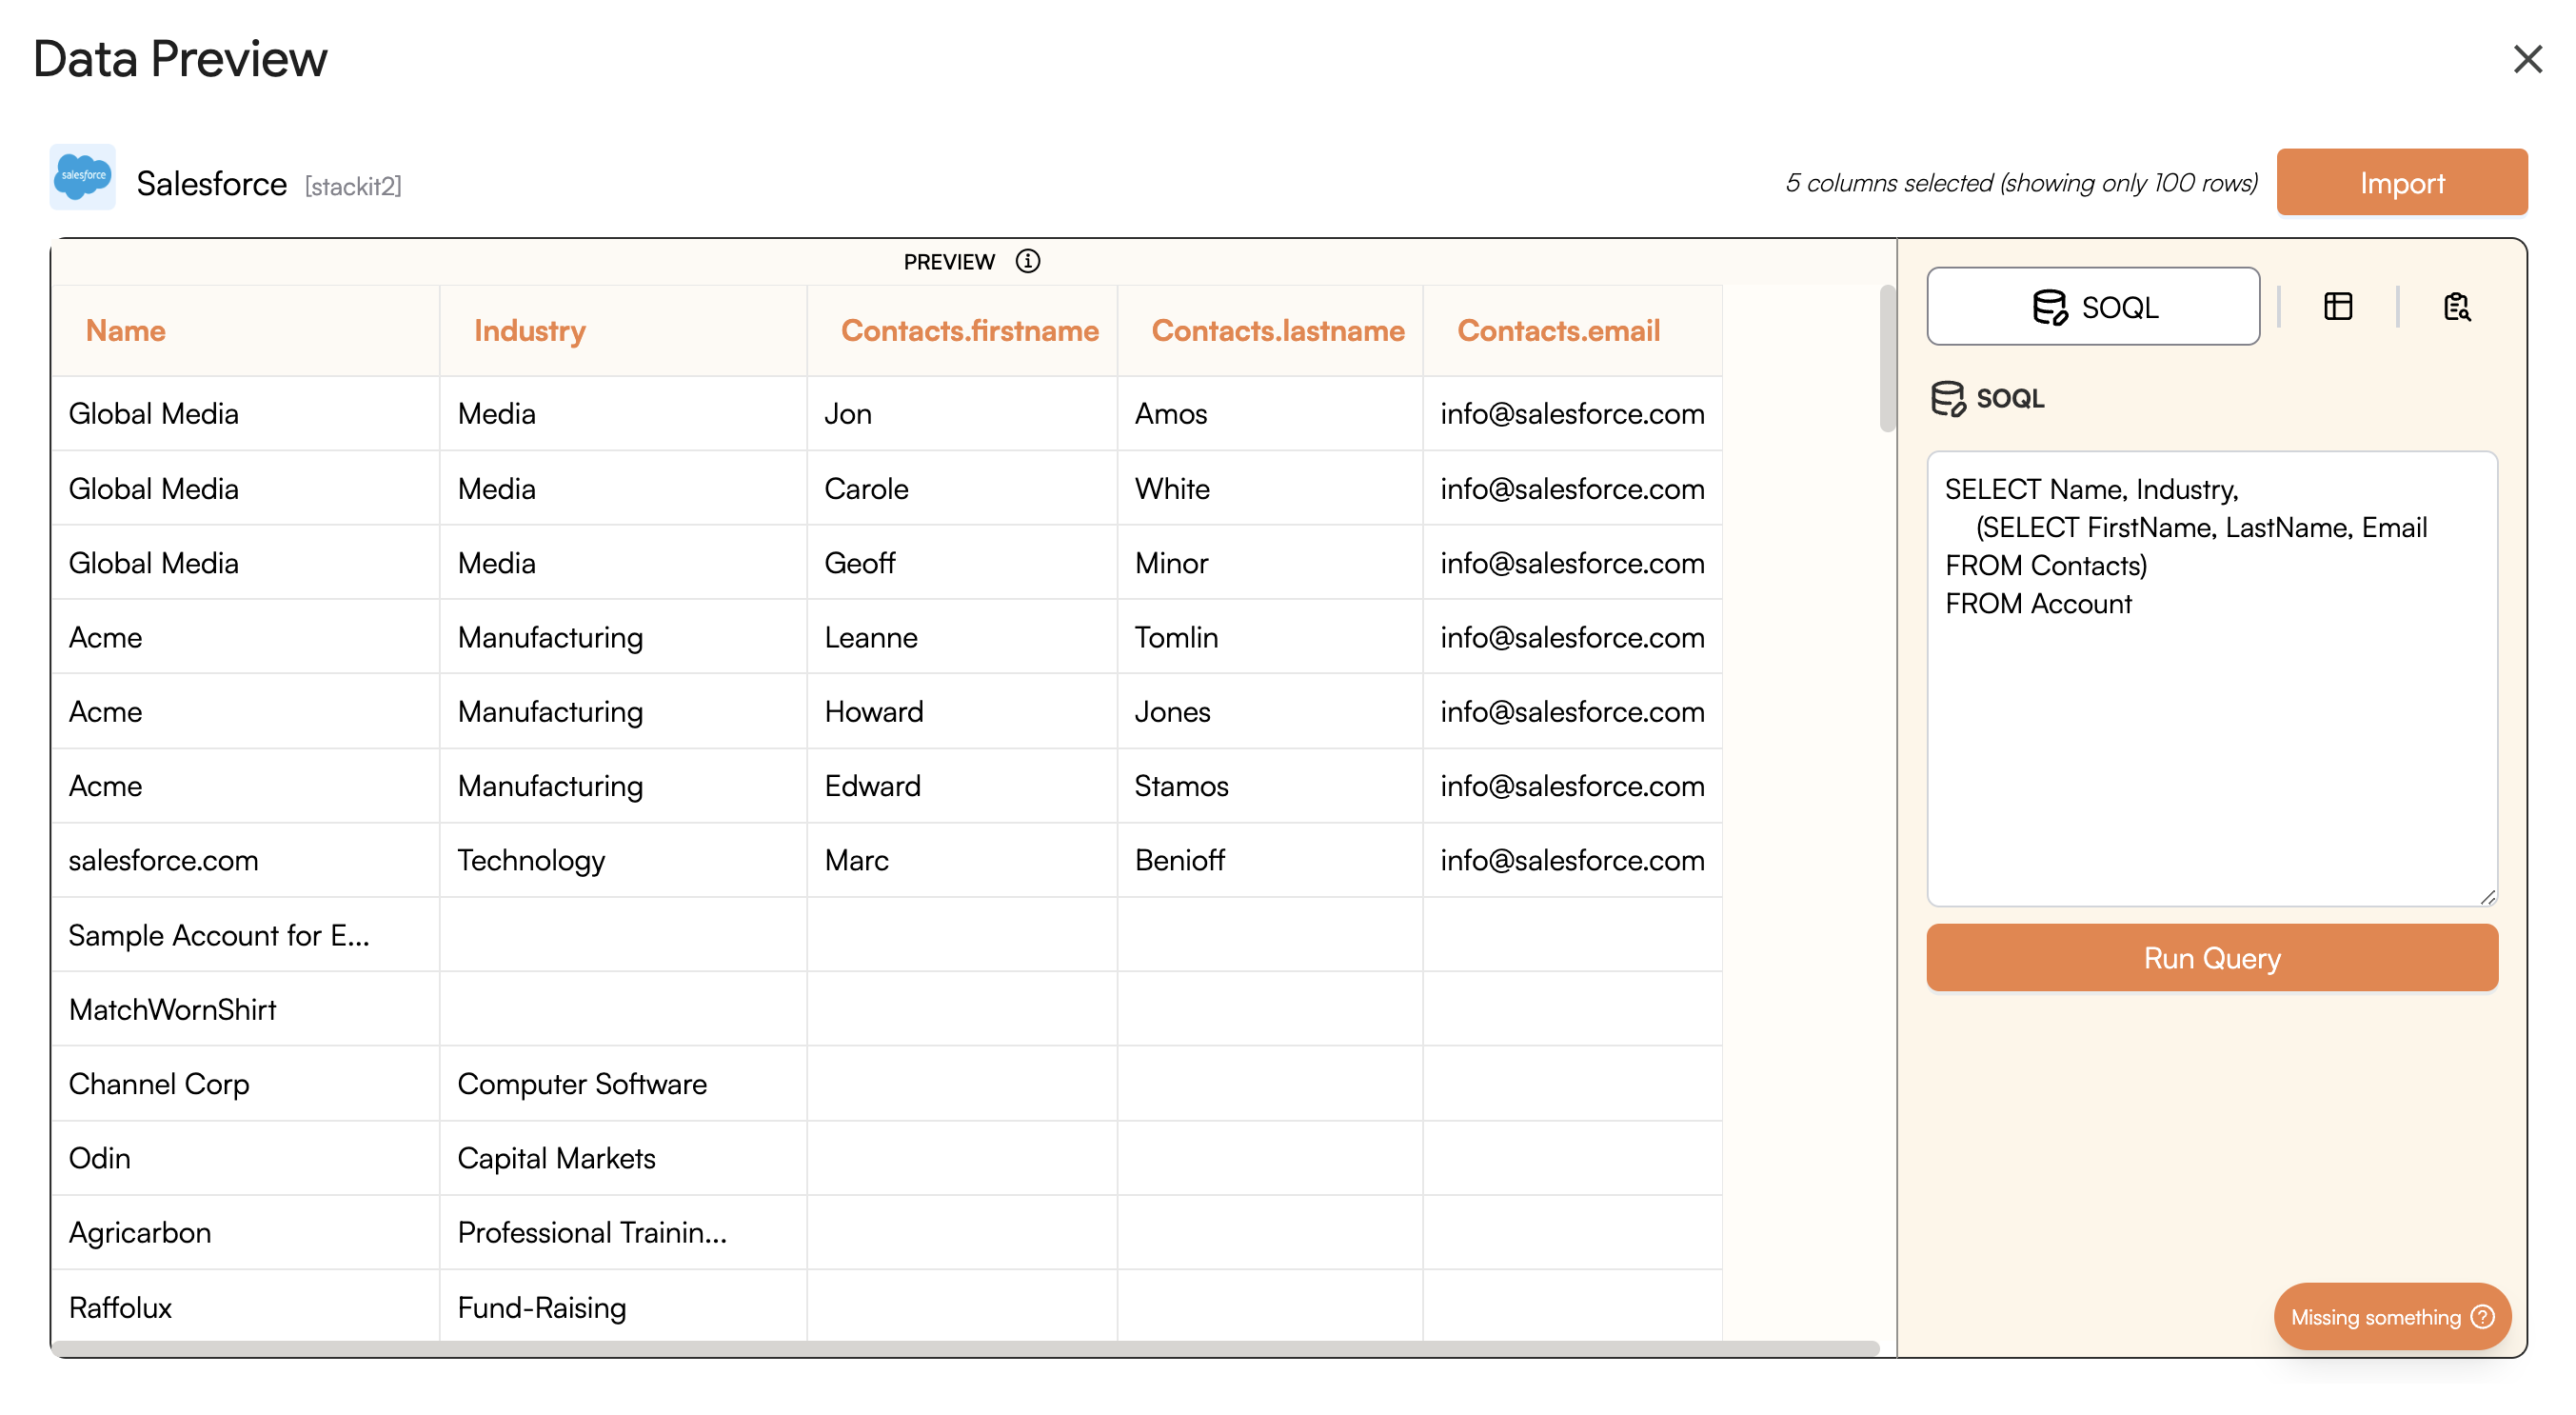
Once you are ready to import, click on Import
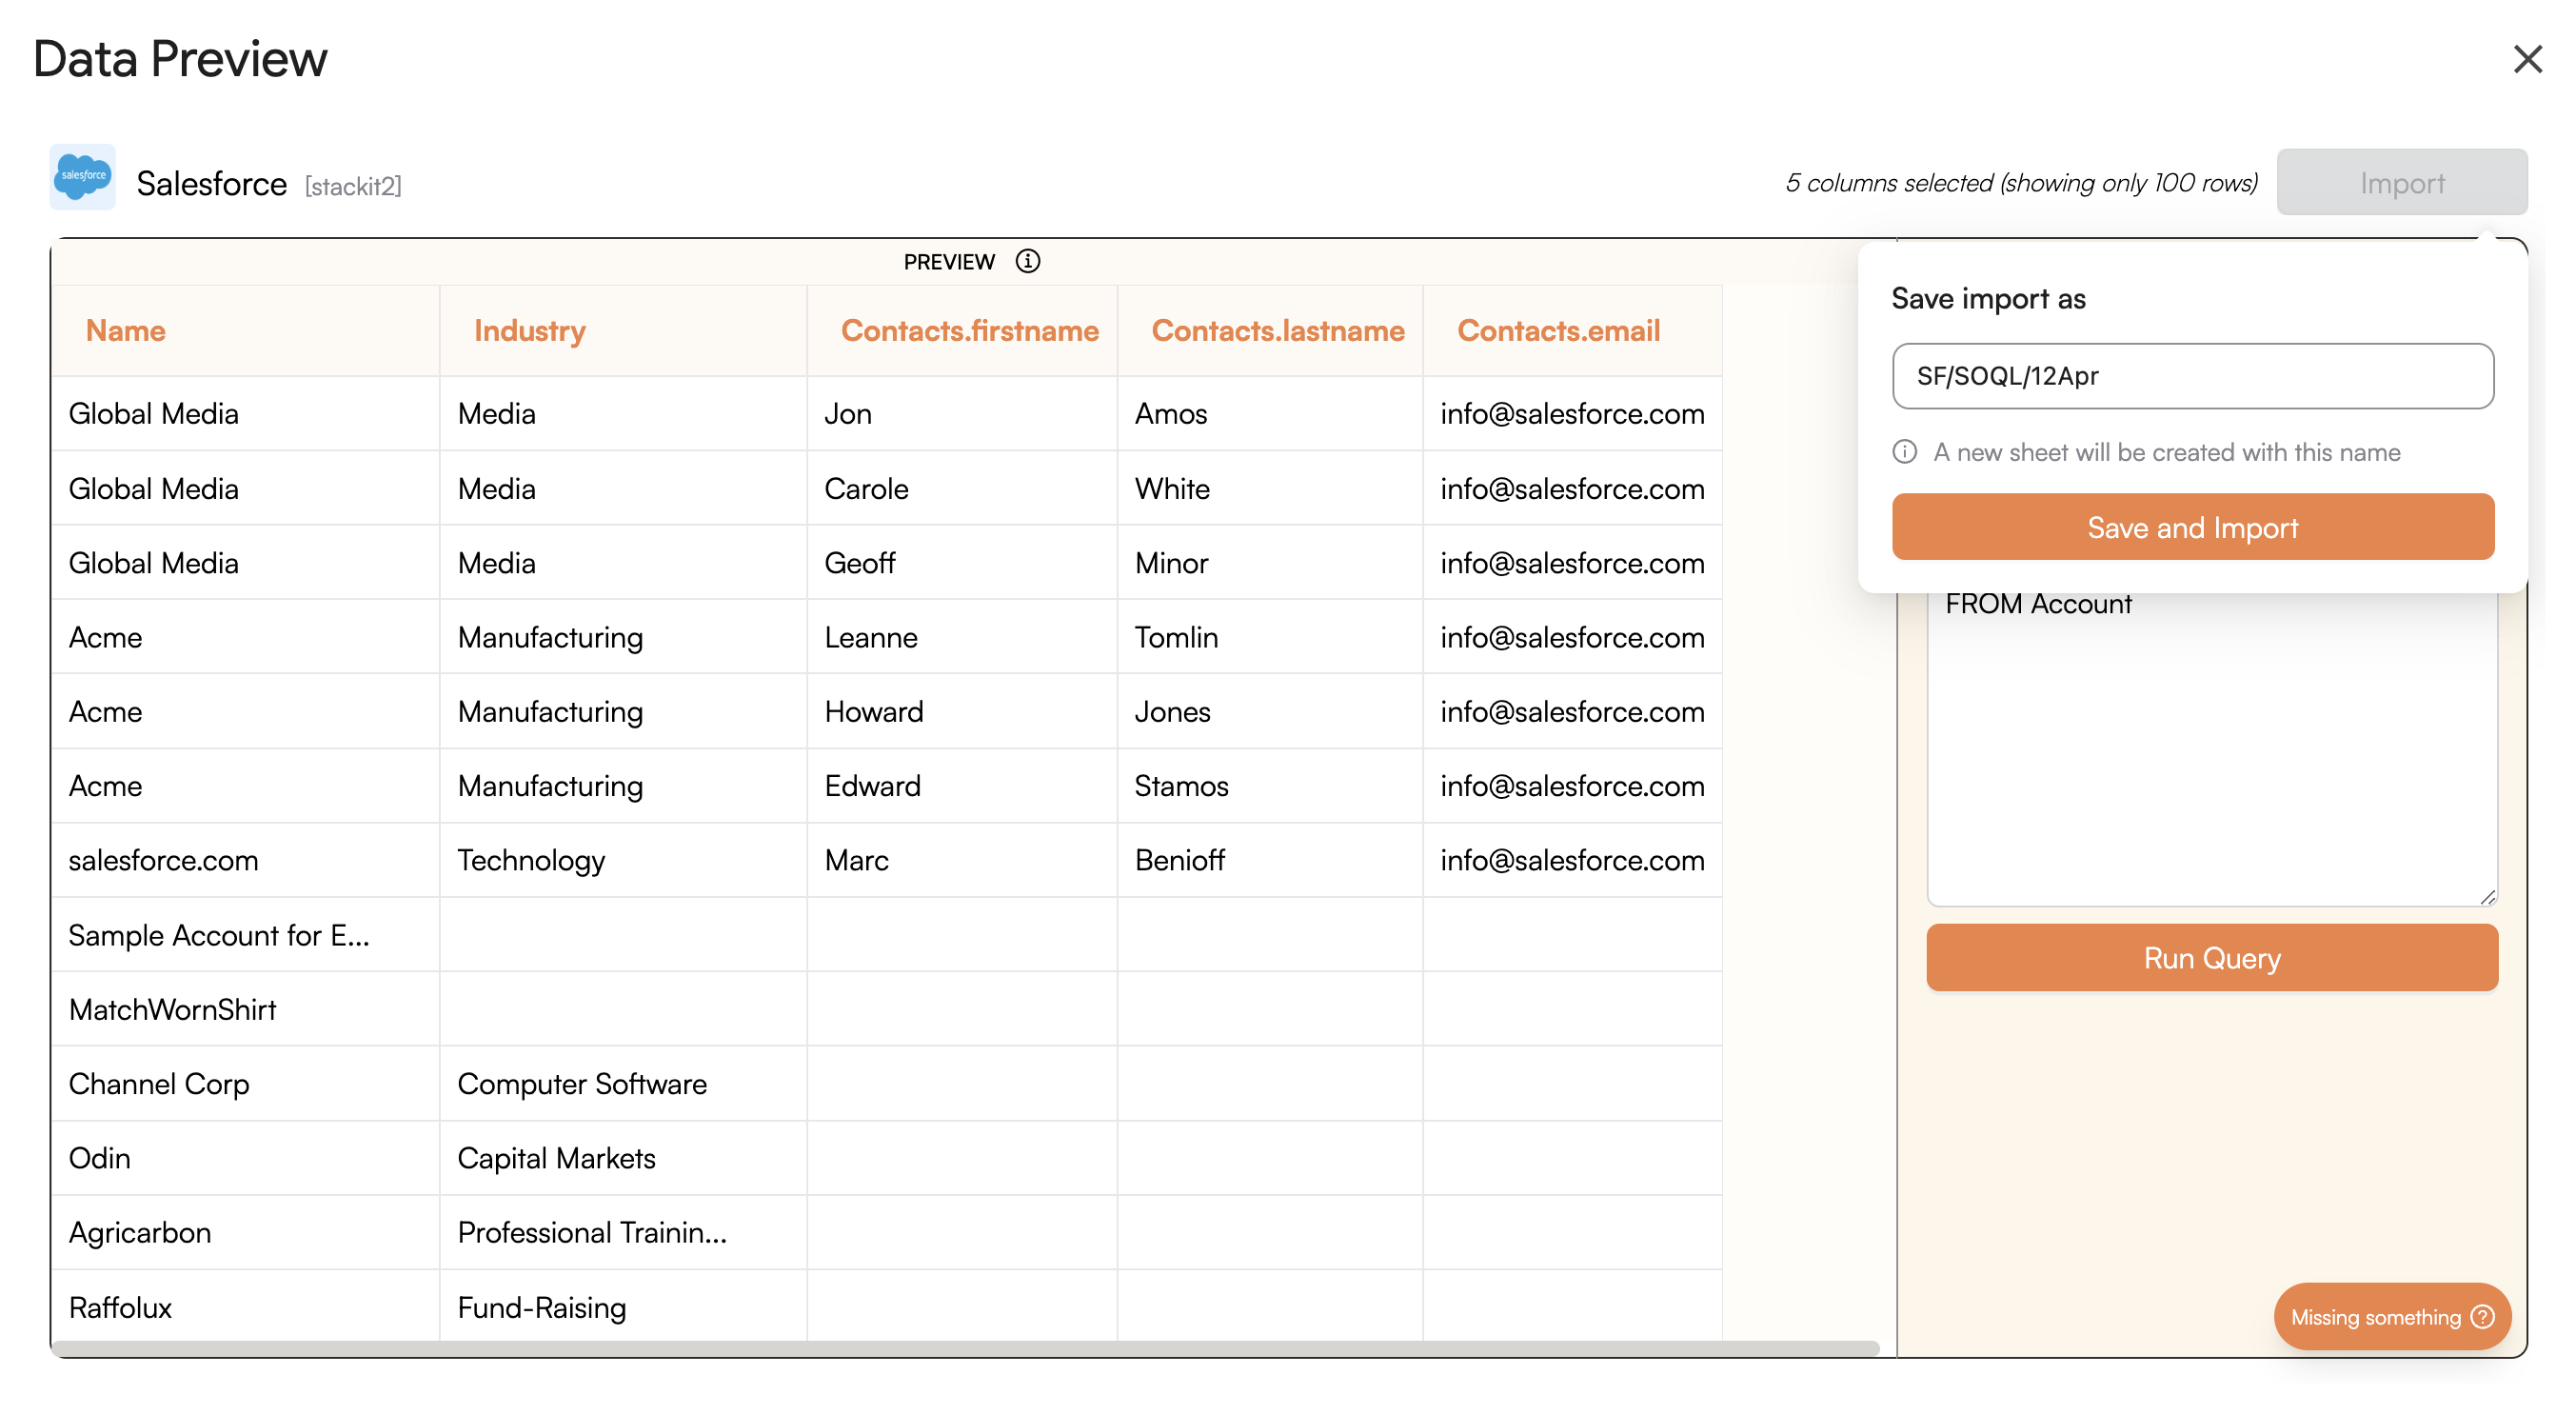
where you can name the new sheet where the data will be imported.
Click on Save and Import
and wait for a few seconds. This action transfers selected data from your Salesforce account into Google Sheets.
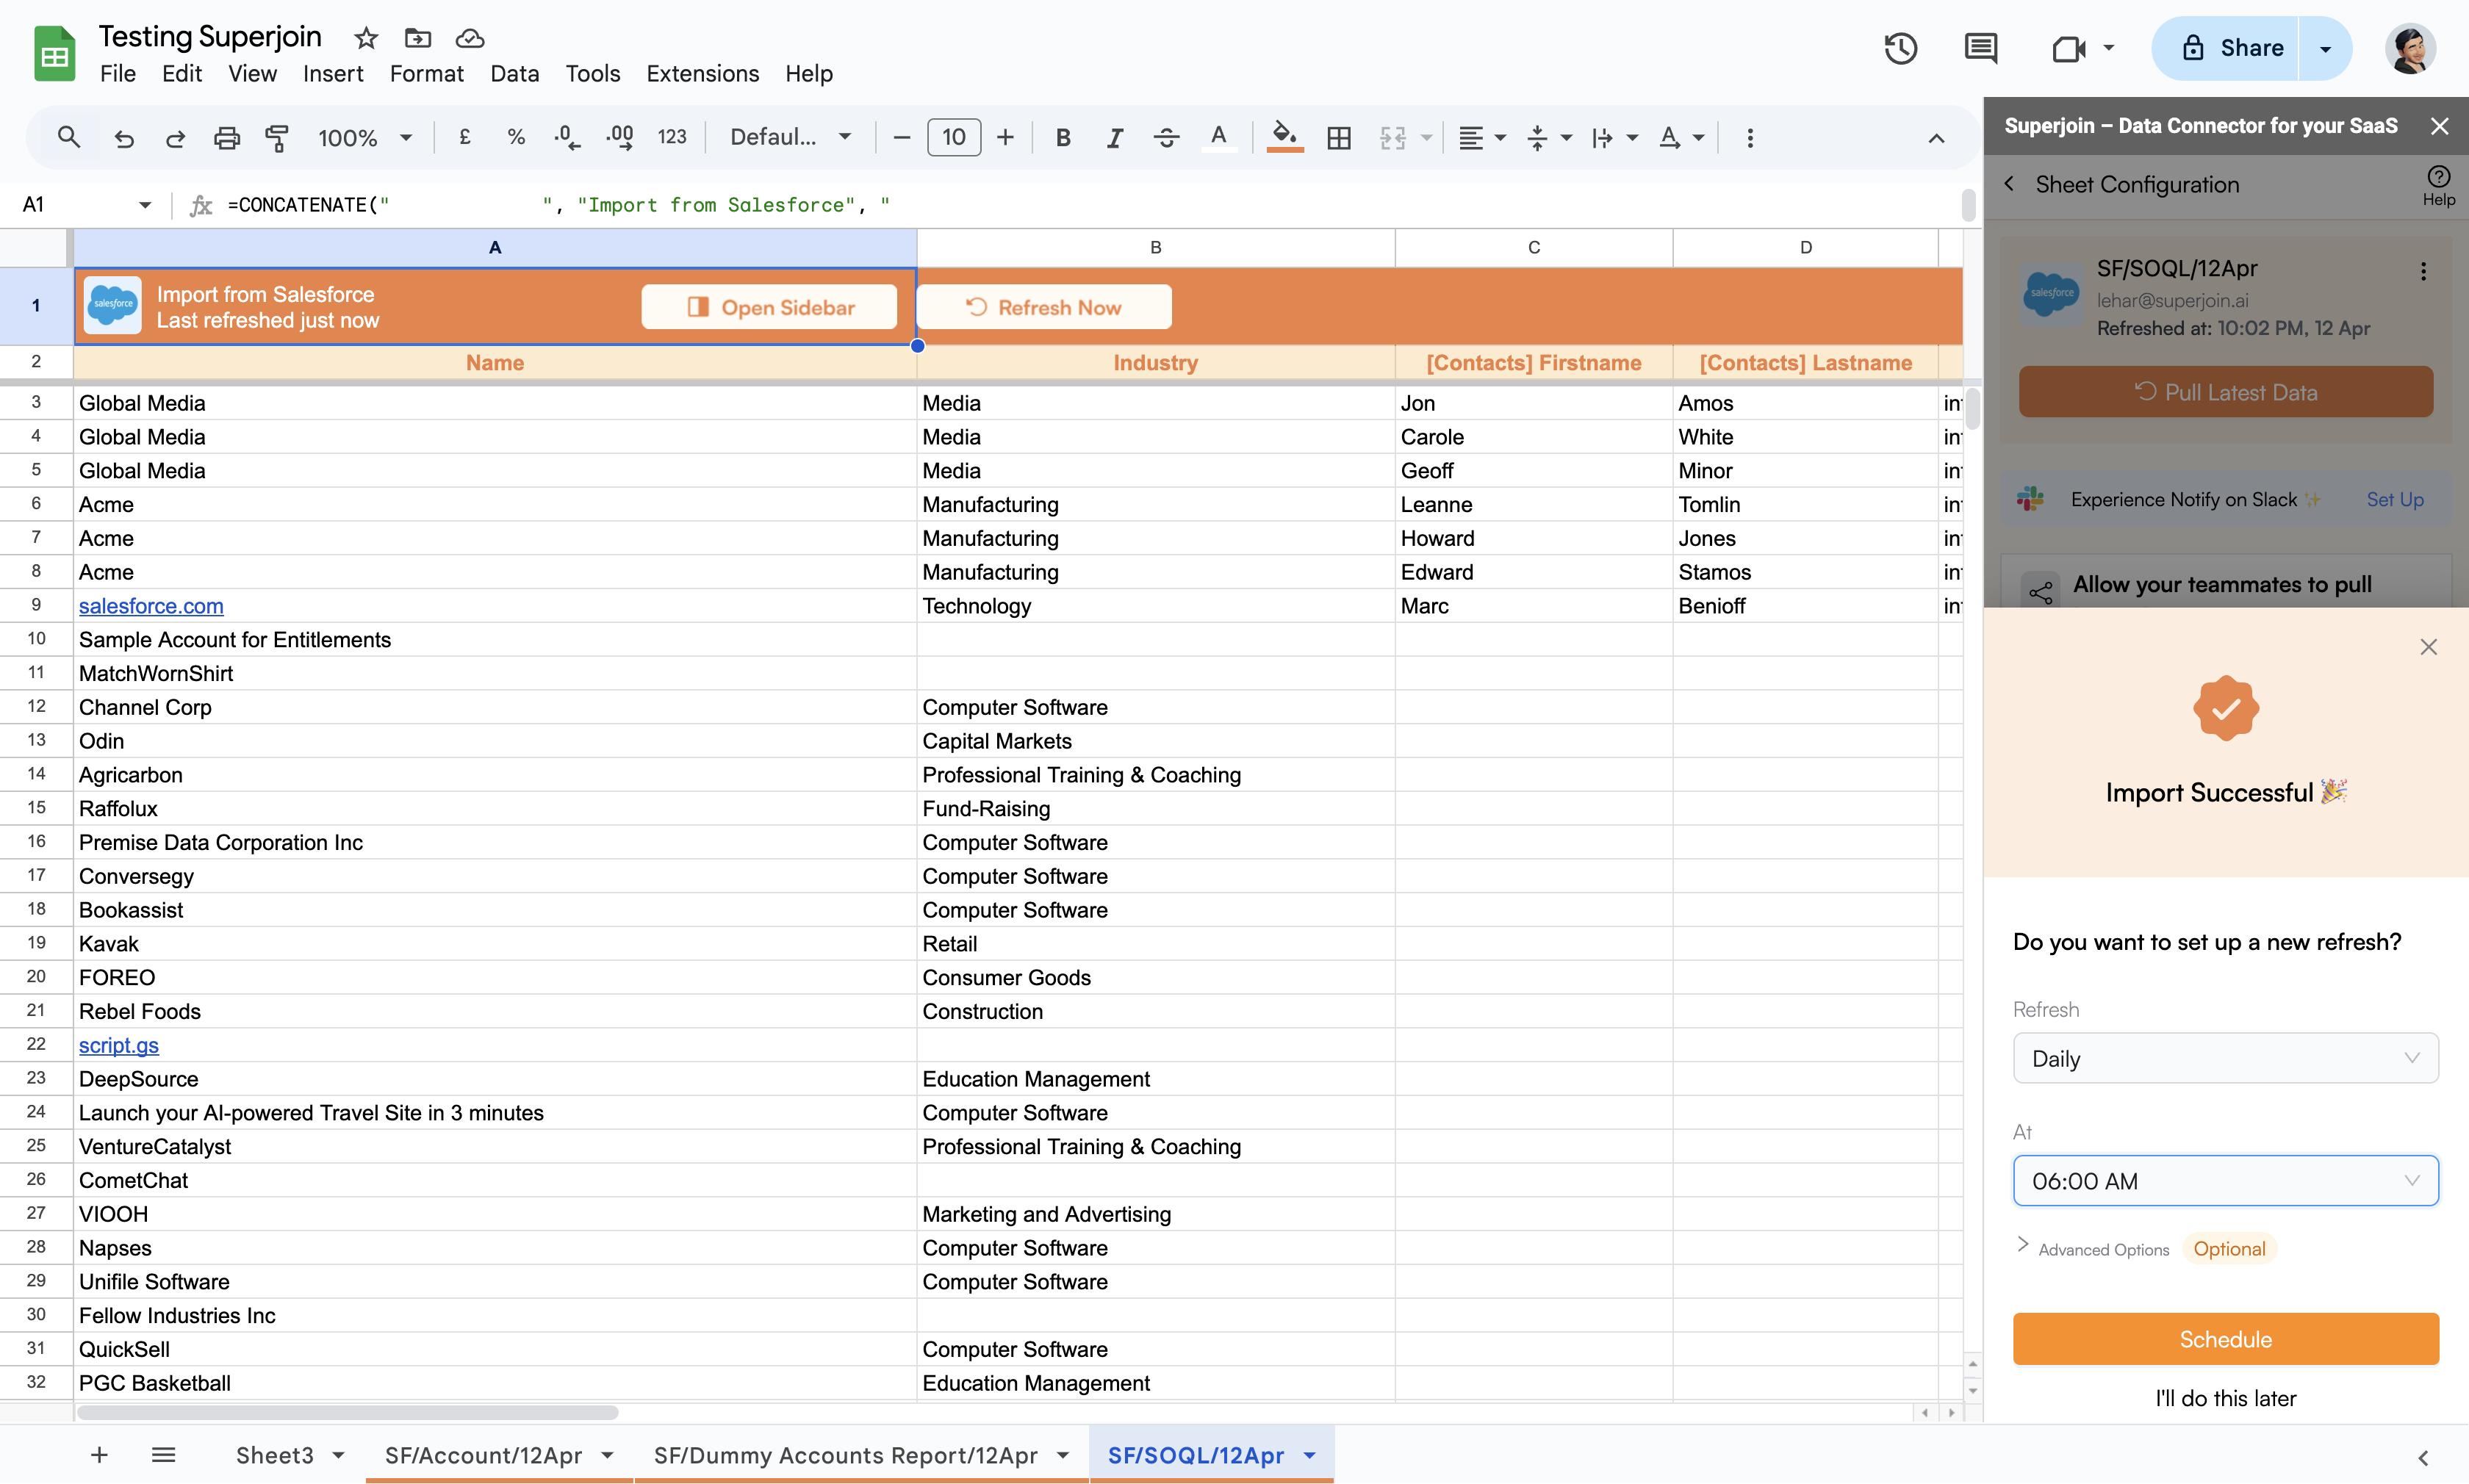
You can schedule a Refresh
to automatically update your data hourly, daily, weekly, or monthly at a specific time.
Export Data
tab or click on the box below.After connecting your account, a data preview window will appear. Here, navigate to the SOQL
tab where you can craft your own SOQL
to import.
Here, you can write your own SOQL
query to fetch the data you want to import. You can make use of autocomplete for commonly used keywords.
After creating your query, click on Run Query
to preview the data that will be imported.
Once you are ready to import, click on Import
where you can name the new sheet where the data will be imported.
Click on Save and Import
and wait for a few seconds. This action transfers selected data from your Salesforce account into Google Sheets.
You can schedule a Refresh
to automatically update your data hourly, daily, weekly, or monthly at a specific time.
Export Data
tab or click on the box below.After connecting your account, a data preview window will appear. Here, navigate to the SOQL
tab where you can craft your own SOQL
to import.
Here, you can write your own SOQL
query to fetch the data you want to import. You can make use of autocomplete for commonly used keywords.
After creating your query, click on Run Query
to preview the data that will be imported.
Once you are ready to import, click on Import
where you can name the new sheet where the data will be imported.
Click on Save and Import
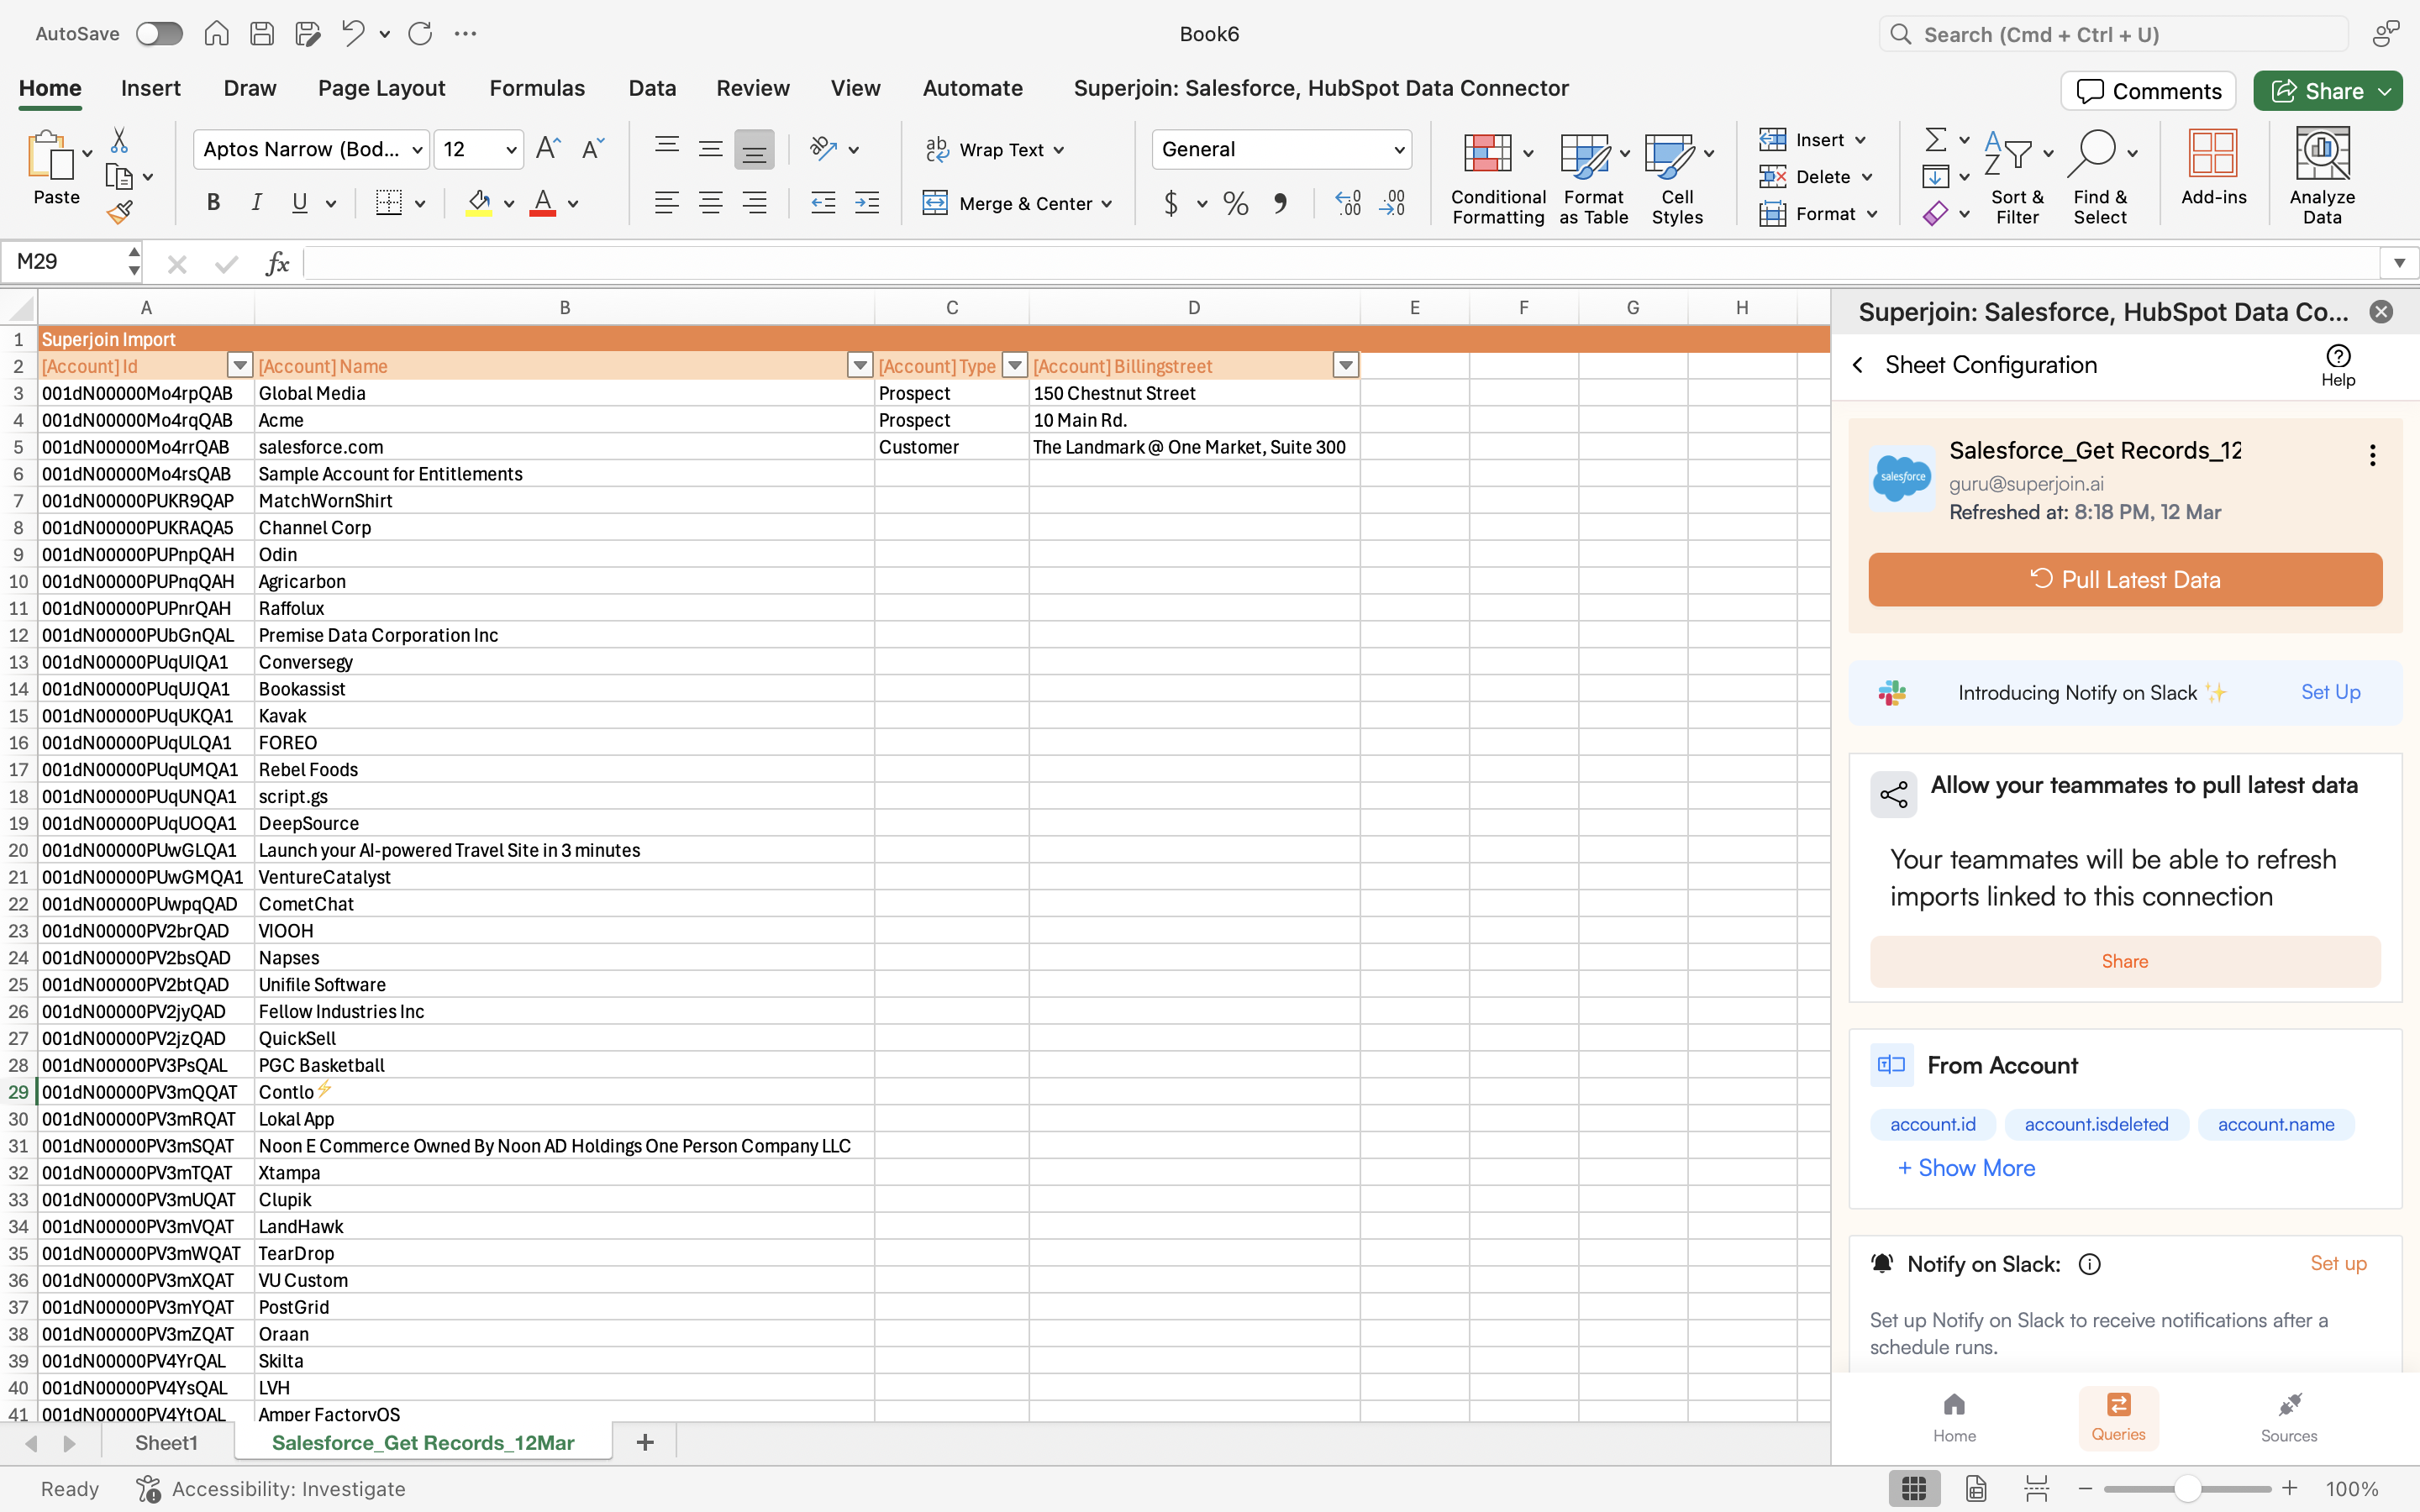
and wait for a few seconds. This action transfers selected data from your Salesforce account into Microsoft Excel.
The desired data has been successfully written on to your Excel sheet. Now whenever you want fresh data, just click on the Pull Latest Data
button.